To make the master data accessible to more users and for conveniently appending , overwriting , editing existing details in the uploaded master data in
SmartInteract, one can use this menu to simplify matters and to cut down errors that may occur while modifying the 9th step in configuration where
human errors of inadvertently modifying other steps might occur in rare instances. Instead all changes can be done in the update master data menu.
Figure 1
SmartInteract à Configuration à Update Master Data
The master data configured in the 9th step of Project set up will be displayed in the Update Master Data sub-menu.
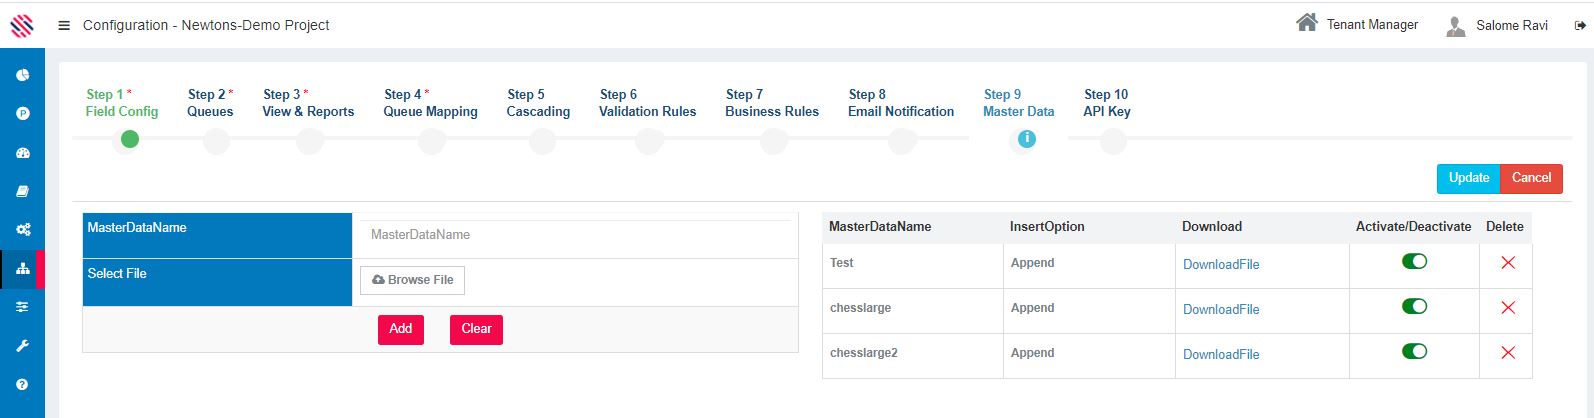
Figure 2
Select the required file from the drop-down.
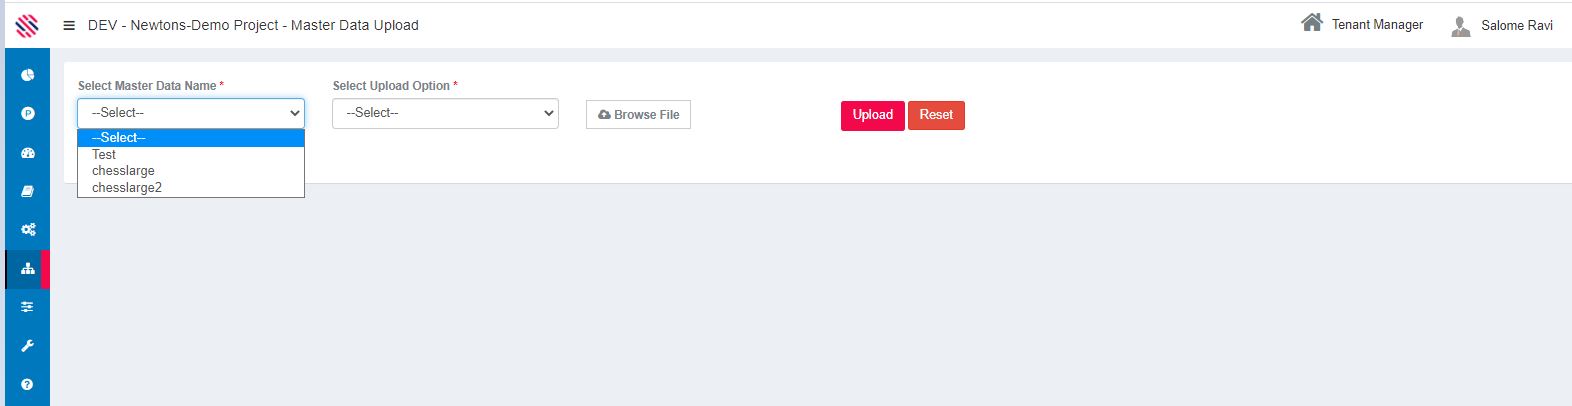
Figure 3
(1) Select the Master Data.
(2) You can add new data in the given headers and click on the Add link. Select the Master Data.
(3) Similarly you can click on the Edit link, modify data and update.
(4) You can choose to Delete an entire row.
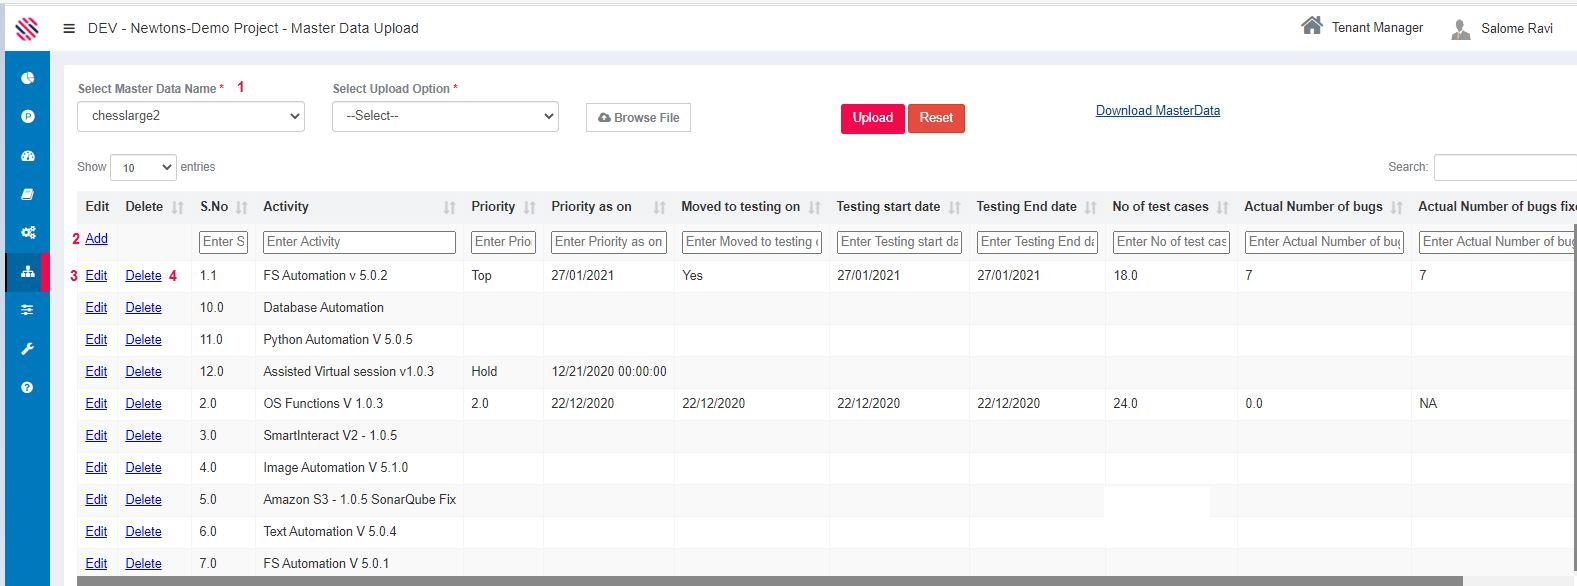
Figure 4
Additionally, you can avail the append or overwrite options.
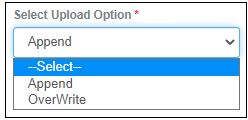
Figure 5
(1) Select the Master Data Name.
(2) Select the Upload option.
(3) Download the master data and modify as per requirements. Save in a share path.
(4) Browse and select the file.
(5) Upload.
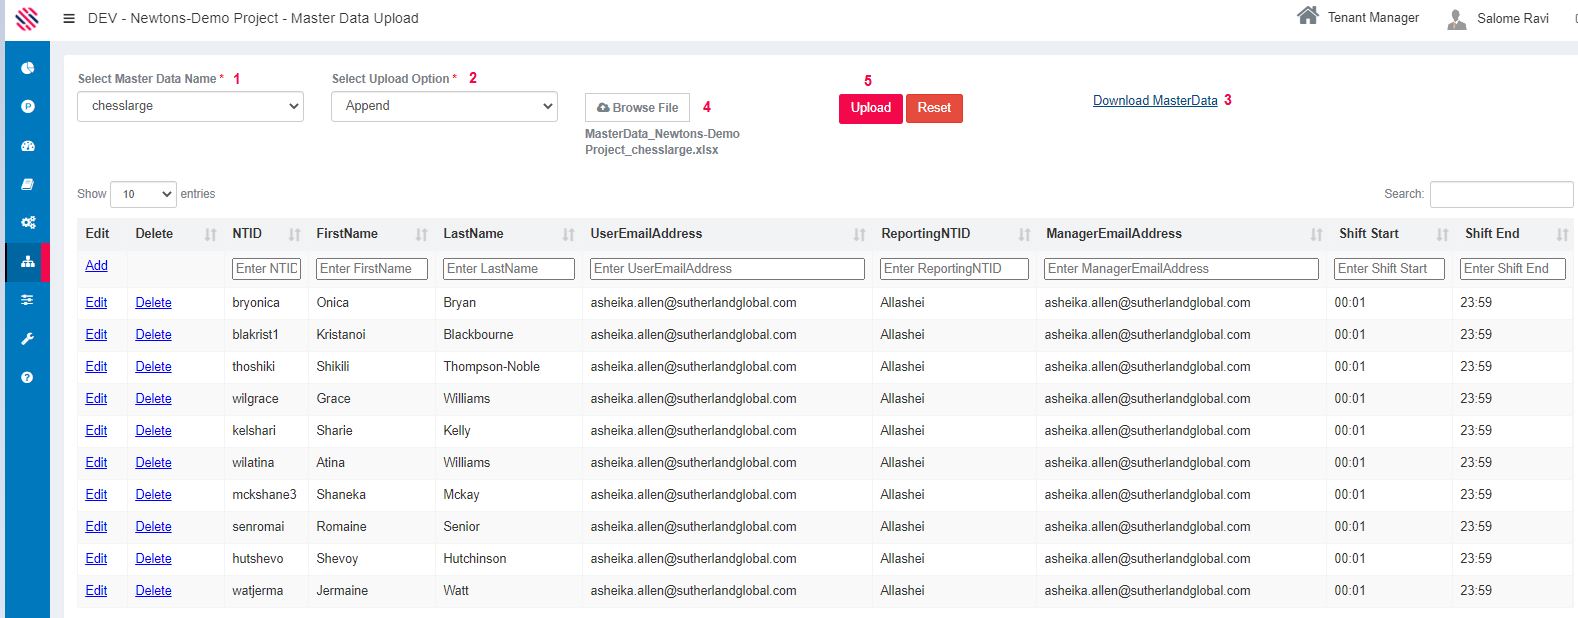
Figure 6