Without understanding the problem, one cannot arrive at the right solution. Hence, collection of sample videos demonstrating the actual process helps define the complex sets of rules in developing the appropriate solution and helps in understanding the actual numbers and precise roles of the robots and how effectively the solution will streamline the process targeted for automation.
Screen Recorder is an important feature to record the process. The significance of this feature is that, there is absolutely no room for error as every step is recorded through this audio video device, which has editing options to make the entire process of recording of the potential process for automation, absolutely unambiguous and easy to understand. Time is saved and since perfection is maintained from the word go, the entire process of automation is executed efficiently.
How to use the screen recorder?
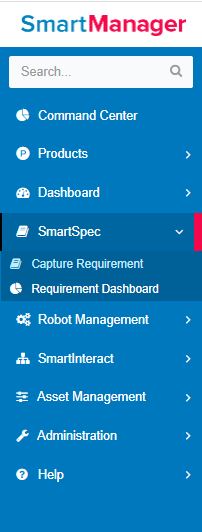
Figure 1
Capture Requirement-->Requirement Management-->Screen Recorder
![]()
Figure 2
Click on the Screen Recorder to bring up the "Screen Recorder” notification.

Figure 3
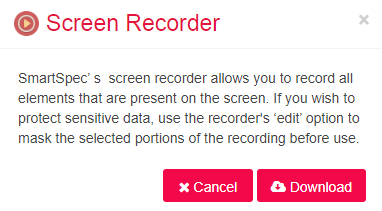
Figure 4
Note: Encoder.exe is a prerequisite to download the Screen Recorder.
Proceed to download by clicking on the Download Button. Click on the SmartSpec setup exe that will be displayed at the bottom left of the screen.
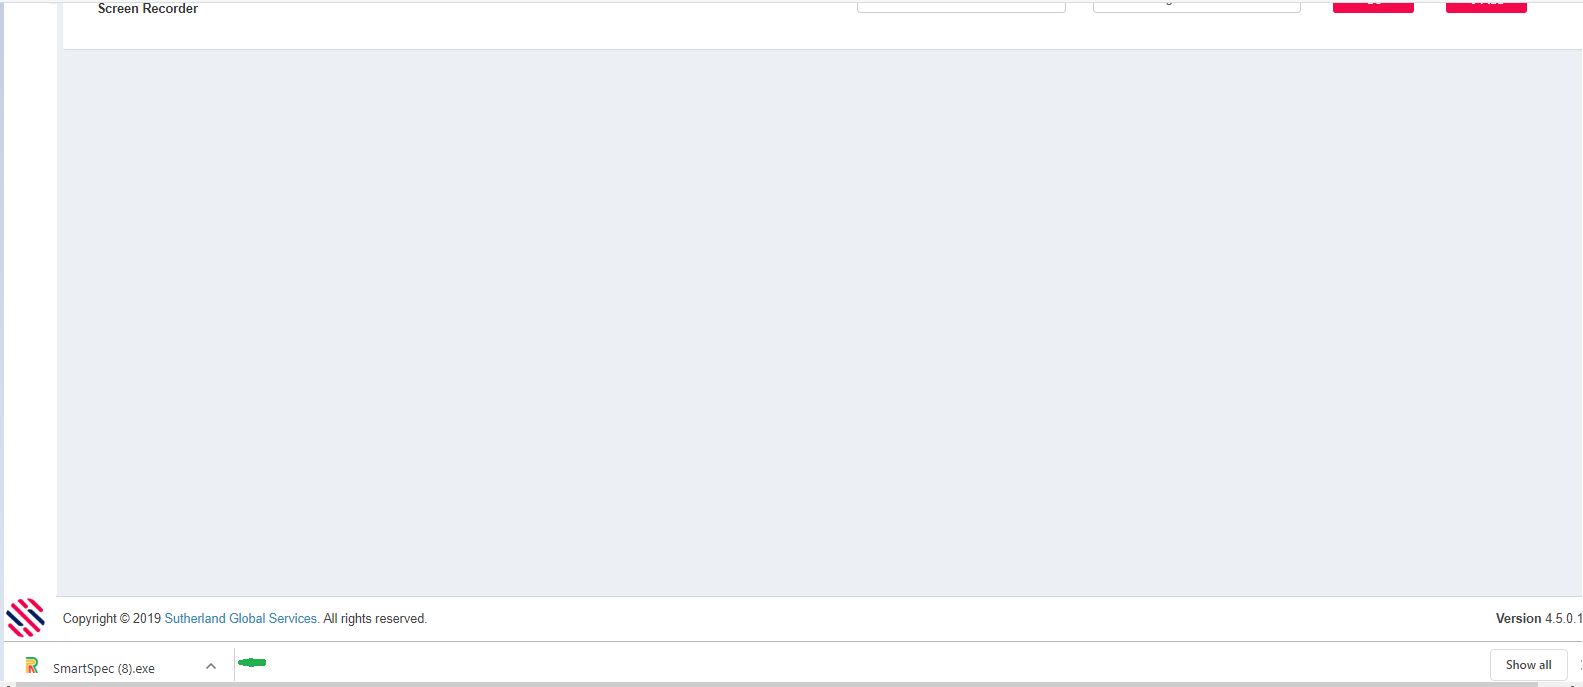
Figure 5
The SmartSpec -Startup screen will be displayed. One can use the following features to accurately capture the various steps involved in the process for automation. This will be extremely useful when the process contains multiple steps and is complex with various sub-processes.
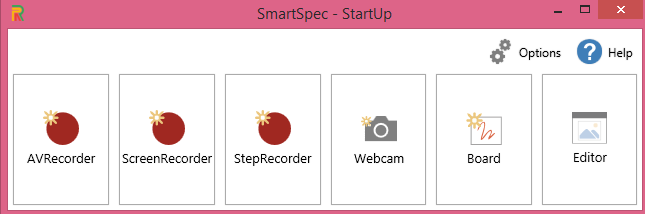
Figure 6
AV Recorder
Enables the AV recorder, where you can easily start recording the selected screen with audio.
Note: The AV Recorder is currently not supported.
Screen Recorder
Facilitates screen recording, where you can easily start recording the screens that are active. Once you start recording, it will capture every screen that the user navigates. Every click and ensuing screens will be recorded as one flow.
Step Recorder
Facilitates step recording, wherein with the help of Spy Capture, you can capture and record the highlighted fields, one screen after another, as per requirements. This would be a step by step screen recording.
Webcam Recorder
Facilitates Recording through a web camera.
Board
Allows the user to draw, thus creating flowcharts, or tables, while using audio for instructions, explanations, etc.
Editor
The editor facilitates editing of all the recordings.
Saving the Recording
Once the recording is completed, click on File to enable the Save option and save the recordings.
![]()
Figure 7
Choose the File Type. Select the file destination by clicking on the Yellow Folder Icon. Give a name for the file and Save. The recording will be exported to the given destination.
Note: Project (File Type) facilitates incorporation of additional details since editing is possible.

Figure 8
If one chooses Video as file type, it will be saved in the .avi format. One can use the quality controls to customize the recording as well as make use of the Video Compression features.

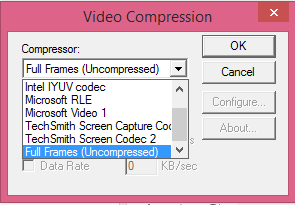
Figure 9
Thus, once the process is captured, one can save it on the local drive or desktop to upload the same in the requirement page of SmartSpec. For more details, refer how to upload recording?