A tenant is created to facilitate effective automation by creating the required quantity of Projects against each tenant, resulting in timely deliverables and easy tracking.
To access the module use the left-hand menu bar.
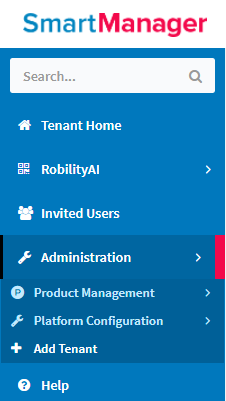
Figure 1
Administration--> Add Tenant
Click on the Add Tenant sub menu.
Proceed to click on the Add button to access the Add Tenant screen.

Figure 2
Enter the Tenant Name and the Description in the respective fields.
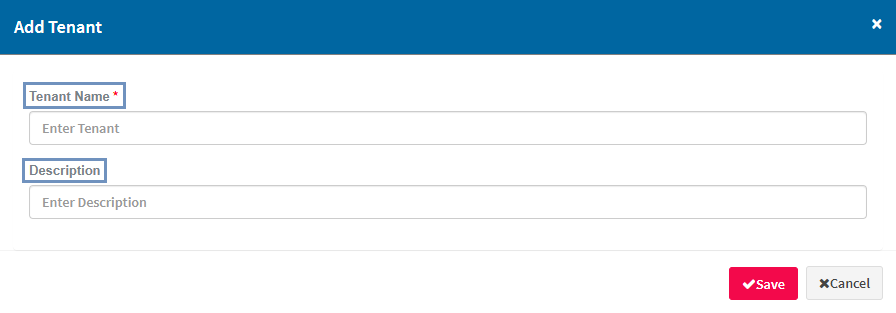
Figure 3
Click on the Save option to create a Tenant.
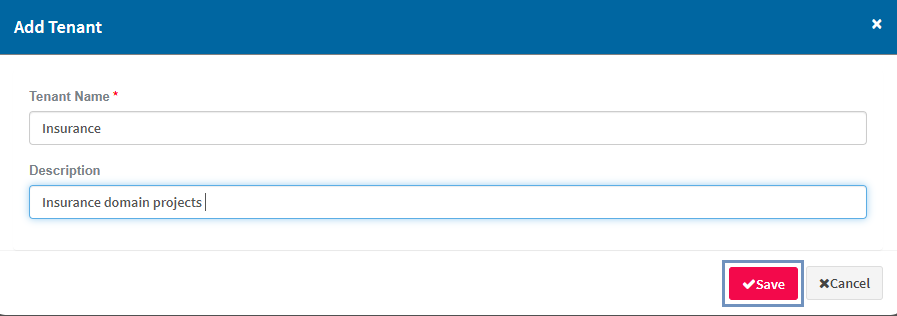
Figure 4
Thus, the Tenant has been created and the Status is Active. One can Edit, Delete and Export the selected rows as well. One can choose to Add as many tenants as required.
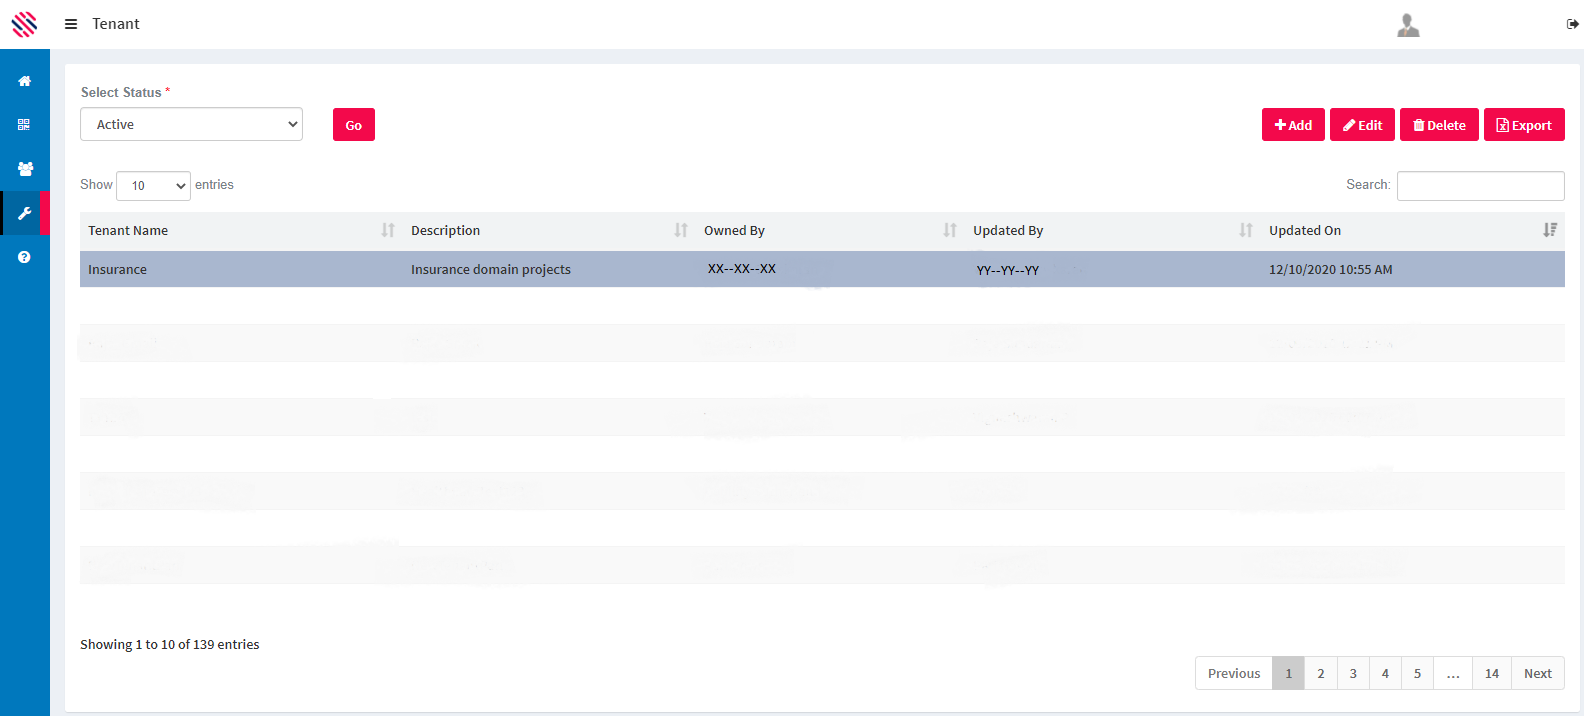
Figure 5
Changing the Status From Active To Inactive And Vice Versa
Select the Row and subsequently the tenant. Click on the Edit button.

Figure 6
If the Tenant is not required, for example, if the purpose for what the tenant has been created is completed, it will be required to make such a tenant inactive. In this scenario, the user can edit and change the status to Inactive. This option is available in the Status field. Update the changes.
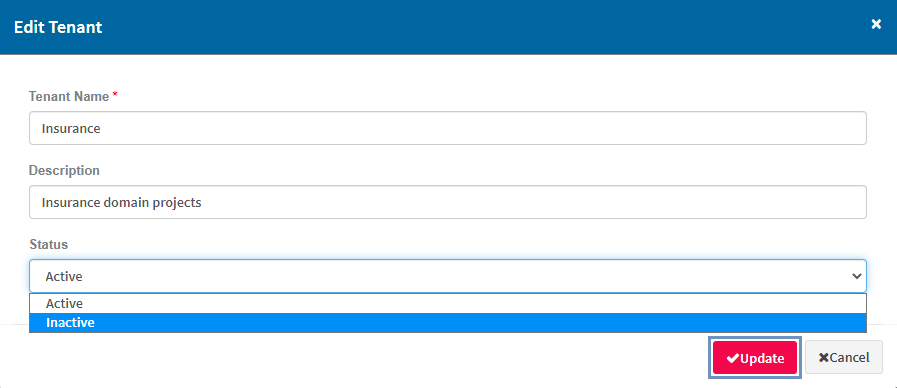
Figure 7
The Tenant that has been inactivated will be available under the Inactive status.
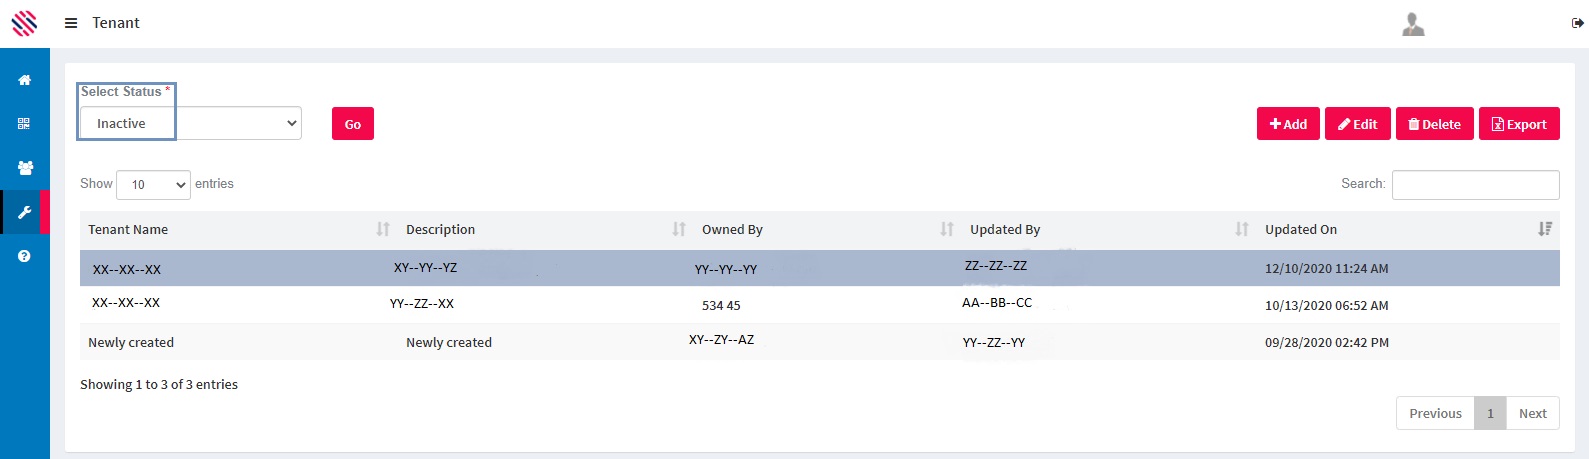
Figure 8