A prepared SQL code is saved using the job scheduler sub-menu, so the code can be reused over and over again.
To access the module use the left-hand menu bar.
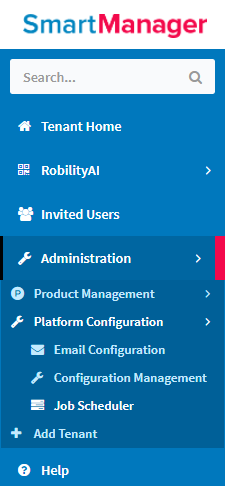
Figure 1
Administration-->Platform Configuration-->Job Scheduler
Click on the Add button.
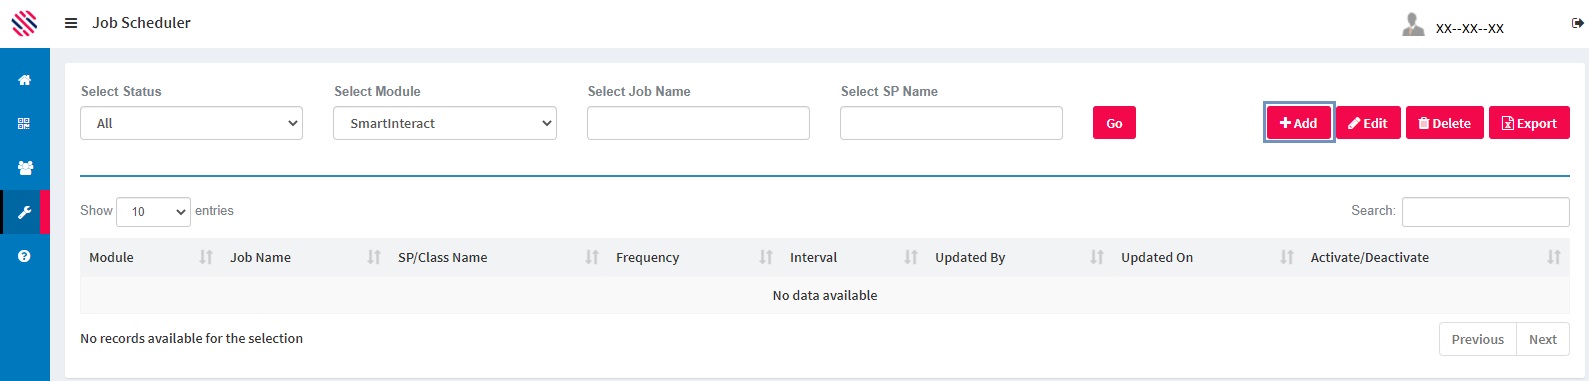
Figure 2
Select the Module. Give a Job Name. Select the Job Type and Environment. Provide a SP Name. Select the Frequency and Save. After which, one can just call to execute it.
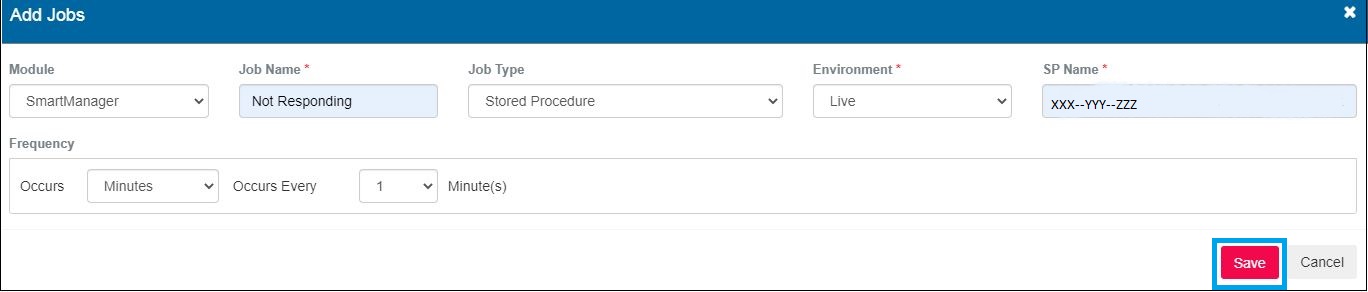
Figure 3
It will reflect in the Job Scheduler grid.
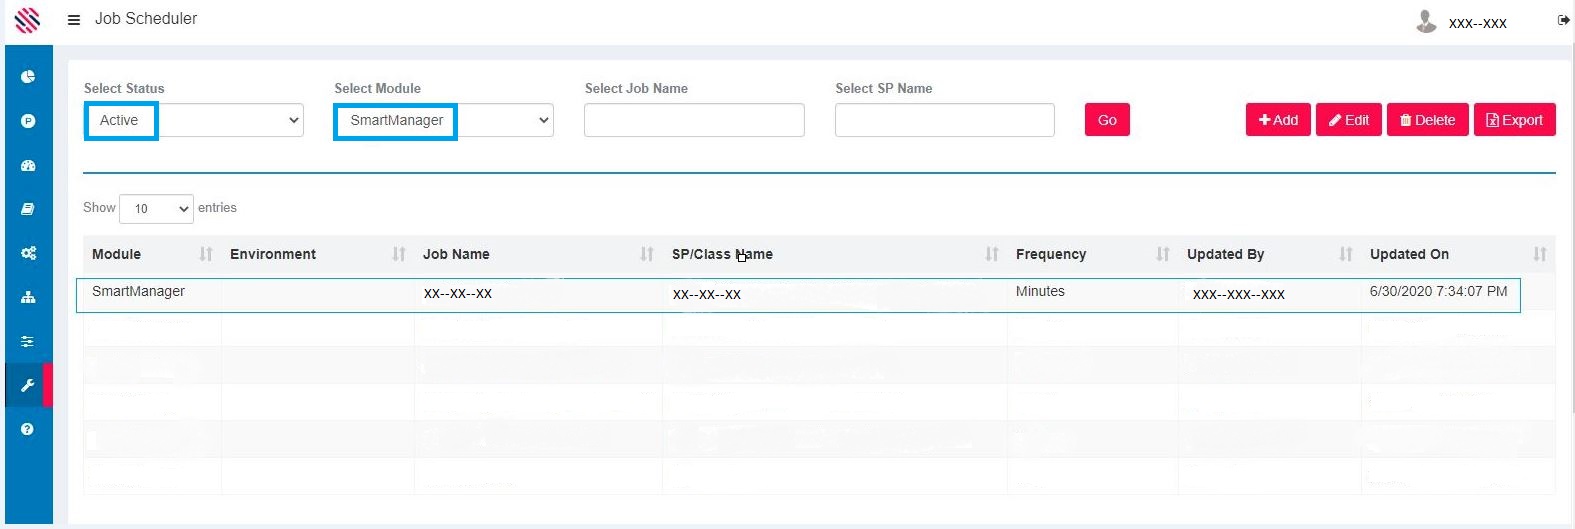
Figure 4
The same steps are followed for the other Module in the drop-down, namely SmartInteract.
The same steps are to be followed if the Job Type is Scheduler Class. Hence, one is required to provide the class name from the drop-down. In this type, developers will write a method in C sharp and it will be configured in the Job Scheduler. They will proceed to use the configured Scheduler class according to requirements.
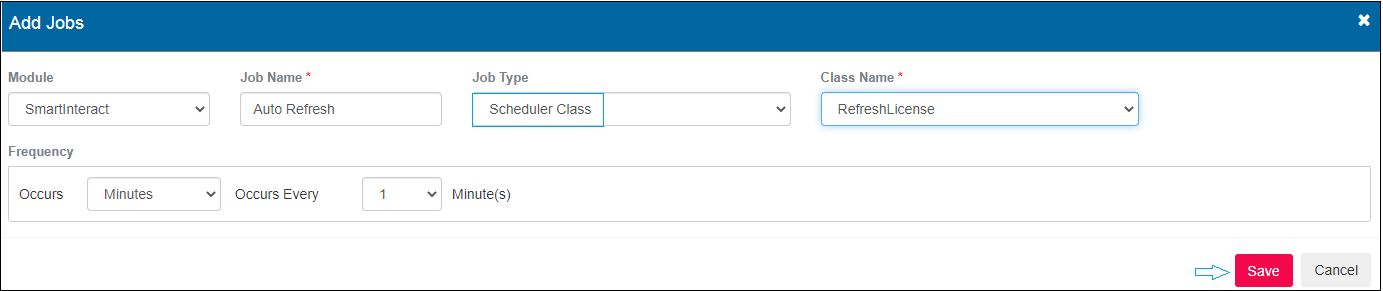
Figure 5
Based on SP name and project requirements, developer will call and use the codes. Edit and Delete options can be used for editing and deletion. Export option is also available.
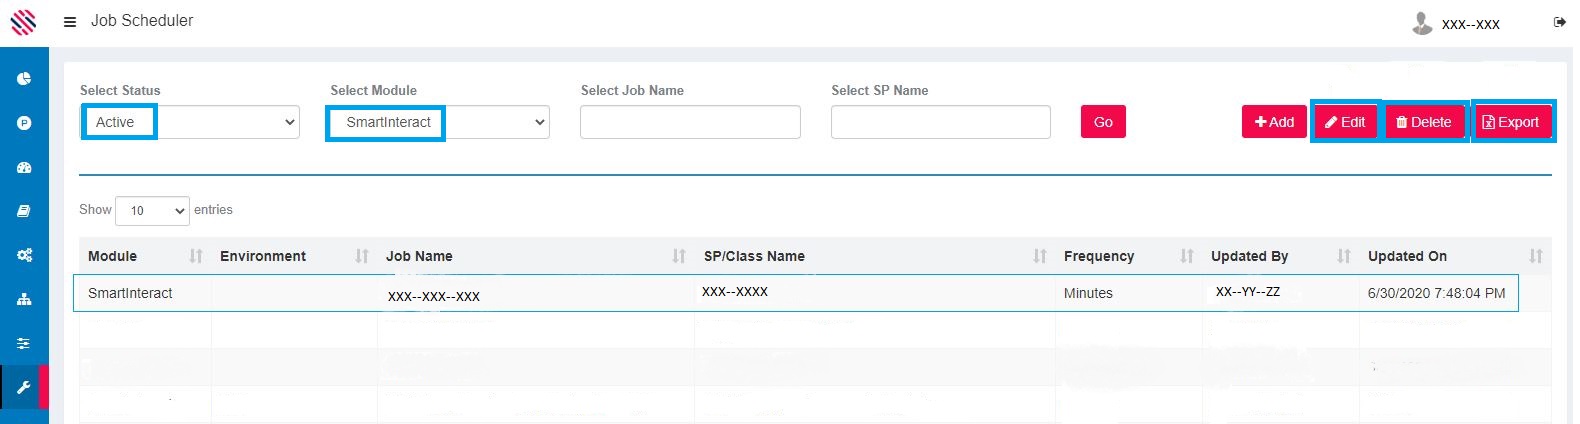
Figure 6