This section explains how to capture project requirements, which is the first step in the Requirement Management process.
This process comprises four major sub-processes such as flawless Project Configuration, meticulous declaration of the Prerequisites, infallible Capturing of the process that is to be automated and maintaining a perfect audit trail in the form of Version History.
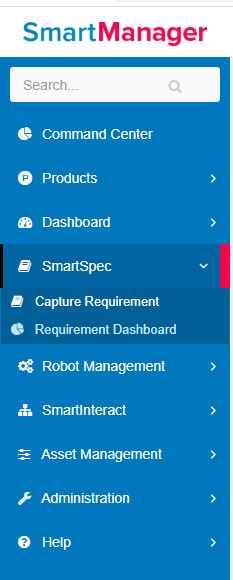
Figure 1
SmartSpec --> Capture Requirement
Click on the Add button.
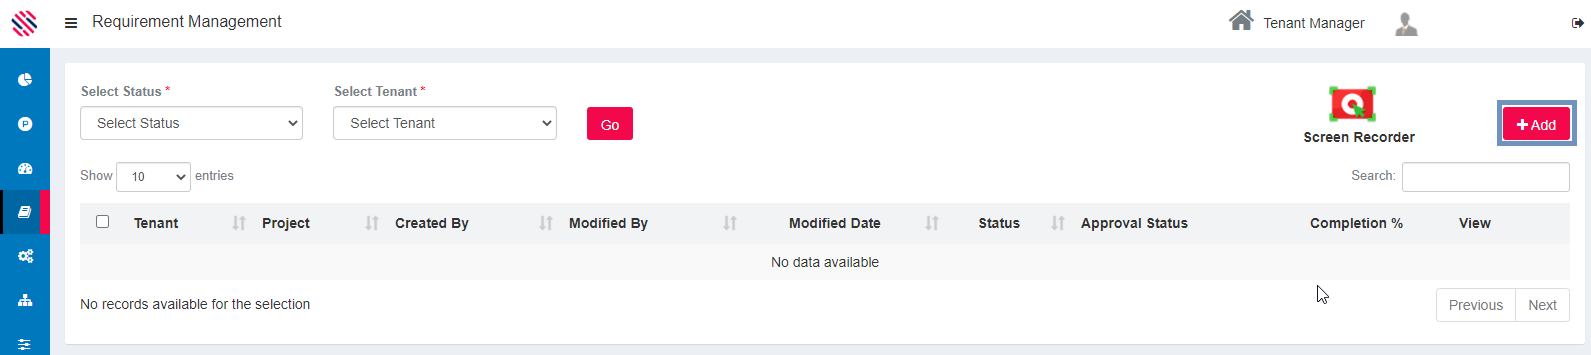
Figure 2
The following screen will be displayed.

Figure 3
Setup Project is the first step in creating a requirement where one can configure a project by selecting the following details in the appropriate fields in the Project Details screen.
- Name of the Segment
- Name of the Tenant
- Name of the Project-if it does not exist, one can add a new project here
- Name of the Country
- Name of the State
- Name of the City
- Project Description- to be typed
- Estimated Project Completion Date.
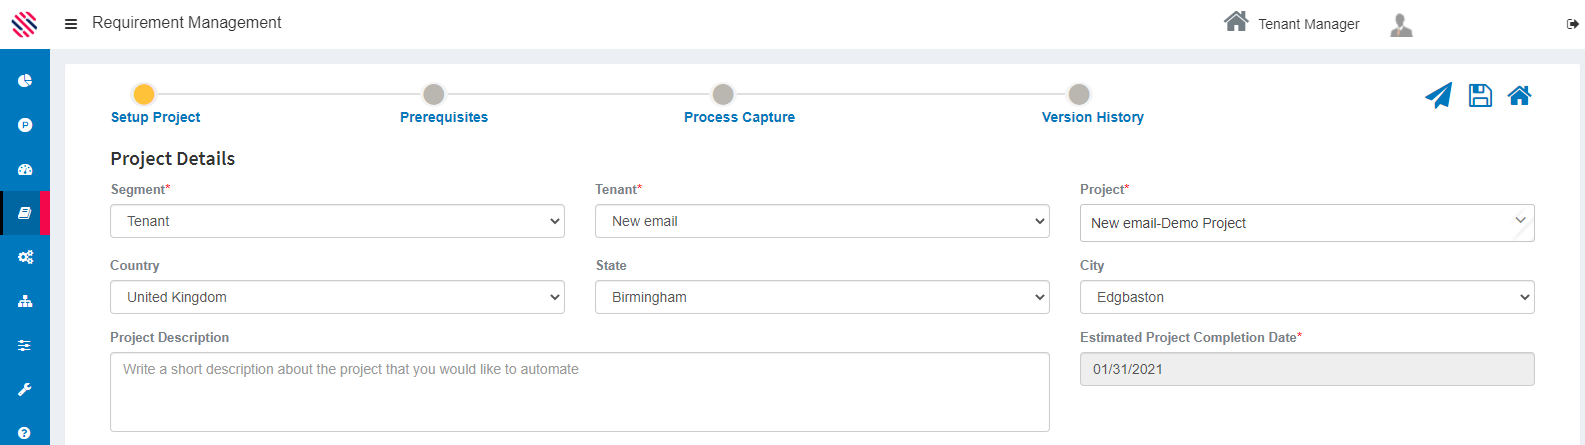
Figure 4
Proceed to delegate Roles and Responsibility by selecting the Name of the user, Email address, his or her role, and check the appropriate boxes that would define their respective duties such as Responsible, Accountable, Consulted and Informed. Click on the + icon to add the users after creating each role as displayed in the following image.

Figure 5
The user will be successfully added, with the given role and responsibilities as displayed in the following image.

Figure 6
Click on the Next Button, after filling all required details.
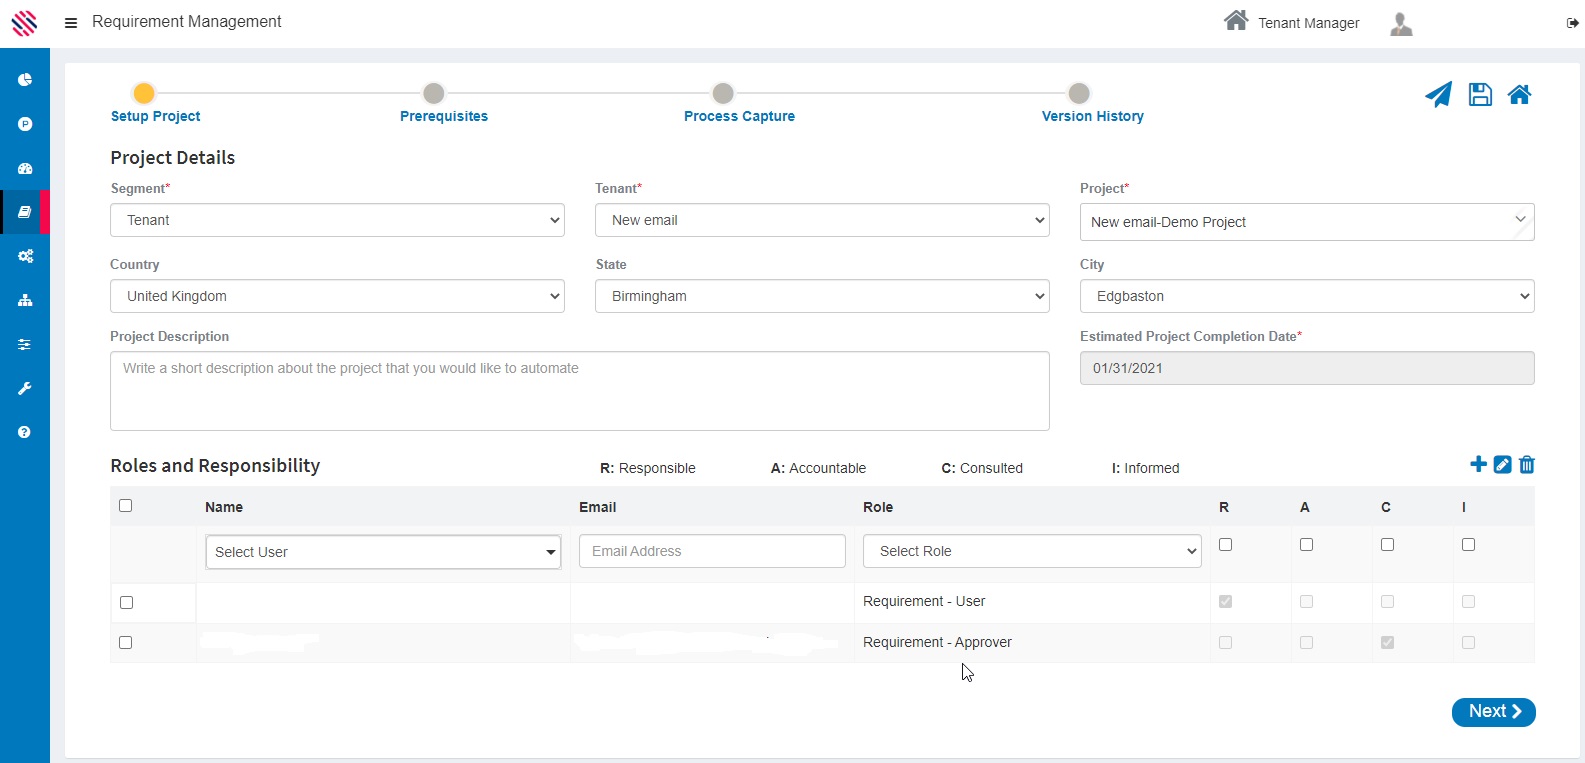
Figure 7
One will get a reiterating message, stating that the setup project process has been successfully completed. Close it.

Figure 8
Additional Details
Next
If one chooses to continue and finally submit for approval, keep clicking the NEXT option that is found at the bottom right of the screen, until you have filled all sections. This action will save the sections automatically.
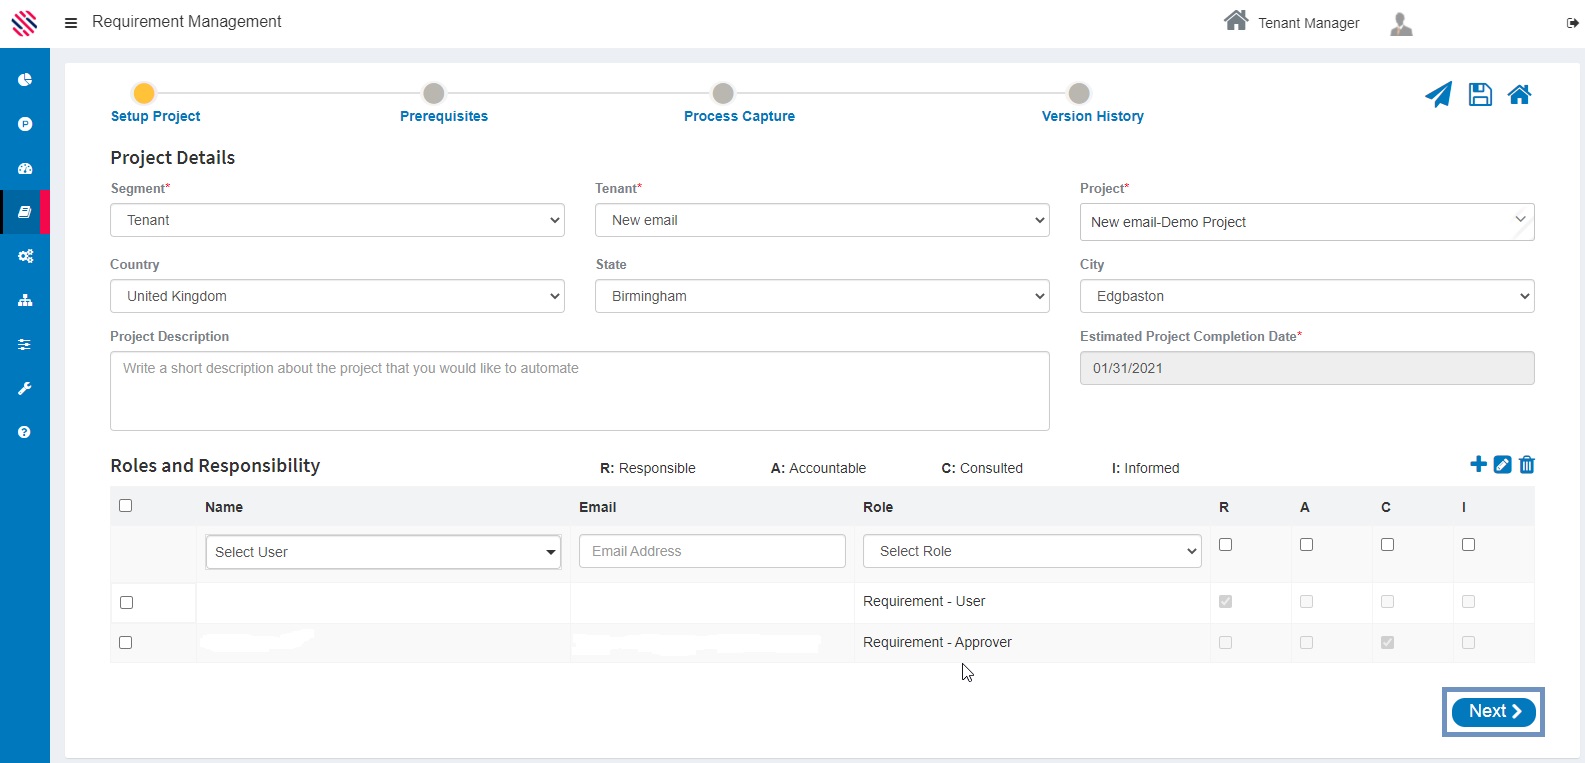
Figure 9
Please be informed about the functionalities of the following icons.
![]()
Figure 10

Save icon - Save as Draft
The Save as draft option is used to save the work that is completed halfway and not fully. This will be saved as a draft and reflect on the Home Page.

Paper-Plane icon - Submit for Approval

Home icon- Go back to the project specification listing page
![]()
Figure 11

The blue, plus icon is used to add the requirements as rows. Once the fields are filled, it is required to click on the blue plus icon to add as rows.

The Eraser icon is used for editing.

Recycle Bin icon is used for deletion.
Note: More than one user can be delegated the same role and responsibility by using the + Symbol and checking the duties’ check boxes. Thus, there can be more than one requirement user and one Requirement Approver for a single project. In the event of a requirement having more than one approver, it needs to be approved by all delegated approvers. However, requirements can be captured only for one project, at a time.
Point to be noted is that multiple roles cannot be assigned to a single user. For instance, a requirement user cannot simultaneously be an approver and a developer.
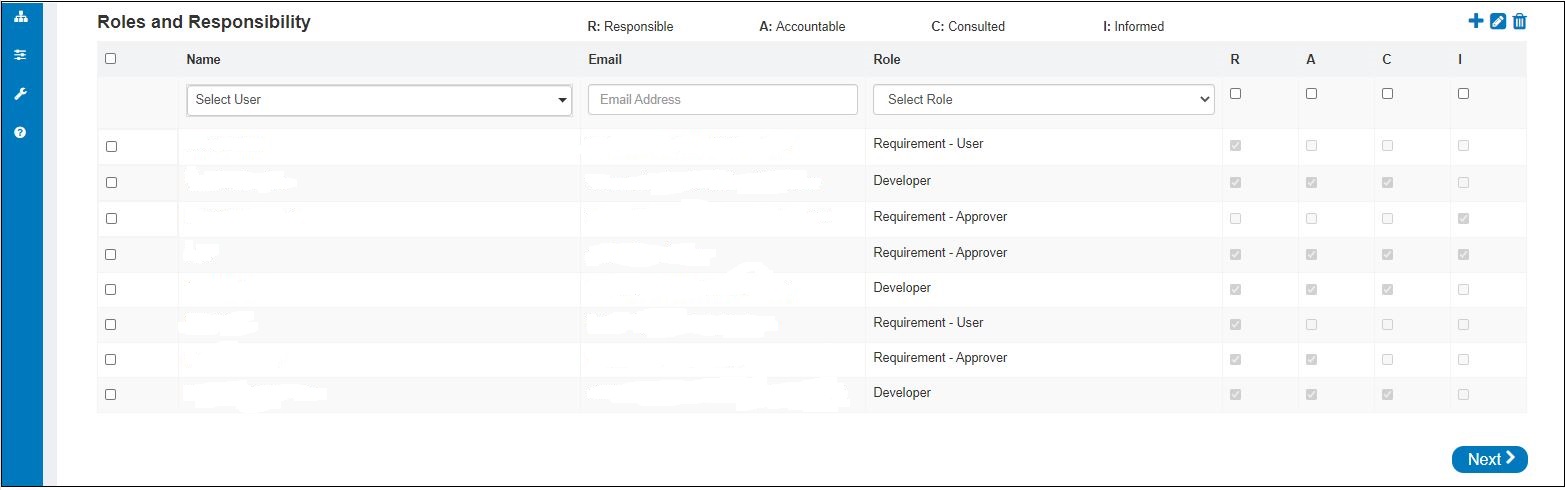
Figure 12