Program-wise robot monitoring can be executed using this sub-menu.
Figure 1
Robot Management--> Robot Monitoring--> Robot Monitoring
Robot monitoring is possible for Live and UAT Environments. One can take action on all statuses such as Idle, Running Check, and Not Responding robots in the Robot Monitoring menu.
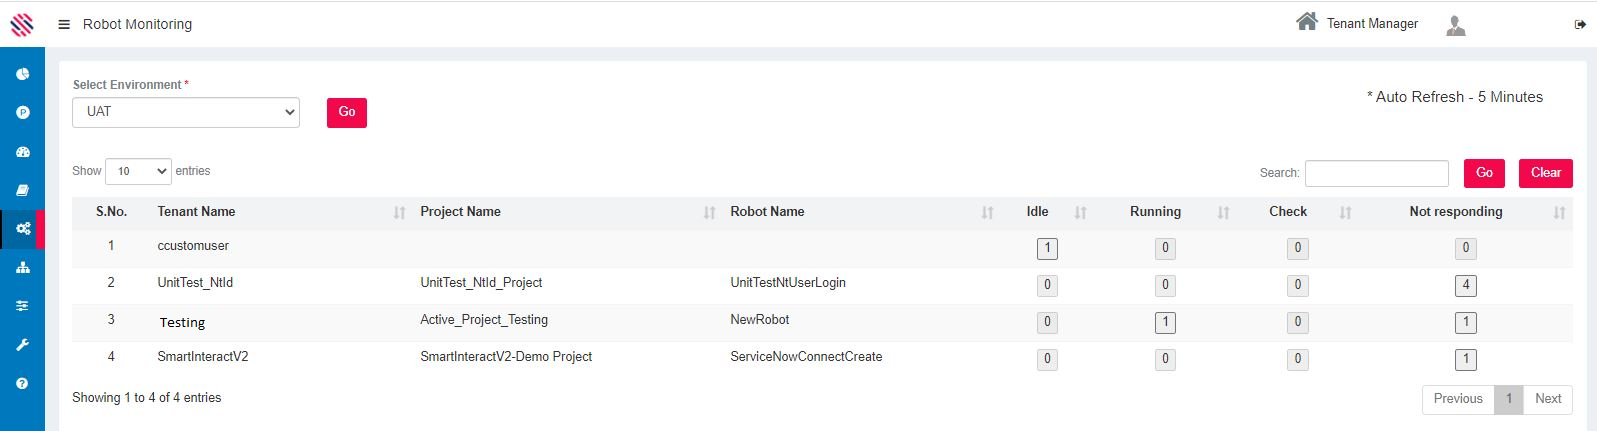
Figure 2
One can find the Tenant, Project and the Robot Name along with the number of robots in the various status as Idle, Running, to be Checked and Not Responding.
Changing the Idle status to Running
Click on the number box to view pertaining details. Let us consider the following example where an idle robot is selected to change its status.
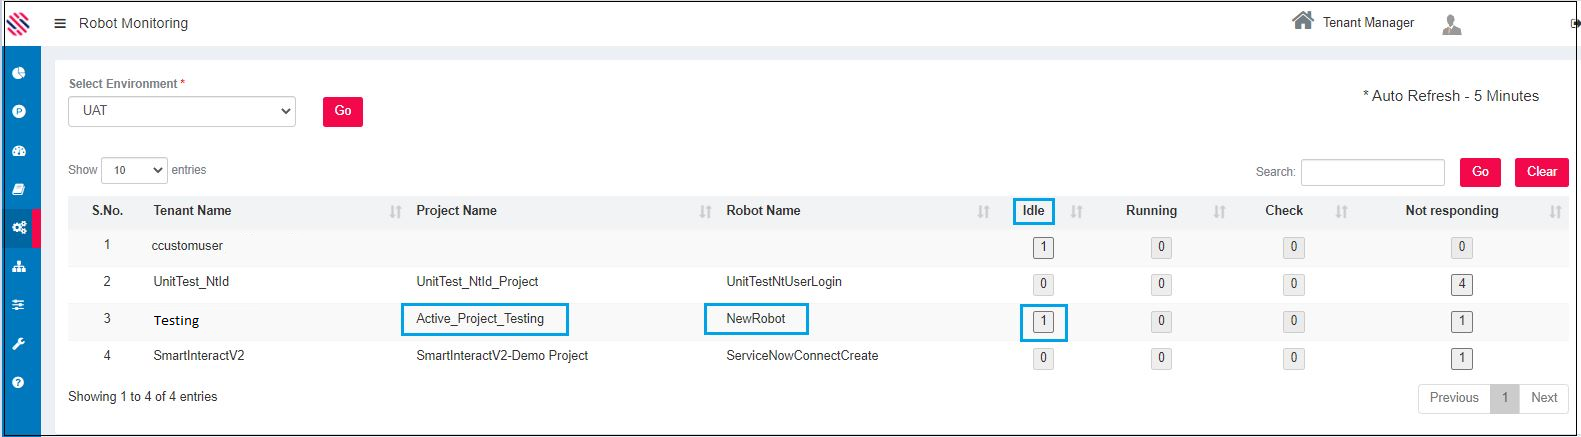
Figure 3
Details such as Tenant name, Project Name, Robot Name, Computer on which it is running will be displayed. Since we selected an idle robot, “Idle Robot Details "are displayed.
(1)Proceed to select the idle robot by checking the box adjacent to it to enable the Run button.
(2) Select the Project and
(3) Select the Robot from the respective dropdowns.
(4) Click on the Run button. The message will be displayed.
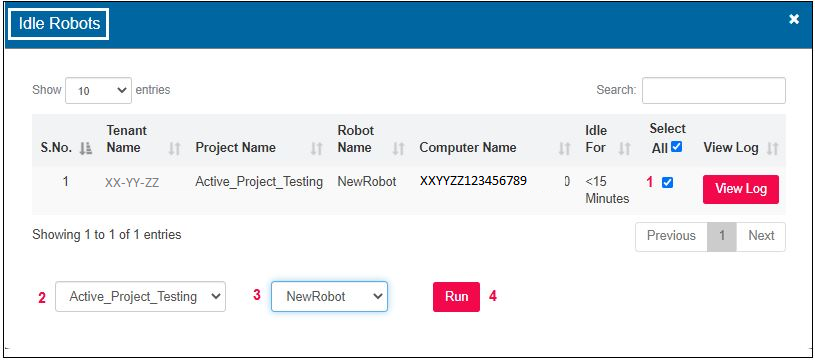
Figure 4
The message will be displayed.
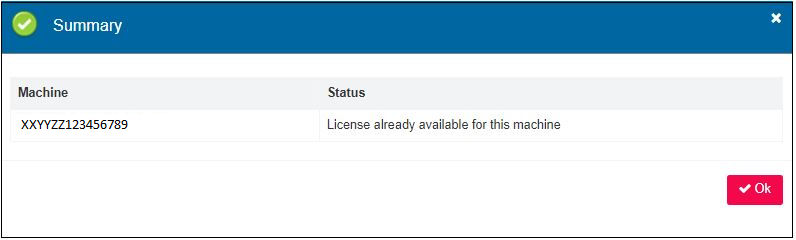
Figure 5
Taking Action on Running robots
This section explains how to take action on Running robots.
Stopping The Robots That Are Running
Robot Management--> Robot Monitoring---> Select environment--> Go
Click on any of the Running box #.
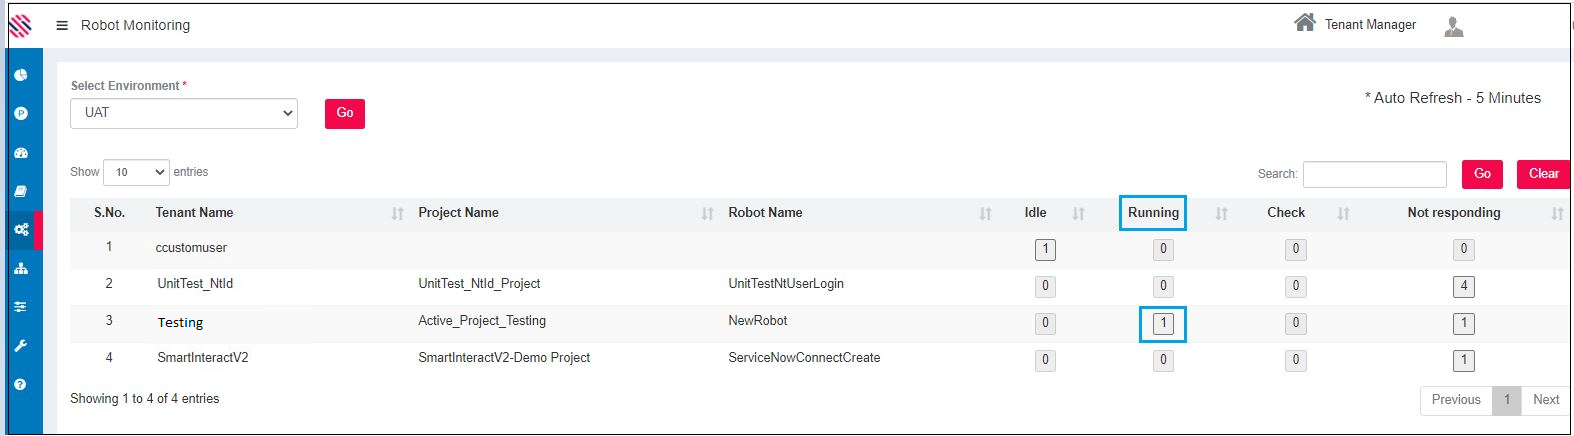
Figure 6
If one selects Running robots, the pertaining information will be displayed accordingly. Select the robot for which you are required to stop the run.
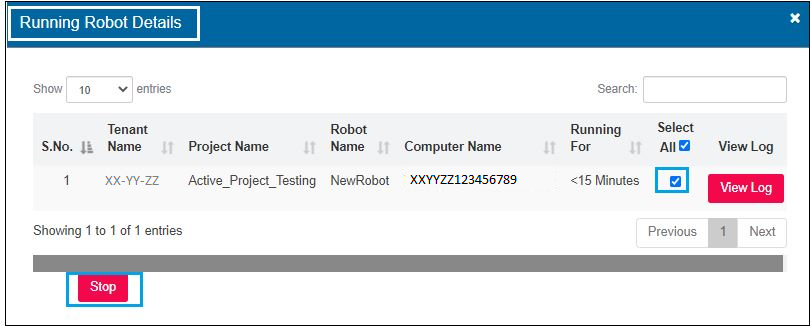
Figure 7
One will receive a reiterating message.
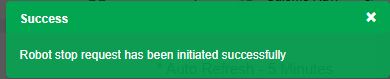
Figure 8
Action on To Check Robots
Similarly, action can be taken on the to check robots. For instance, a workflow is already running, but delay is set for some time. This will be considered as Already Running. Robots in to check can be made to Run, moved to Idle or can be moved to Already Running.
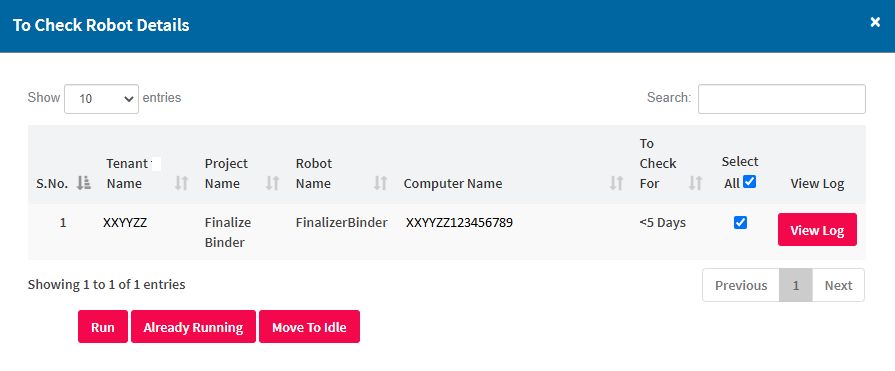
Figure 9
By clicking on the Run button, the running of the robot is initiated successfully.
If one selects Already Running, it will reflect accordingly.
If one selects Move to Idle, it will change to the idle status.
View option in View Log
There are various log levels that are set for Smartworkflow or SmartDesigner, SmartRunner and SmartMonitor.
SmartMonitor log levels are set for monitoring the running in various runner instances such as single user run, or multiple user run in the same machine. Here, The log details are shown for the past two hours. One can choose the number of Log Hours from the drop-down to view the log level details accordingly.
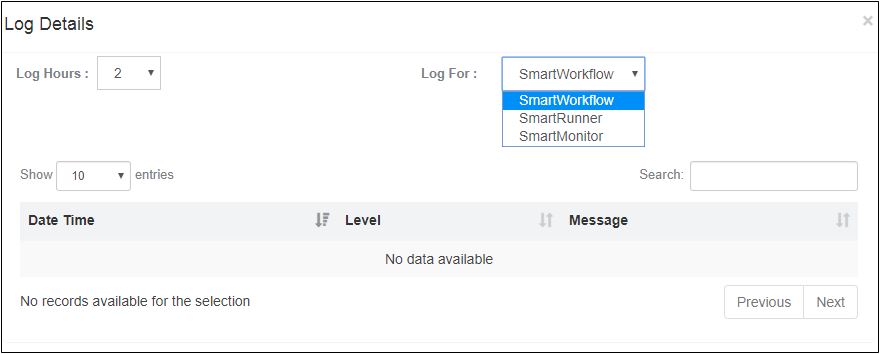
Figure 10
Log Levels That Can Be Set
Info
This log level provides information pertaining to the start and end of the execution of the workflow, errors if any, warnings and fatal errors, will be captured if the user selects the info log level.
Trace
Trace level allows the user to capture every single action or step executed by the robot, along with the step by step information. Info, Debug and the succeeding levels are traced when one chooses the trace level.
Debug
If the requirement is for the initiation and completion details of the activities, barring the system information, choose the Debug level. Information, Warning and the subsequent levels will be captured (if present) when one chooses the Debug level. Except for trace all other log levels will be displayed.
Warning
The Warning level can be set in instances where the exception does not act as a barrier for processing but needs to be repaired. Just as in the aforementioned log levels, the warning will also capture the following levels, such as Error and fatal.
Error
In certain runs, some part of the workflow will be executed, and some others may not, due to errors and in such instances the user could set Error to check where and how the mistake has occurred.
Fatal
The execution of the robot that can be interrupted due to factors such as the prime inputs being invalid is of high importance and therefore will be tracked under the fatal option.
Off
You can turn off the log levels if you do not require them.
Thus, View logs is used to view the log details, such as the log level that has been set and the subsequent messages.
With the Log level set as INFO, the output will also contain Error level information, which is displayed accordingly as shown in the following image.

Figure 11