This section explains how to schedule a robot. Schedule Robot is an invaluable option in the Manager that initiates the running of robots at a particular day and time, for a specified period- all without human effort. Thus, without human intervention scheduling is possible for Live and UAT environments, for specific tenants and projects. Scheduling is also possible for multiple machines for a single robot.
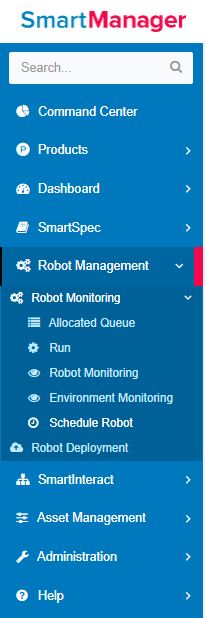
Figure 1
Robot Management-->Robot Monitoring-->Schedule Robot
Click on the Add button.
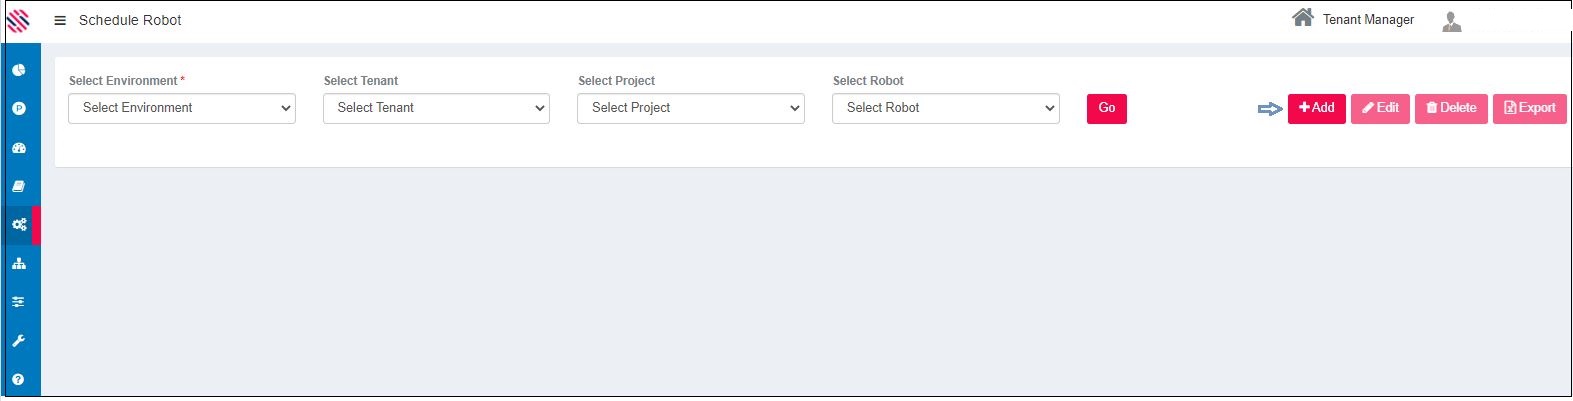
Figure 2
The following steps are performed to Add a schedule for robots.
Give a Schedule Name. Select the Environment, Tenant name and Project name. Click on the Machine Name field to select the computer on which the scheduling is to be done.
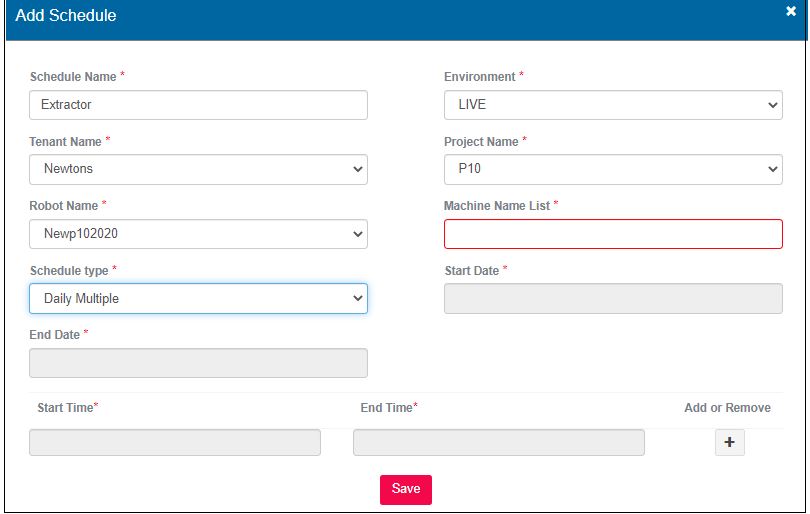
Figure 3
Computer List will be accessed. Select the machine and click on the OK button.
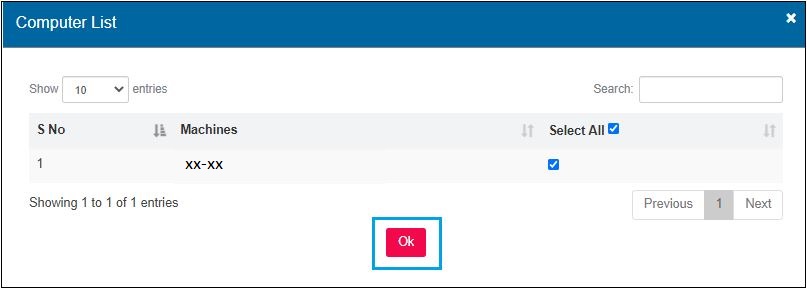
Figure 4
The Machine Name will be auto populated. Schedule Type has four options, such as Daily Multiple, Daily, Weekly and Monthly. One can choose the one that best suits their needs.
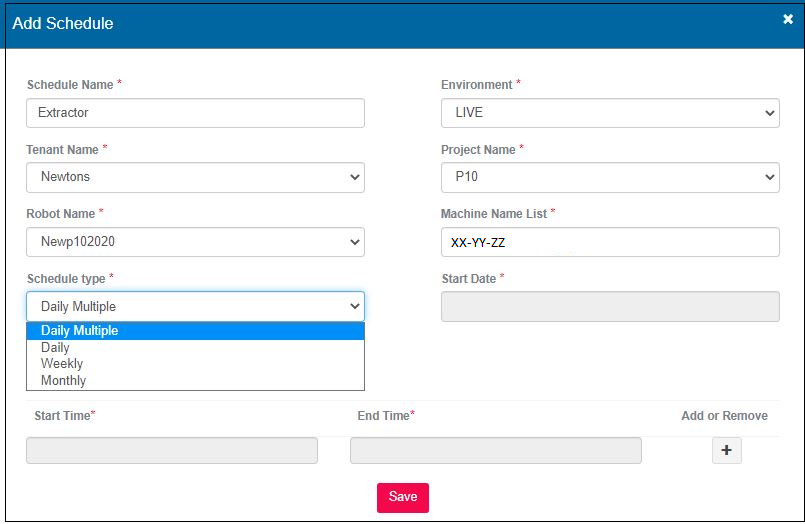
Figure 5
In the following example Daily is chosen in the Schedule Type. After selecting the schedule type, provide the Start and End Date as well as Start and End Time. Save.
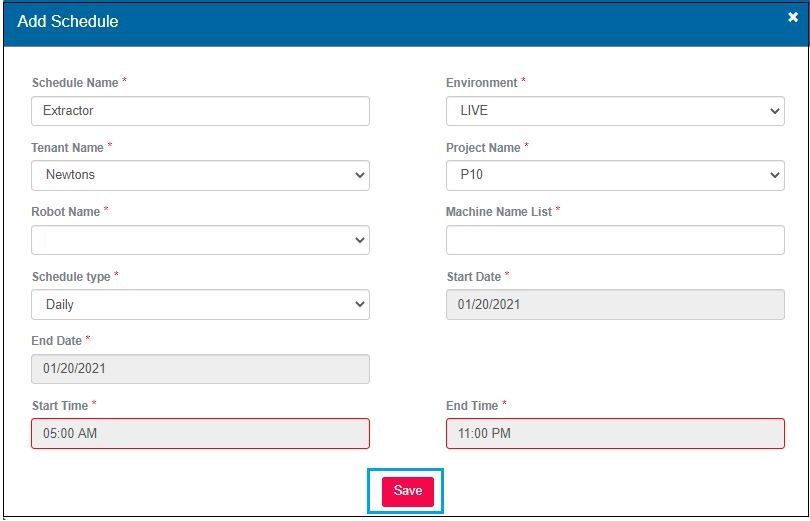
Figure 6
It will be saved successfully.

Figure 7
It will reflect as such in the grid.

Figure 8
Let us look at another example, where a weekly scheduling is done. Here, one has chosen all days of the week to run robots in the given machine from the start to end date at specified time. Upon saving, the robots will run on the specified days, at the given time.
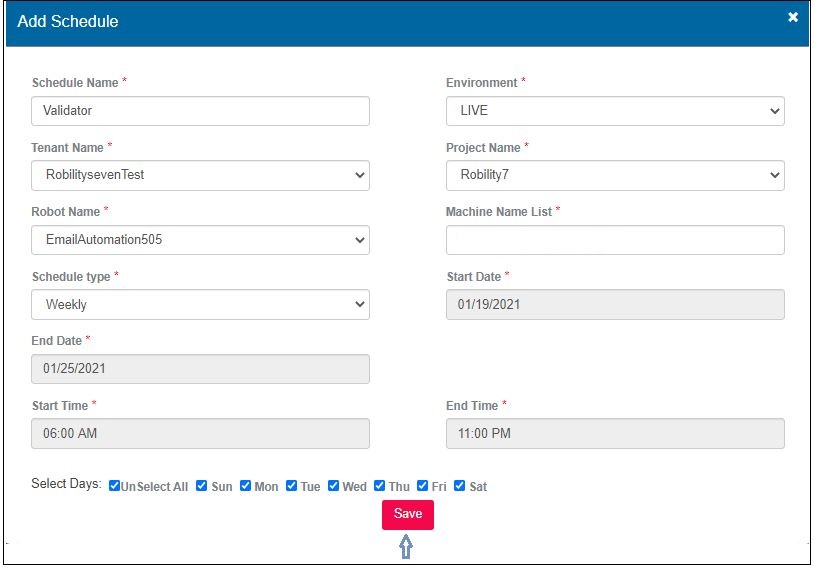
Figure 9
One can check the schedule details for specific tenants and projects in the grid.
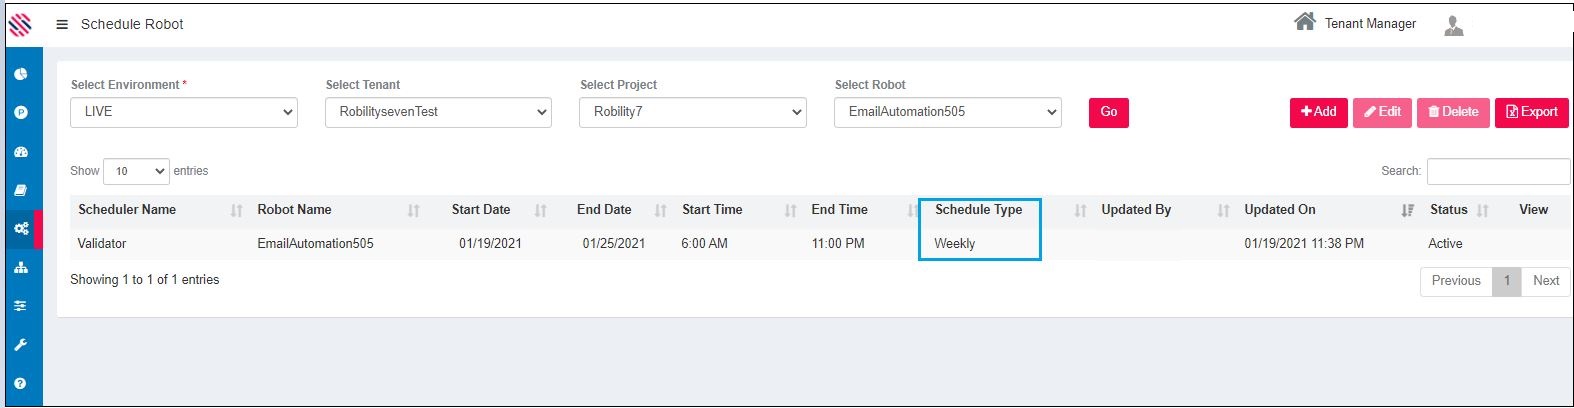
Figure 10
In the event of choosing Daily multiple, the Add or Remove button will be enabled. One can give various Start and End times.
Figure 11
When one chooses Daily Multiple as type, several timelines will be chosen and hence, Start and End Time will not be displayed for the same.
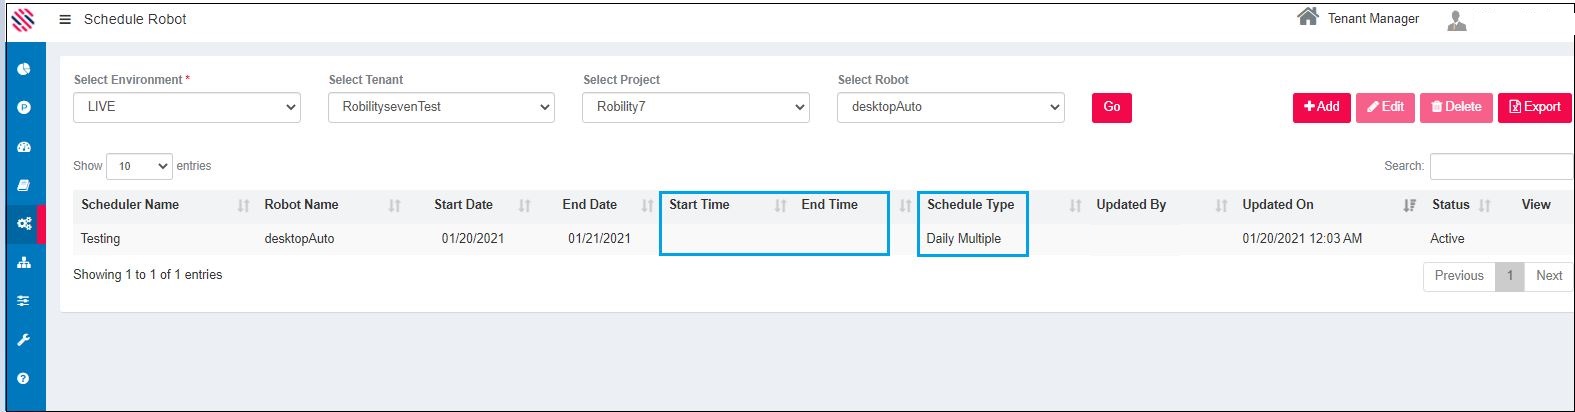
Figure 12
Additionally, scheduling can be done for an entire month on chosen days or on all days.
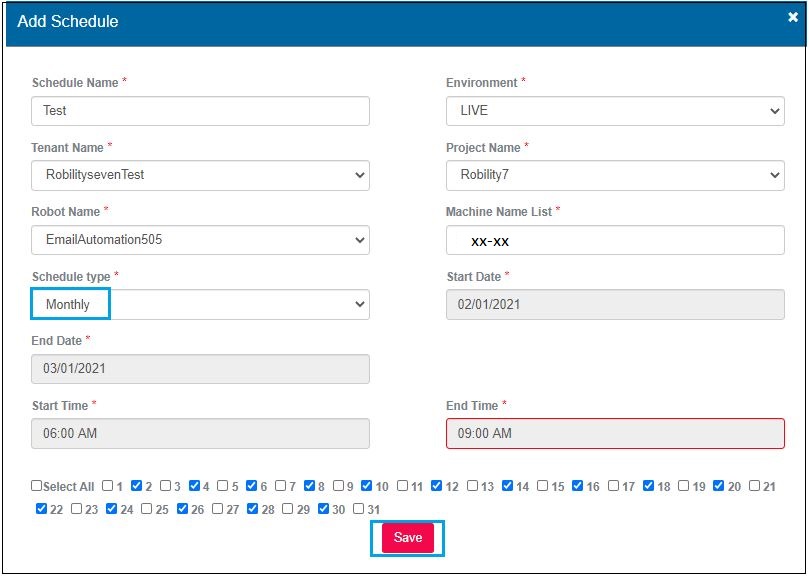
Figure 13
Thus, scheduling is done for an entire month.
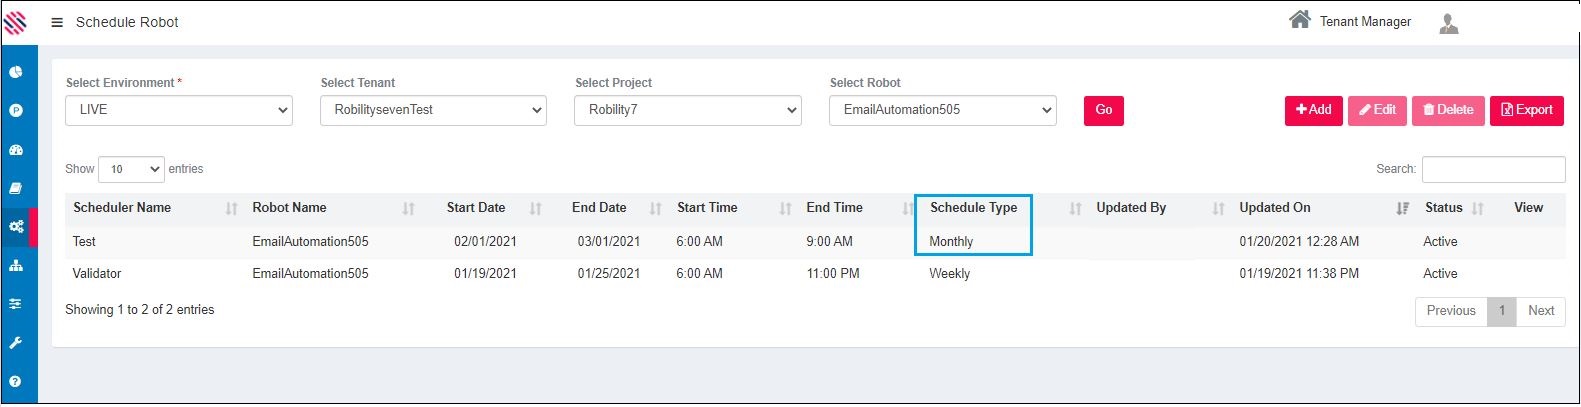
Figure 14
In this manner schedules can be created for various time slots. It will be saved and reflect in the scheduler grid.
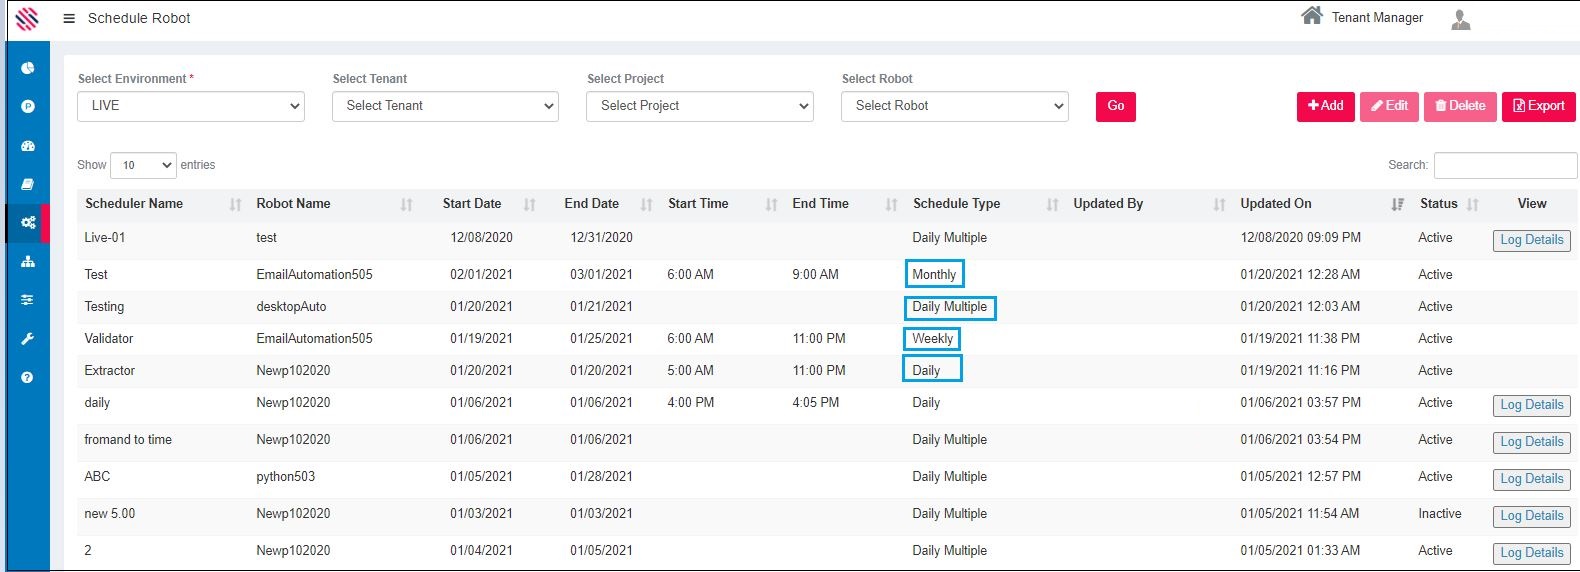
Figure 15
Edit, Delete and Export options can be availed as well.
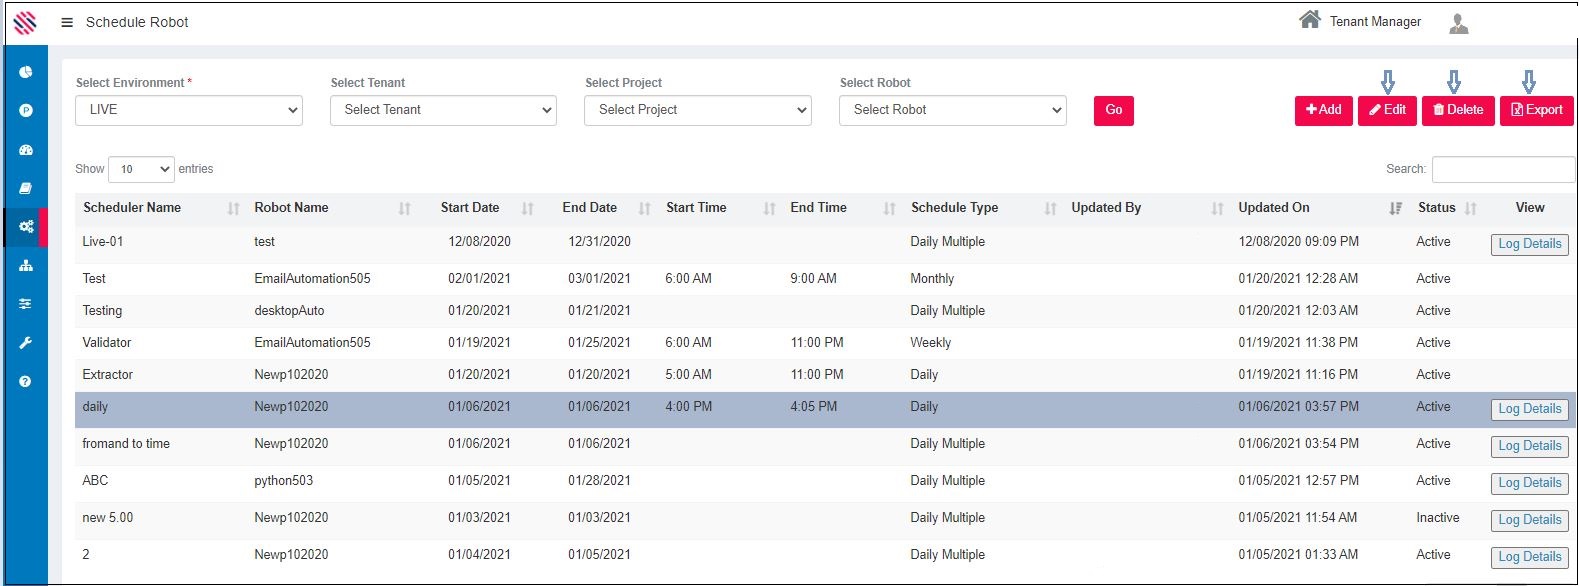
Figure 16
Schedule for Multiple Machines
Click on the field under the Machine Name Header.

Figure 17
It will display the Computer List. Select the Machines on which robots are to be scheduled to run. Click on the Ok button.
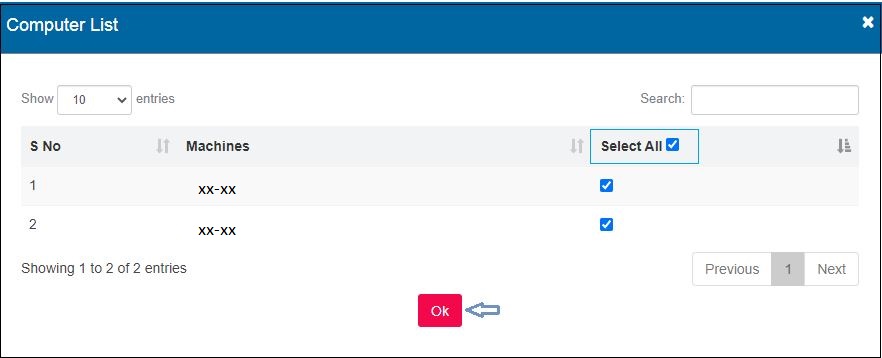
Figure 18
Both the machines will be populated in the machine field. Continue to fill all details in the fields. Save.
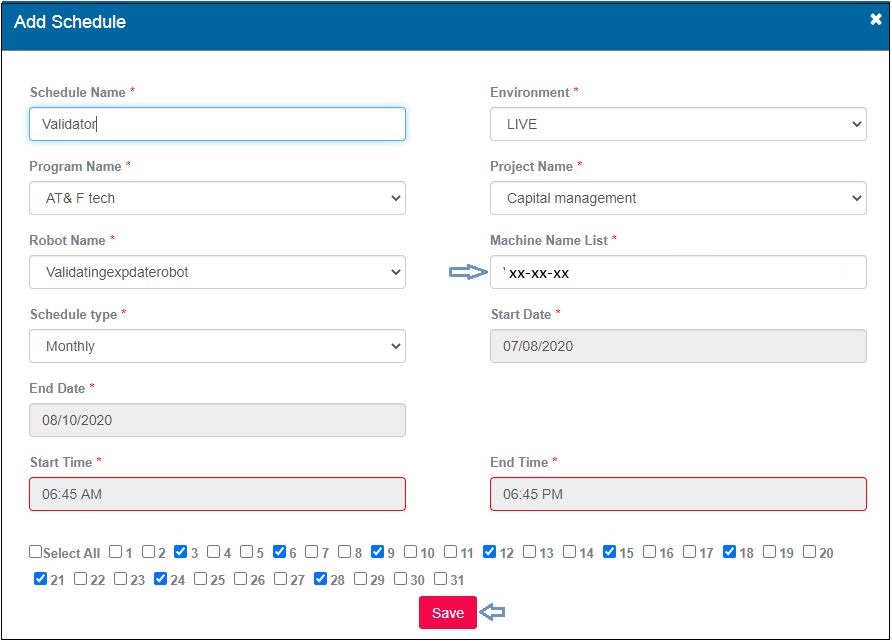
Figure 19
Once scheduling has commenced it is possible to view Log Details for the respective Scheduler Name.
Viewing Schedules' Log Details
Select the scheduler name and Click on the Log Details.
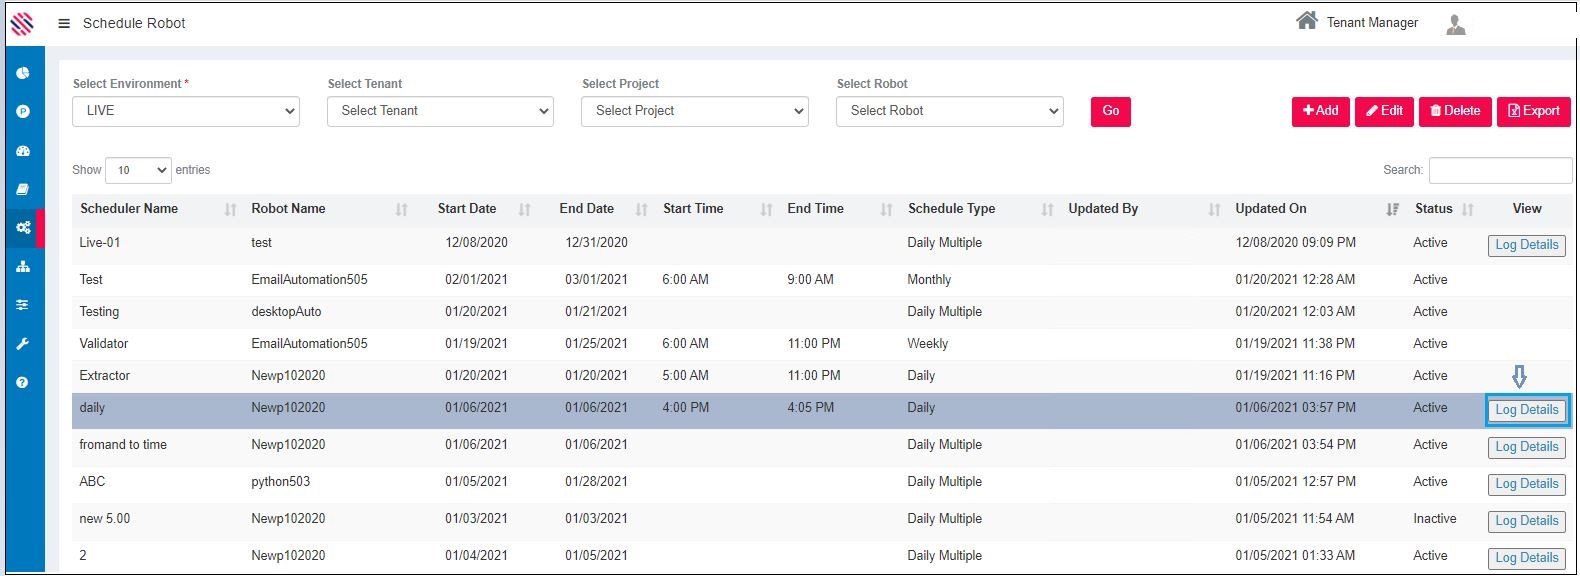
Figure 20
The completed schedule details for the selected scheduler name will be displayed. For a further drill down of Machine Details, click on the same.
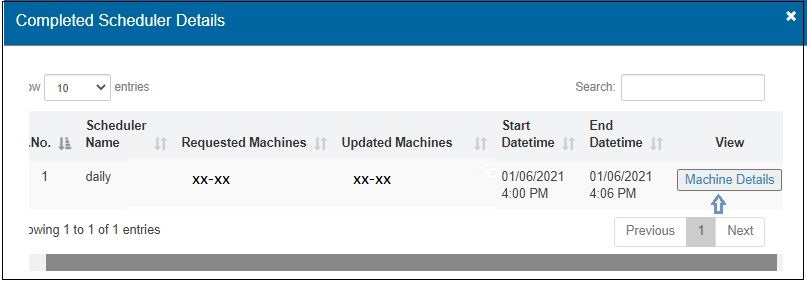
Figure 21
One gets to view the Allocated Machine Details.
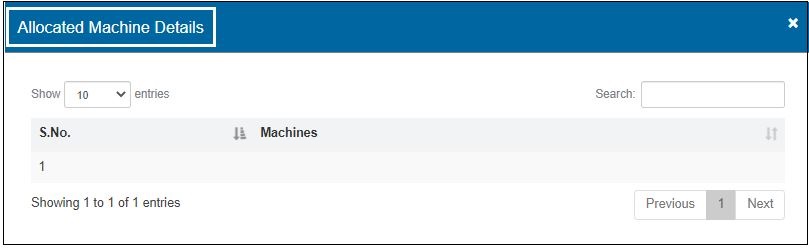
Figure 22