GenerateTable
When to use the GenerateTable activity
This activity is used to seamlessly define the structure of a table, customize it as per requirements and sort and filter the data in the table very swiftly.
Figure 1

In the following sections we will see how to Generate a table, View it using a Table viewer activity , how to filter and sort tables to view the results using the same table viewer. It also covers activities such as easily removing duplicate rows, merging tables and converting a table to a html file.
Drag and drop a Generate Table activity from the Data Table Automation package. Double - click on it to bring up the generate table field. Refer Figure 3. Click on it to enable the generate table wizard. Refer Figure 4.
Figure 2
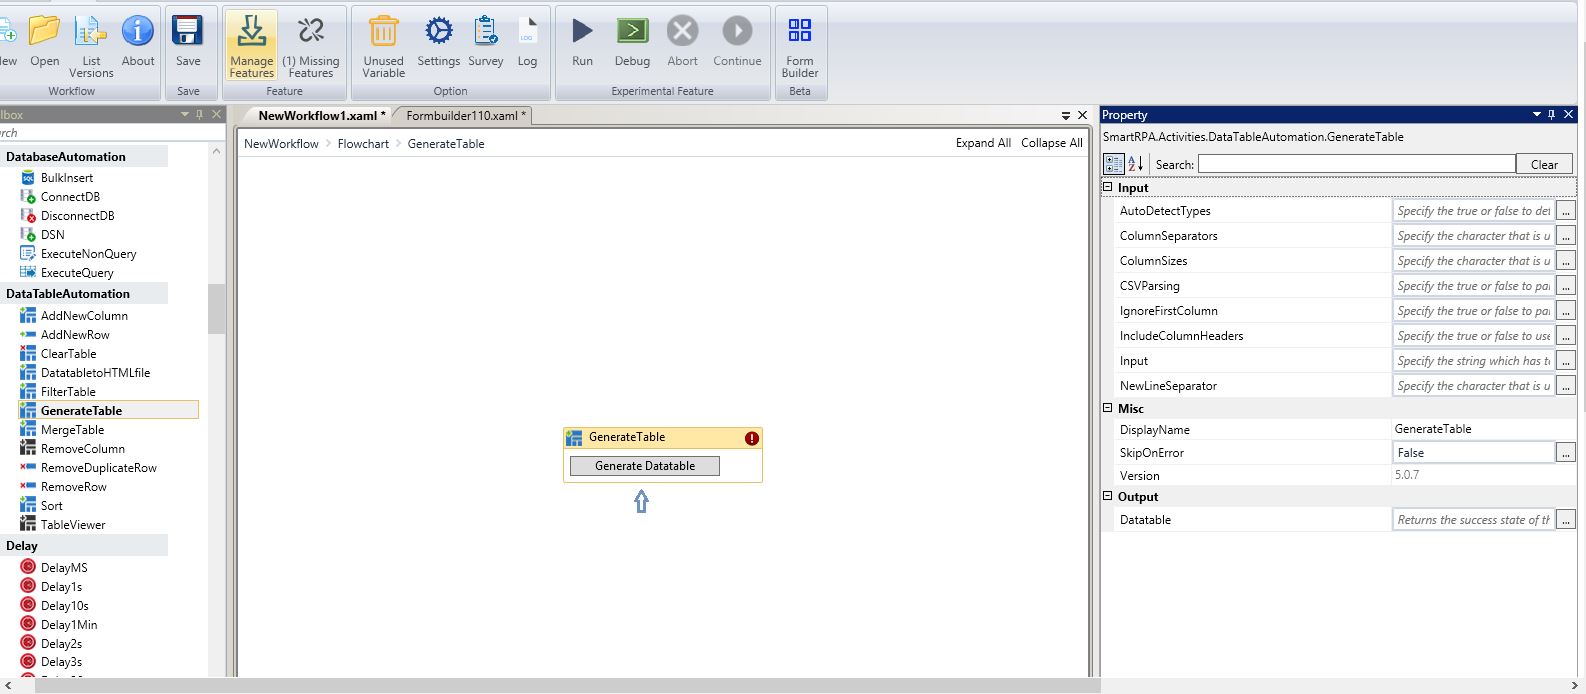
Figure 3
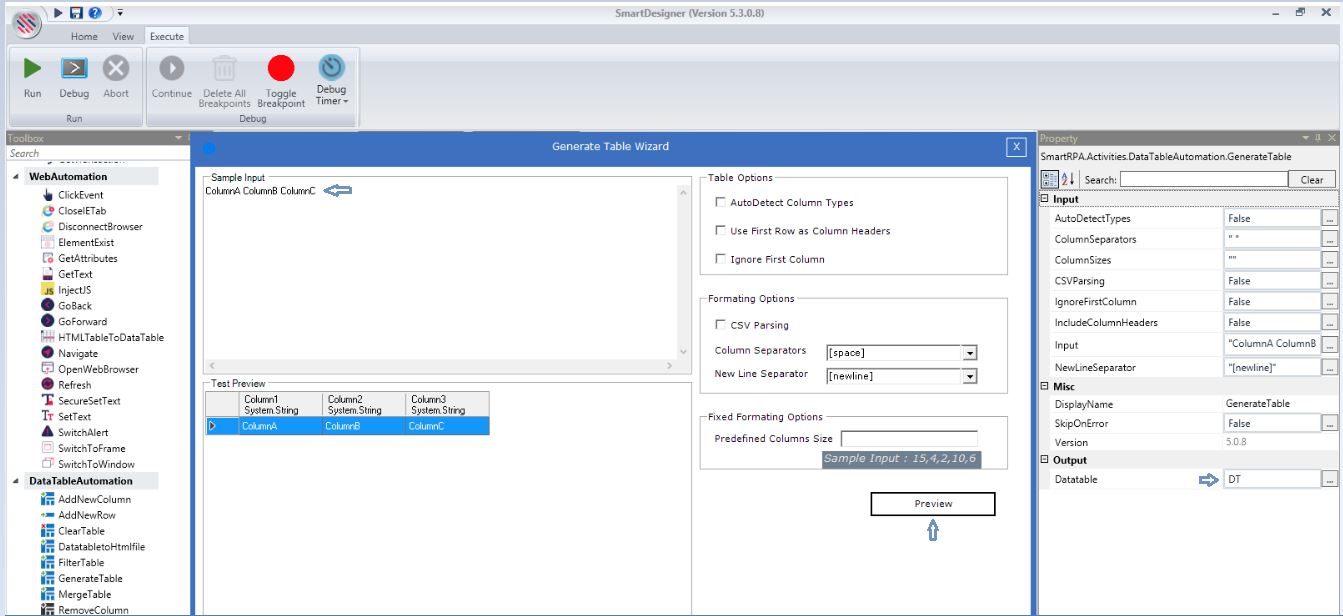
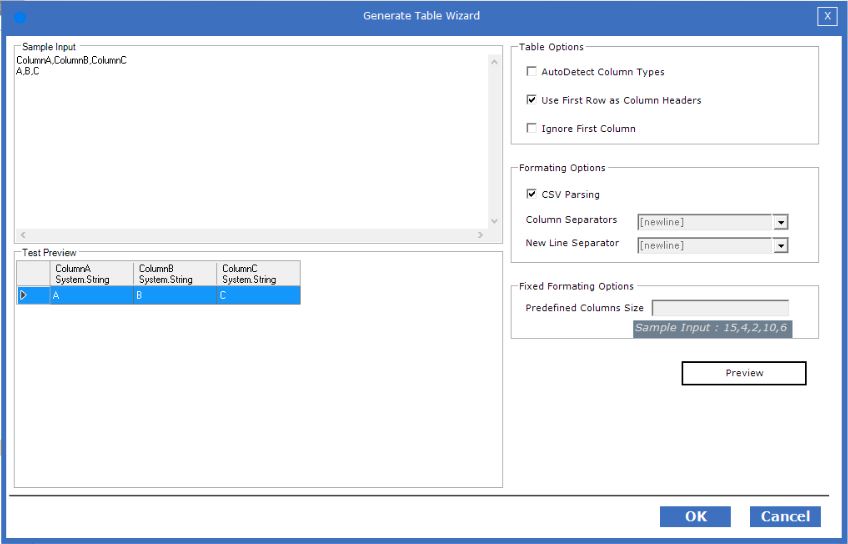
Provide the sample input. Use the Table options and Format options as per requirements.
Preview before clicking the OK button.
Figure 4

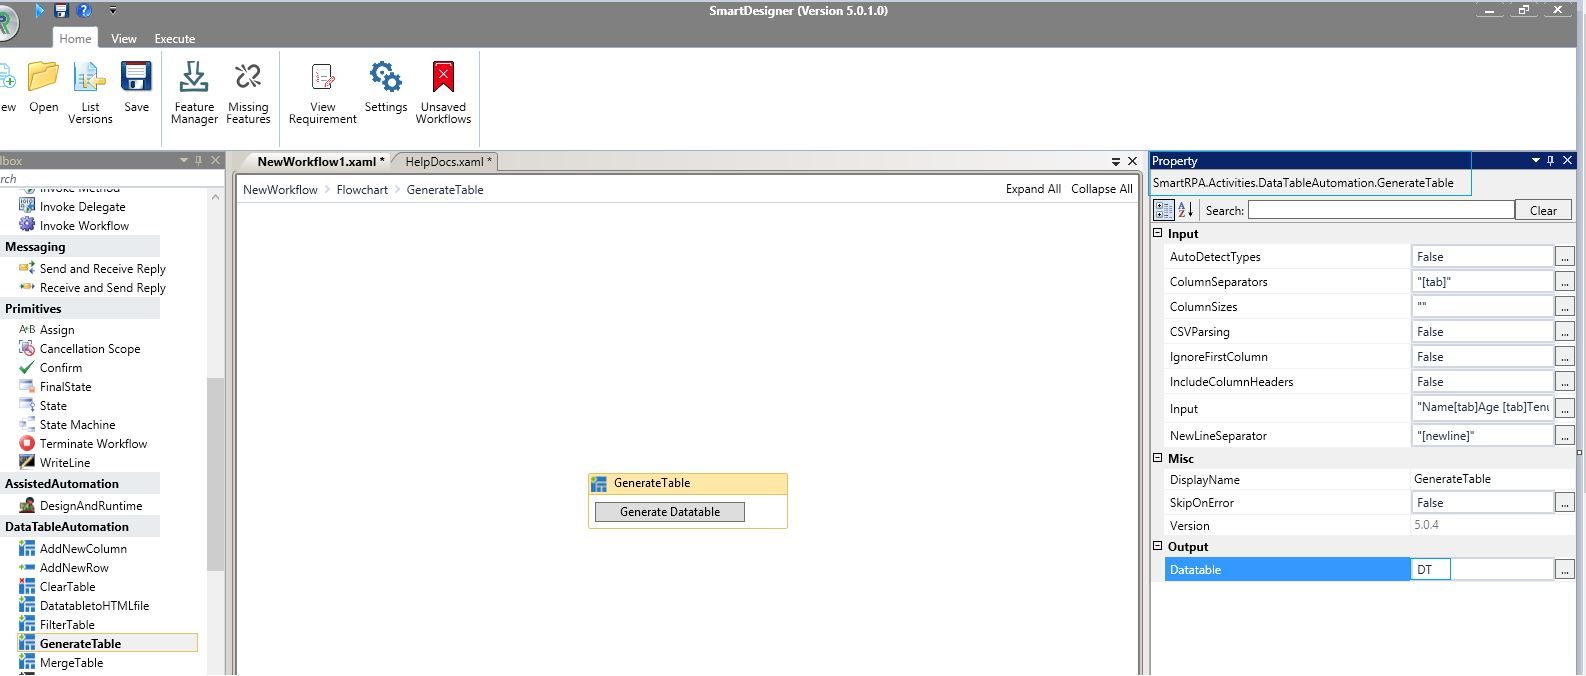
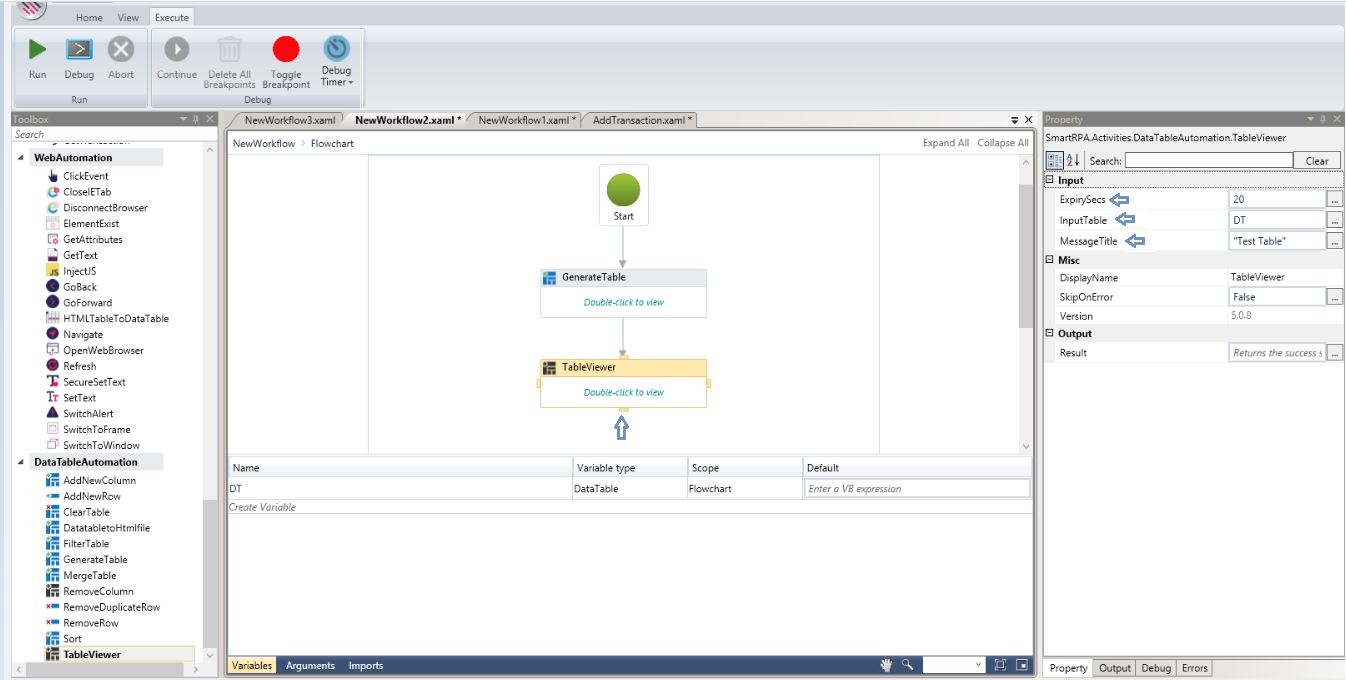
Specify skip on error and Create a variable to be passed in the table viewer to view the output as a table. In the following example it is DT and easily created by clicking (Ctrl +q). All other property values will be auto populated.
Figure 5
Sample Workflow
Drag and drop a Generate table activity and click on it to enable the wizard. Provide the sample input. Use the Table options and Format options as per requirements. Specify skip on error and Create a variable to be passed in the table viewer to view the output as a table.
Figure 6
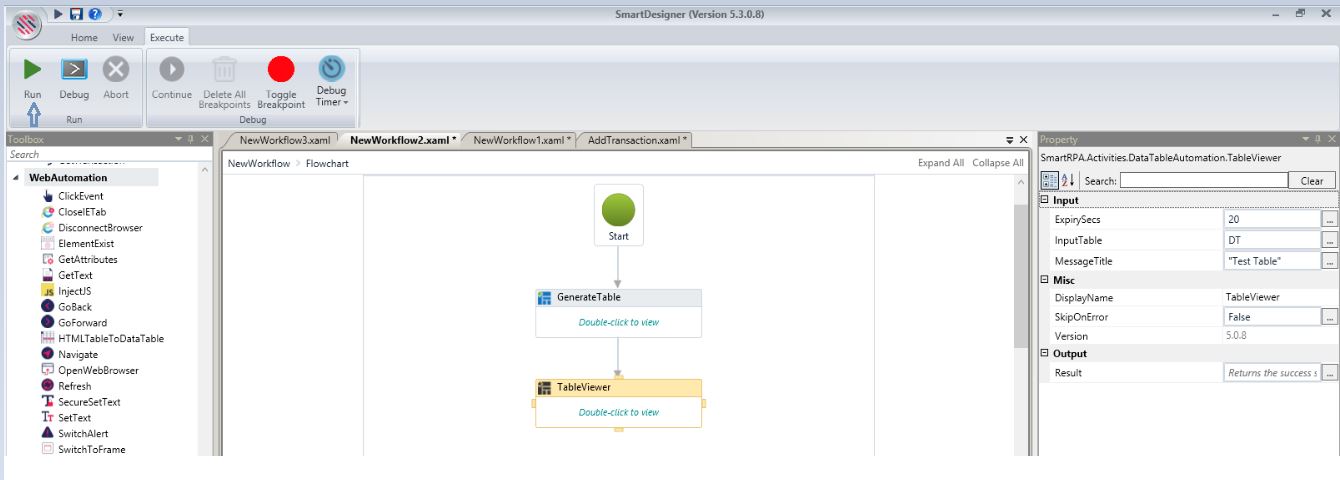
Drag and drop a Table Viewer and specify the Expiry Seconds (Time to view before the output table closes),Pass the variable from the Generated table in the Input Table and the Message Title.
Figure 7
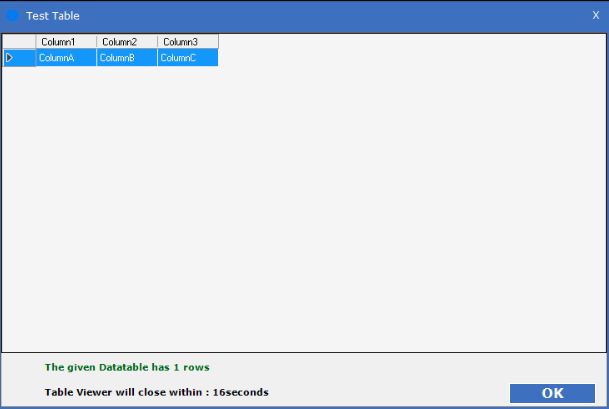
Execute the workflow.
Figure 8
View.
Figure 9
Use the Table options and Format options as per requirements.
Tab/Space/New Line options are used to separate sentences/values into the data table column.
Figure 10
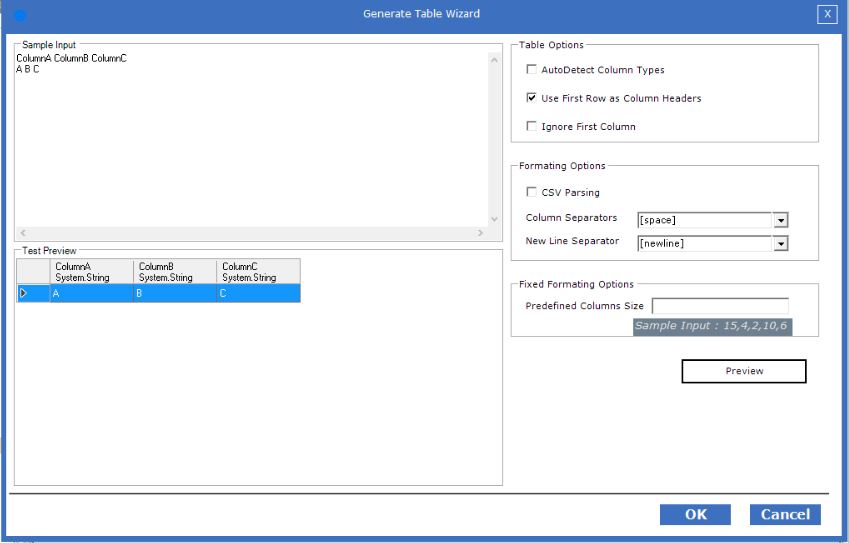
Figure 11
Technical Reference
Figure 12
