This section covers the steps to create roles for users.
Figure 1
Administration à User Management à Create Role
Click on the Add button.

Figure 2
(1) The user will be routed to the Role Management page.
(2) Proceed to provide the name of the Role
(3) Provide its Description
(4) Select the Landing Page from the drop-down. This is what the user with the respective role will see as his or her default landing page. Select the menus and
(5) All the menus will be displayed under the Menu header and checkboxes will be provided under the View header. Check the boxes to provide access to the menus for the particular role.
(6) Also, check the privileged actions that are appropriate for the role.
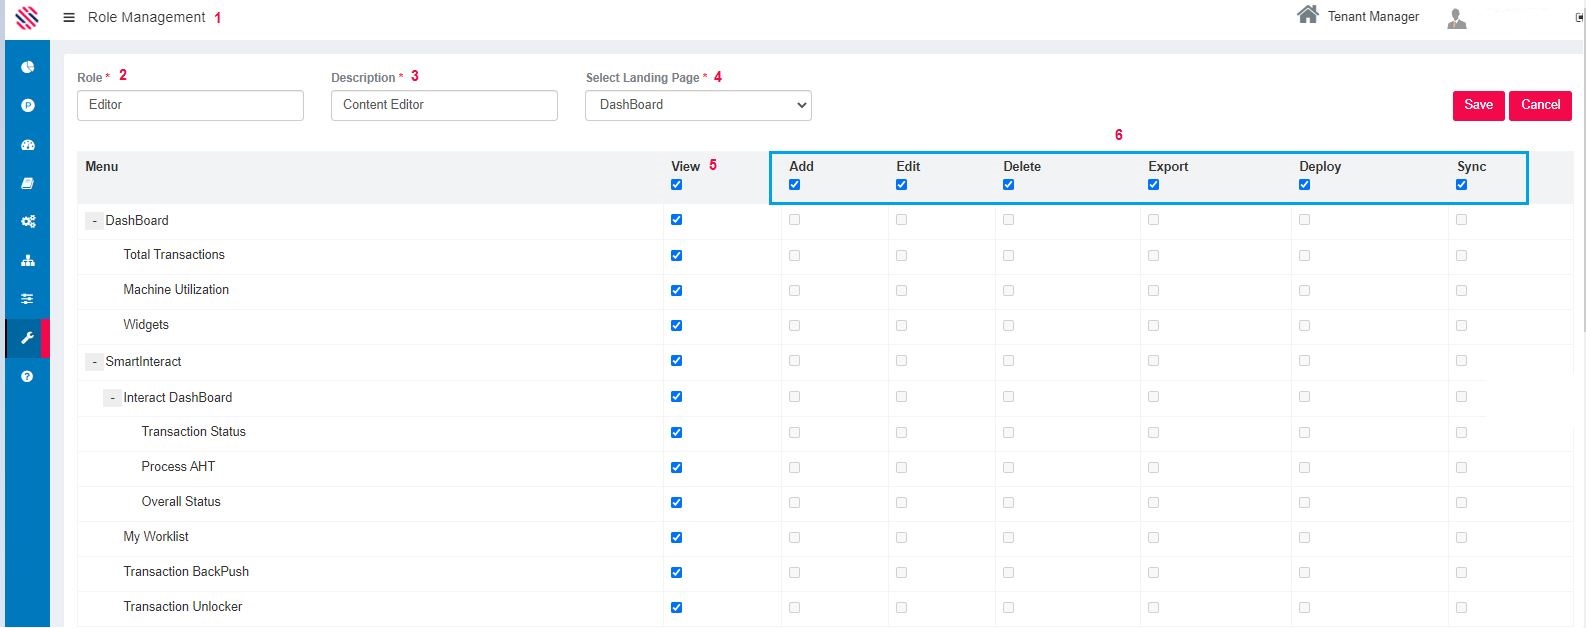
Figure 3
You can scroll down to see your selection under the various headers.
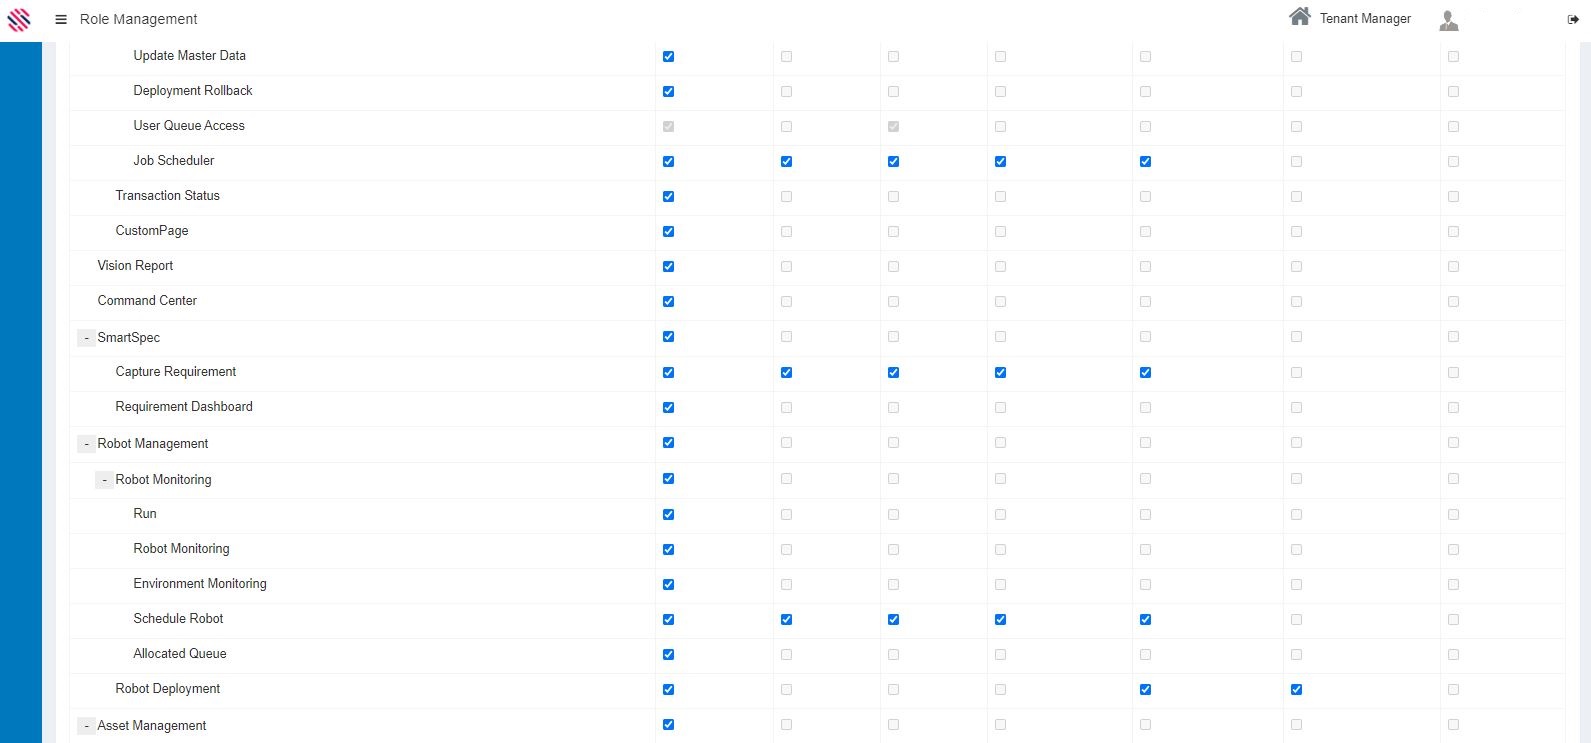
Figure 4
Click on the Save button.
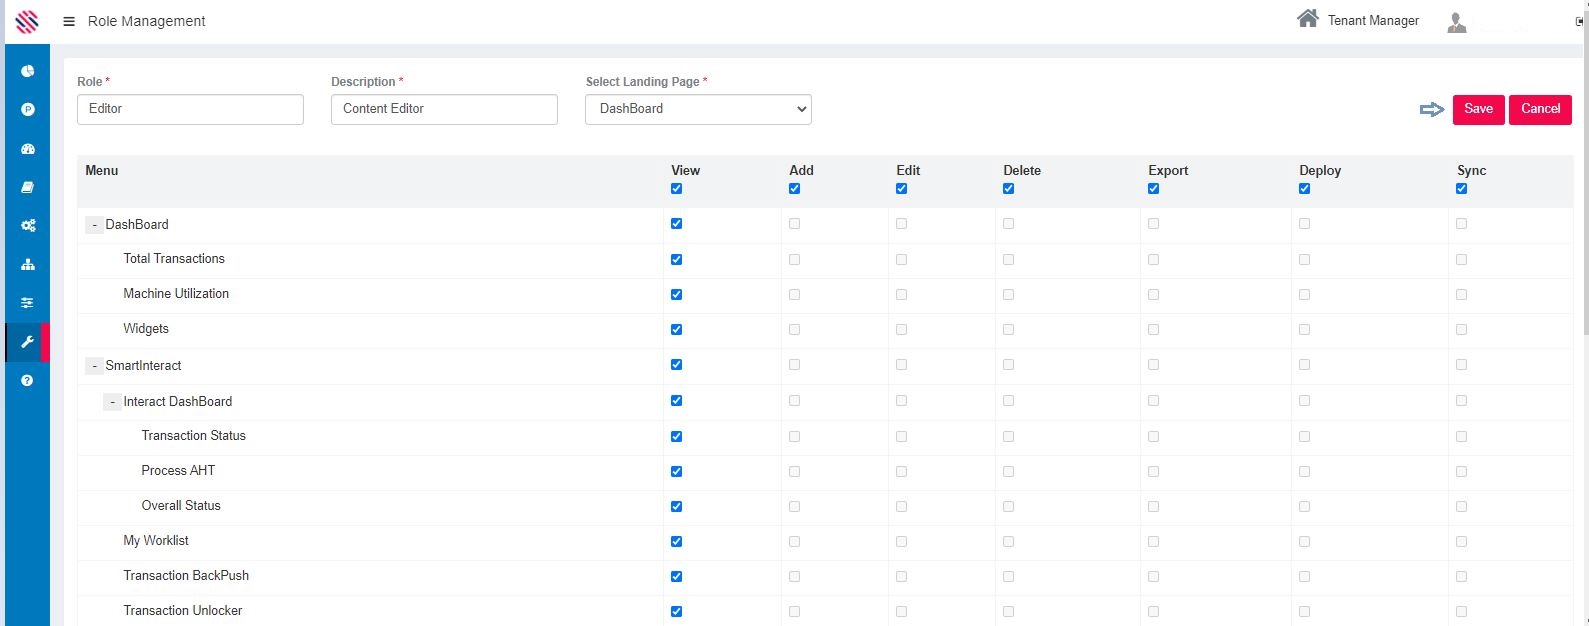
Figure 5
Role will be added successfully. Close.
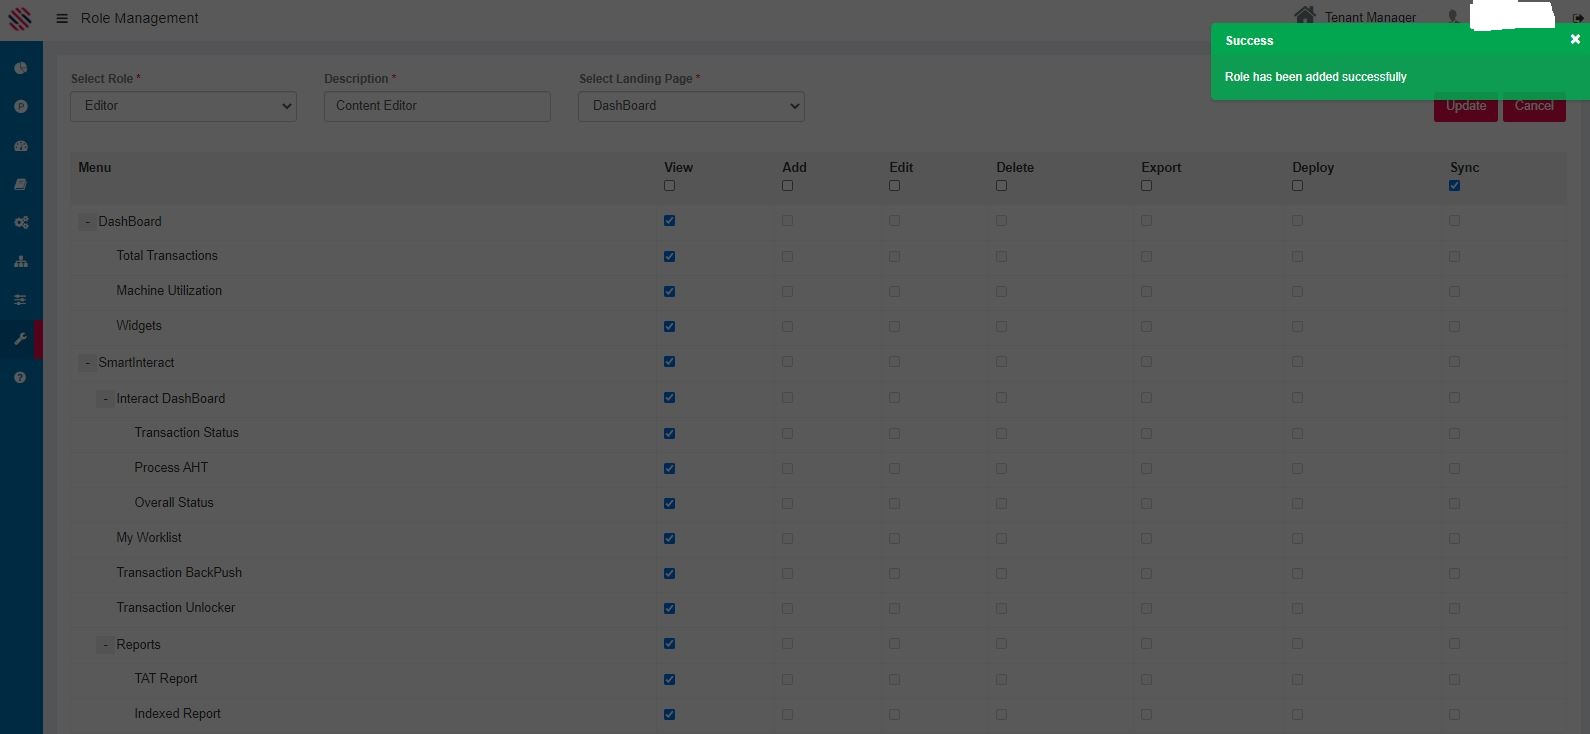
Figure 6
The new role is added in the role creation grid as displayed in the following image. One has options to Edit, Delete and Export the created role. The Add option here allows the user to create new roles just as before. There is a view icon present to view details about the created role. Click on it.
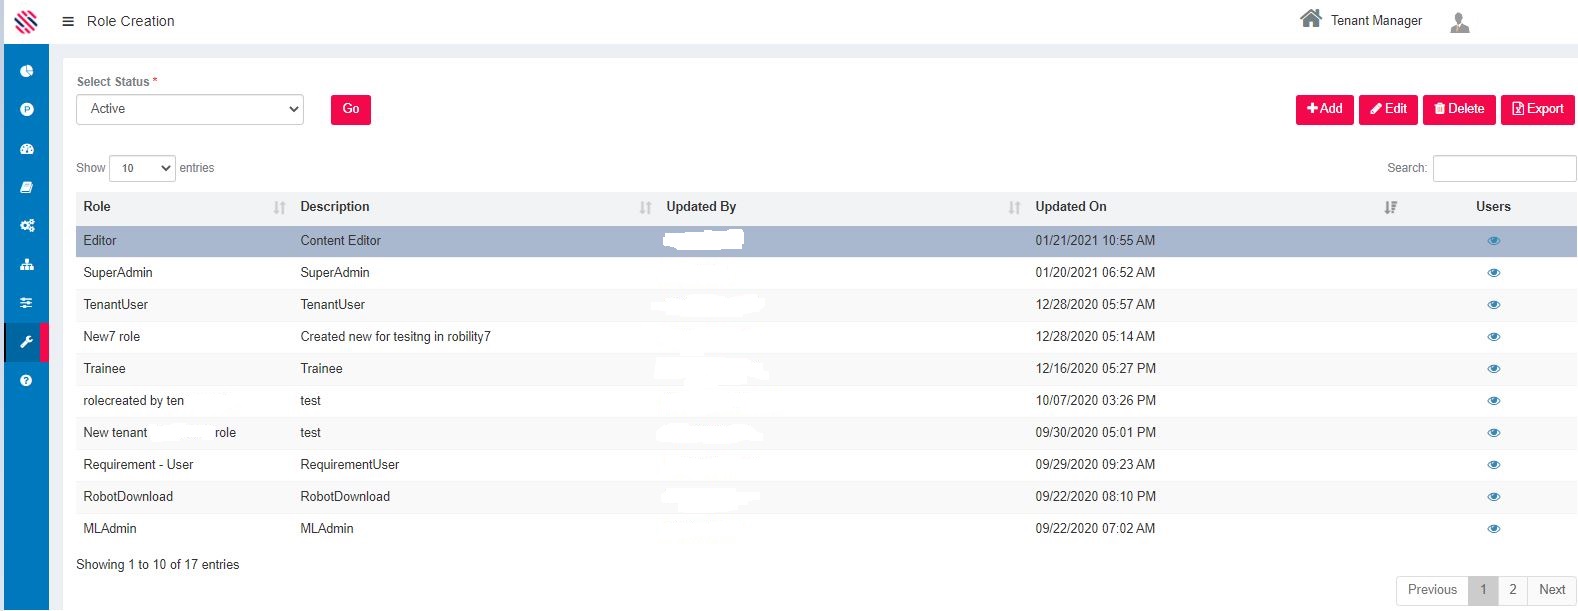
Figure 7
View the details of the role.
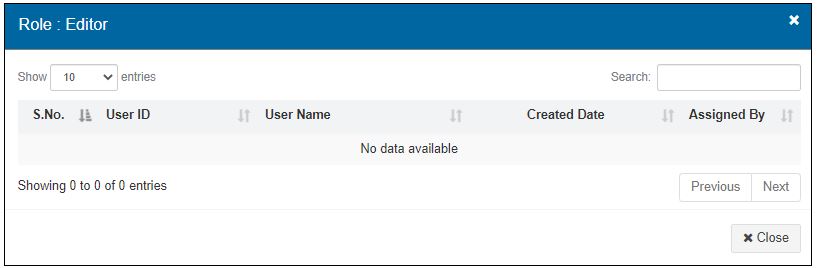
Figure 8
Choices in the landing page are as follows:
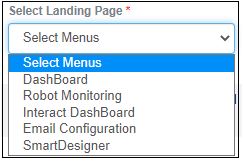
Figure 9
Note: The created role will be reflected in the Map User details screen.
How to map the created role with the user
Administration_ User Management_ Map user
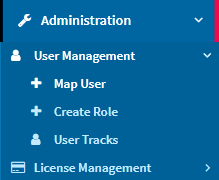
Figure 10
For instance, the role we created in the above example is that of an editor. It will be displayed in the user details grid. Select the row and click on the map user button.
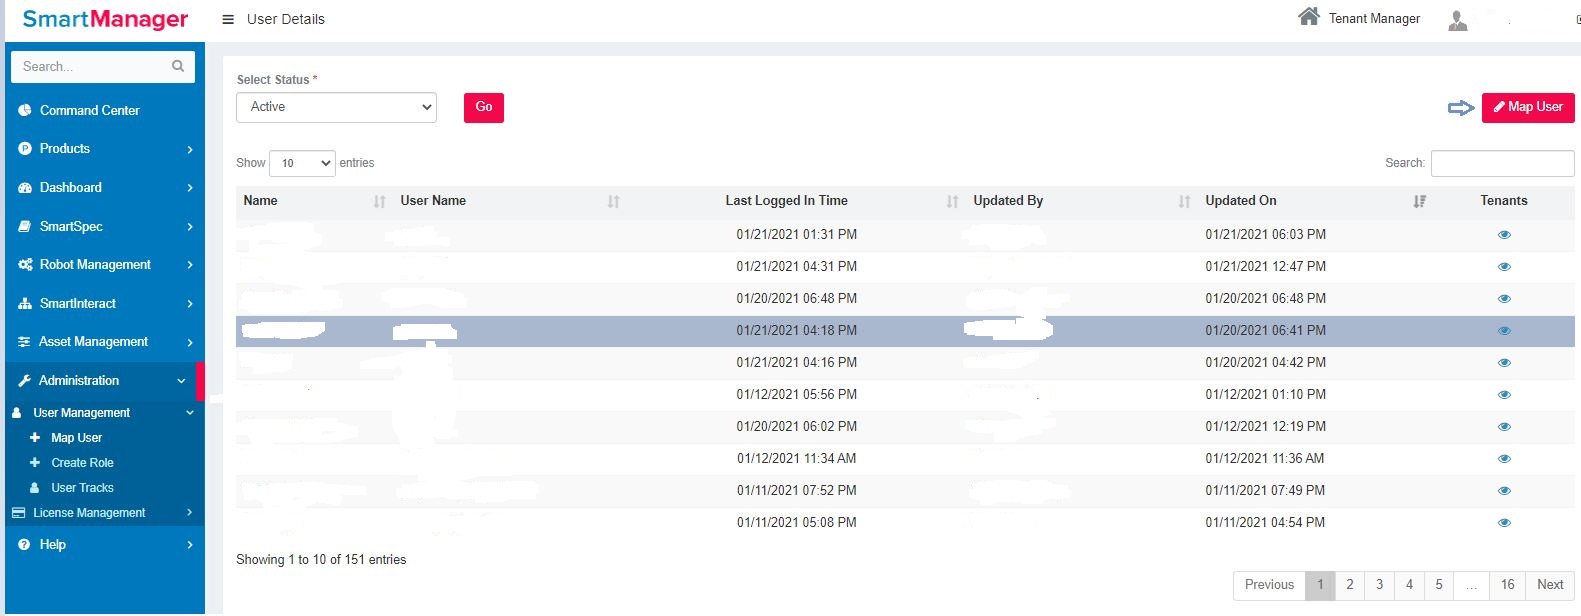
Figure 11
The role that was created (Editor) will be displayed in the Roles text Box.
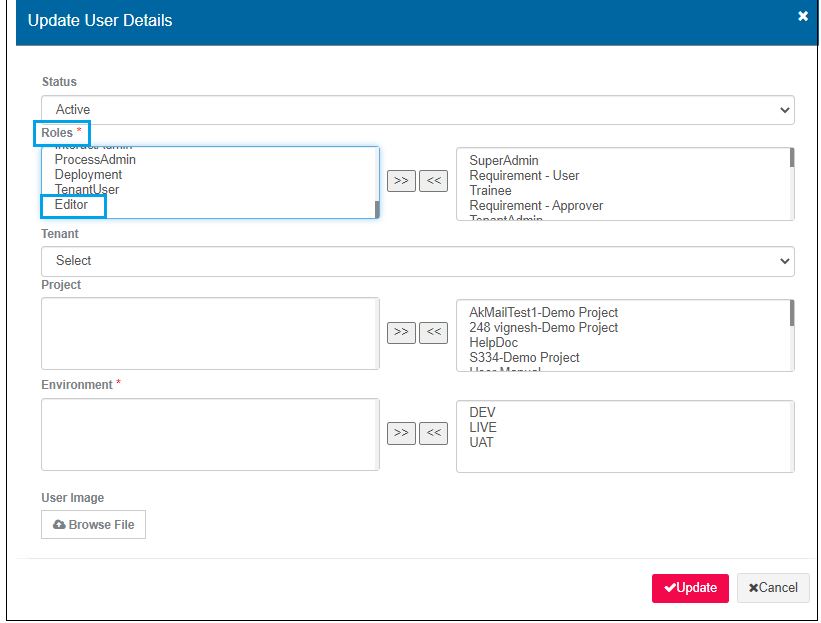
Figure 12
Proceed to select the role and click on the double arrows to bring it to the right side text area. Select the Tenant, project, etc. Update.
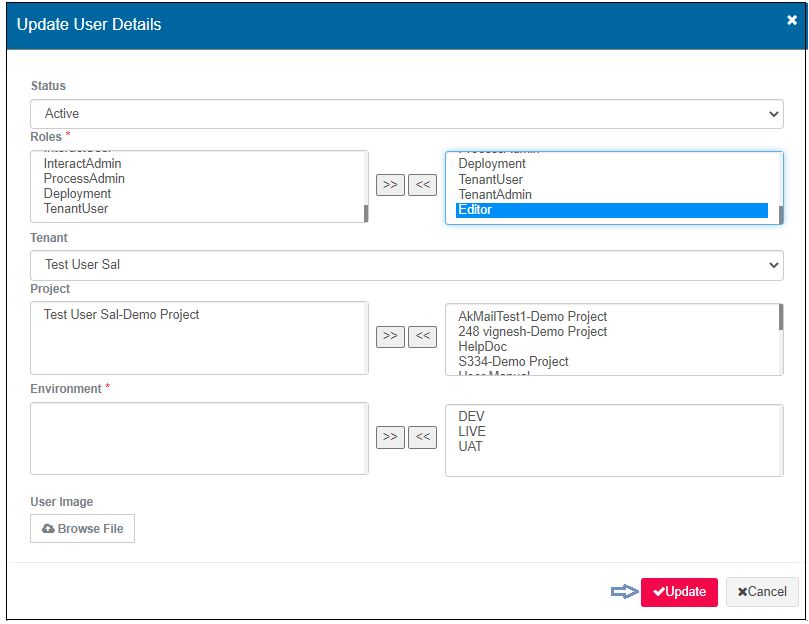
Figure 13
It will be successfully updated.
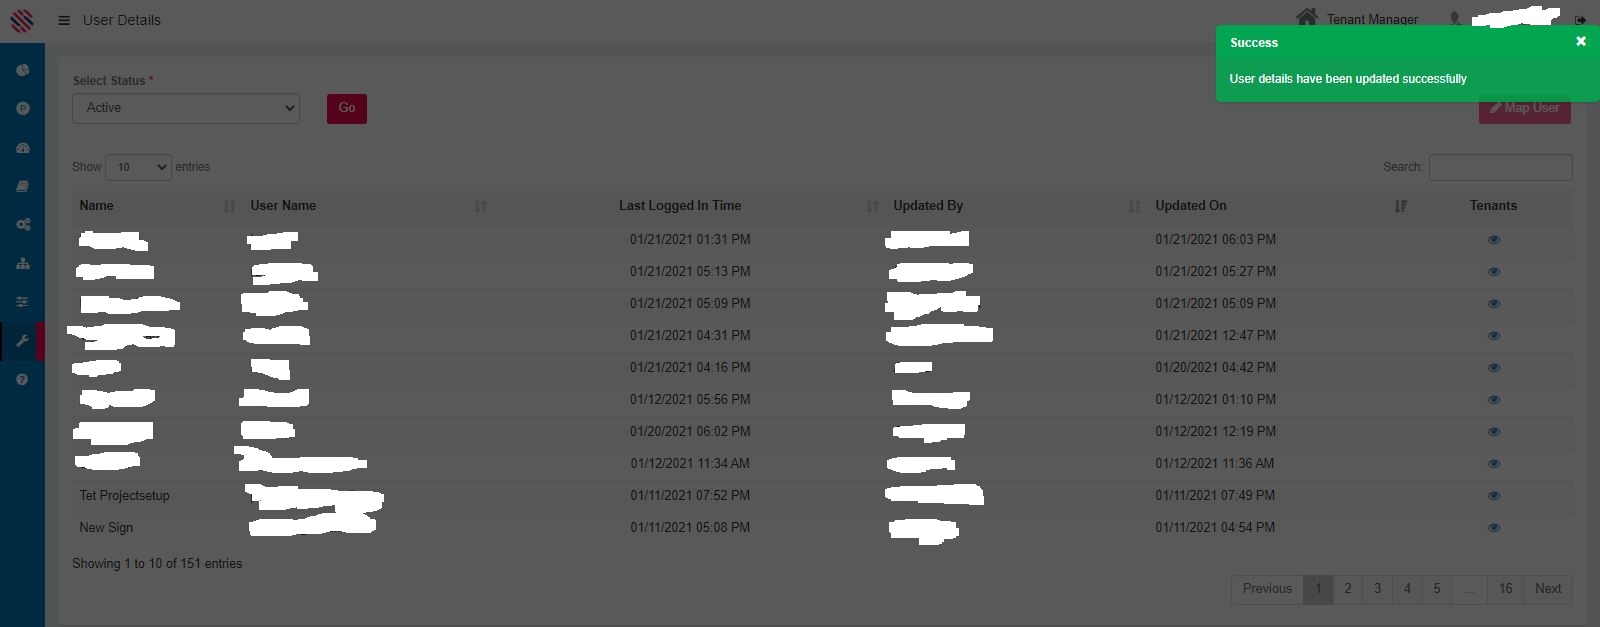
Figure 14
Note: After logging in, the user will be able to see the landing page and all the menus that have been assigned to him/her as per the role configuration.