Hold
When you want to select an area of a content ,the Hold activity can be used.
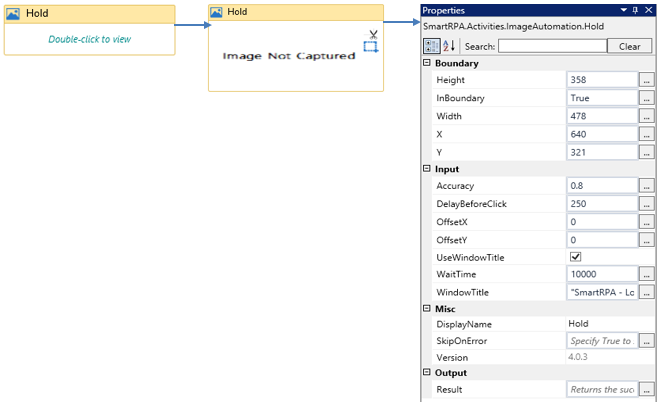
Figure 1
|
Activity Name |
Picture |
|
Hold |
|
|
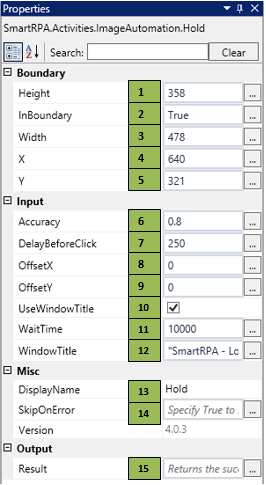
Figure 1.1
|
S.no |
Description |
|
1 |
Height gets auto-filled when the image that needs to be actioned is snipped |
|
|
2 |
Specify if the validation needs to be performed |
|
|
3 |
Width gets auto-filled when the image that needs to be actioned is snipped |
|
|
4 |
X gets auto-filled when the image that needs to be actioned is snipped |
|
|
5 |
Y gets auto-filled when the image that needs to be actioned is snipped |
|
|
6 |
Specify the accuracy rate of the image that needs to be actioned |
|
|
7 |
It enables you to delay the trigger of the activity |
|
|
8 |
Specify the coordinate to click over the image |
|
|
9 |
Specify the coordinate to click over the image |
|
|
10 |
This checkbox enables you to enter the data in the specified window |
|
|
11 |
Specify the amount of time to wait for the activity to terminate the execution |
|
|
12 |
It contains title of the required window |
|
|
13 |
Display Name property shows the action that the activity performs in the workflow |
|
|
14 |
It specifies whether to continue executing the workflow even if the activity fails |
|
|
15 |
Define the condition that you prefer to validate. It supports only Boolean value. |
![]() InBoundary should be set as true if you want to identify the image within a boundary.
InBoundary should be set as true if you want to identify the image within a boundary.
Accuracy can be modified (based on the requirement )to identify the exact image.
Offset value should be specified if you want to click on the preferred point of the image.
Assume a scenario where you want the robot to select the content from a given page, using the image automation package.
Illustration
![]() Activity: The hold activity enables you to perform click and hold operations through a single activity by feeding an image as the input.
Activity: The hold activity enables you to perform click and hold operations through a single activity by feeding an image as the input.
Step 1 Drag a Hold activity and connect to the start node.
- Double-click the activity and click on the snip symbol to snip the image that needs to be actioned
- Key in the Accuracy % value based on requirements
- Add preferred wait time in the WaitTime field (WaitTime value is in Milliseconds.)
Figure 1.2