The machines provisioned for a particular program will be used to execute the projects mapped under the tenant. If the user decides to cross -utilize or use the machine to execute projects of a different tenant, he has to unassign the machine from the provisioned tenant.
Machines whose status are in Idle, not responding and to check can be unassigned. Those whose status are in running and allocated cannot be unassigned.
Figure 1
Robot Management --> Robot Monitoring- -> Allocated Queue
Go to the allocated Queue. Select the environment (Live and UAT) and click on GO. Select The box under the machine count header. In this instance, box # 3 is chosen.
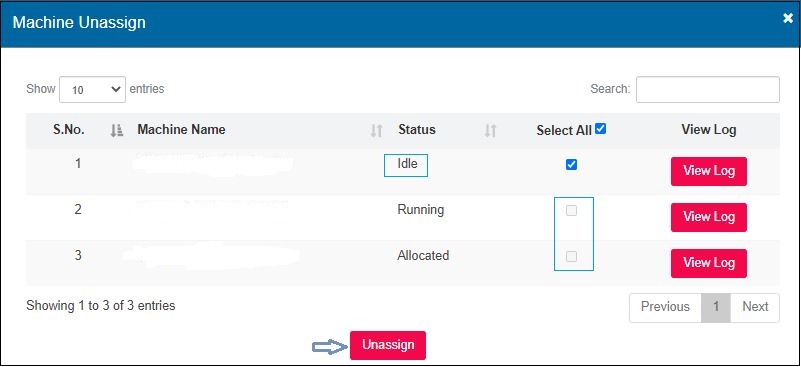
Figure 2
It will display the Machine Unassign screen. Allocated Machines cannot be unassigned. The boxes adjacent to the allocated machines will be disabled. This is because these machines have already been allocated and ready for robots to be executed in them. The same applies for machines that are running and stopping. Select the Idle machines that are to be unassigned. The Unassign Button will be enabled. Click on the Unassign button.
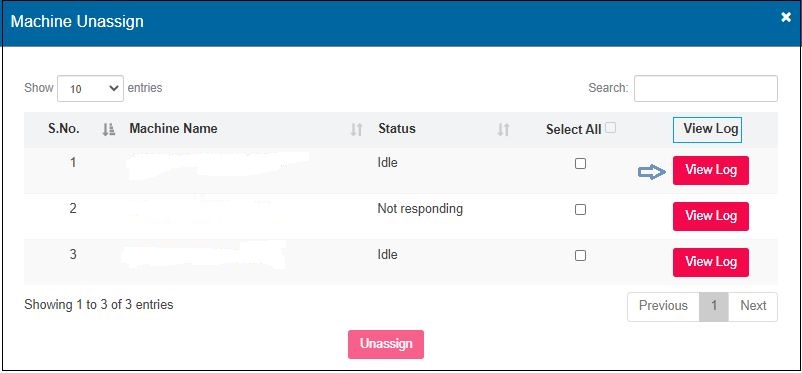
Figure 3
The machine will be successfully unassigned and in the machine count instead of three, you will find only two machines.
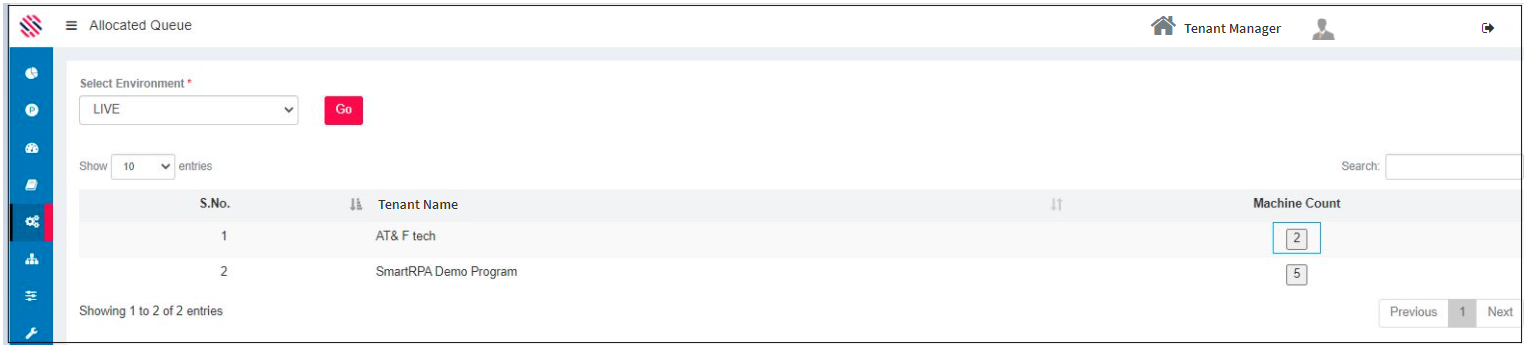
Figure 4
Note: Once unassigned, the user is required to generate a new unique key for the required program and connect the SmartRunner, using the newly generated key.
Select All
One can check the select all options and all machines will be selected simultaneously to be unassigned.
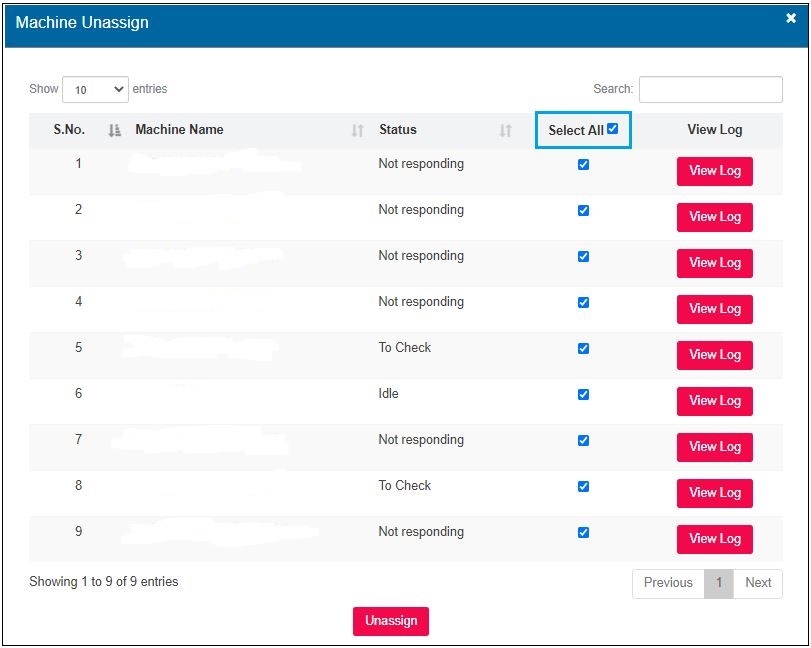
Figure 5
Or one can click only on the specific machines to be unassigned.
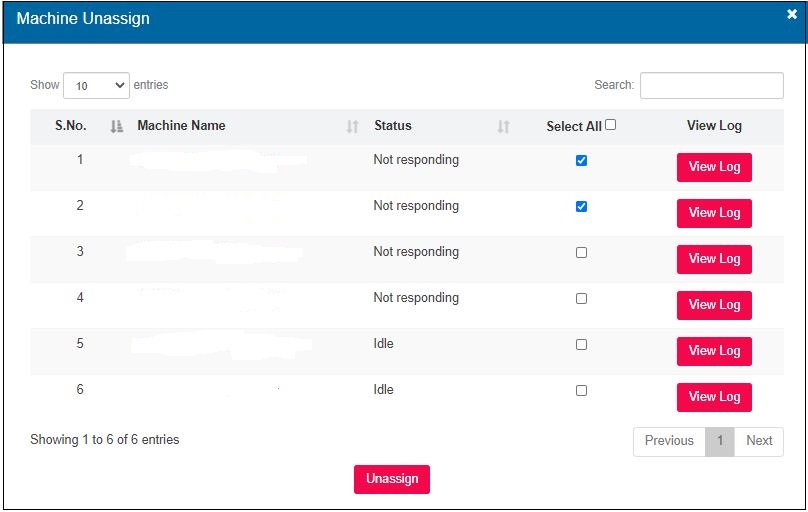
Figure 6
View Log
One can click on the View button under the View Log Header in order to view log details.
One can view the log details for Smartworkflow, SmartRunner and Smartlogon.

Figure 7
Select the Log Hours and Log Type to view the Date & Time, Log Level and corresponding Message.
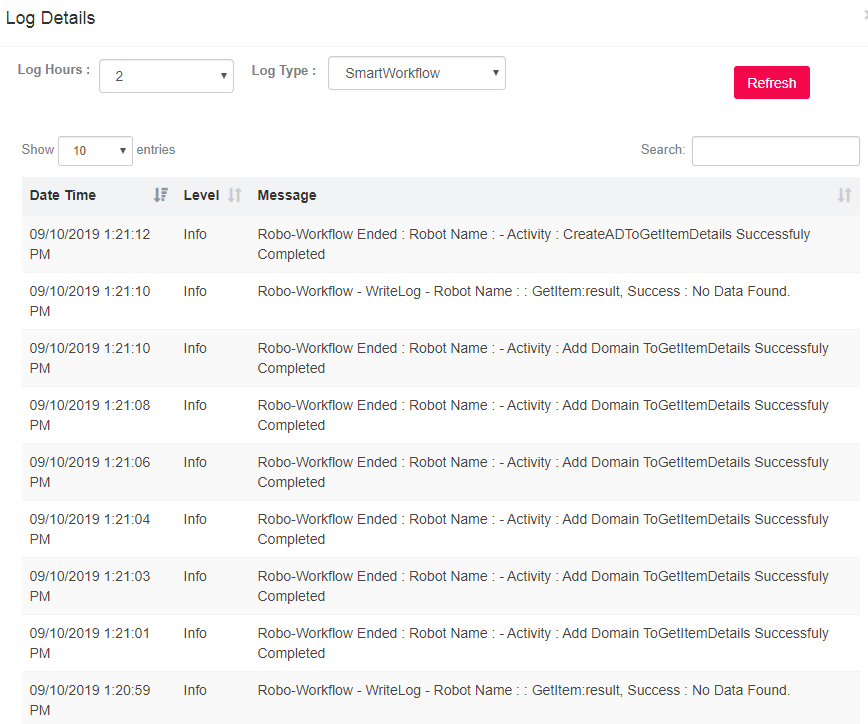
Figure 8