This menu can be accessed only by those to whom super-admin privileges are given. Such personnel will use the User Management sub-menu to manage and track users.
Additional access privileges can be configured by the Administrator, using the User Management menu. One who is authorized to access user management can create new roles, add existing roles, map roles, create menus, track the number of users along with explicit details such as, the Username, Login and Logout time, the Machine IP, the Browser used to access the application, etc. Approval of users is executed using the sub-menu. (User Approval)
Thus, this menu aids in easy, yet effective management and tracking of users.
The assigned user will be mapped to specific roles and accordingly will have access privilege to the menus in SmartManager.
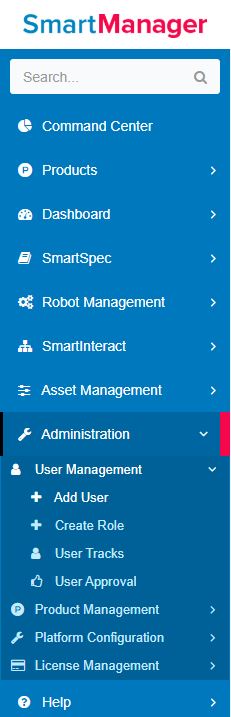
Figure 1
Administration-->User Management-> Add User
Click on the Add button in the User Details page.
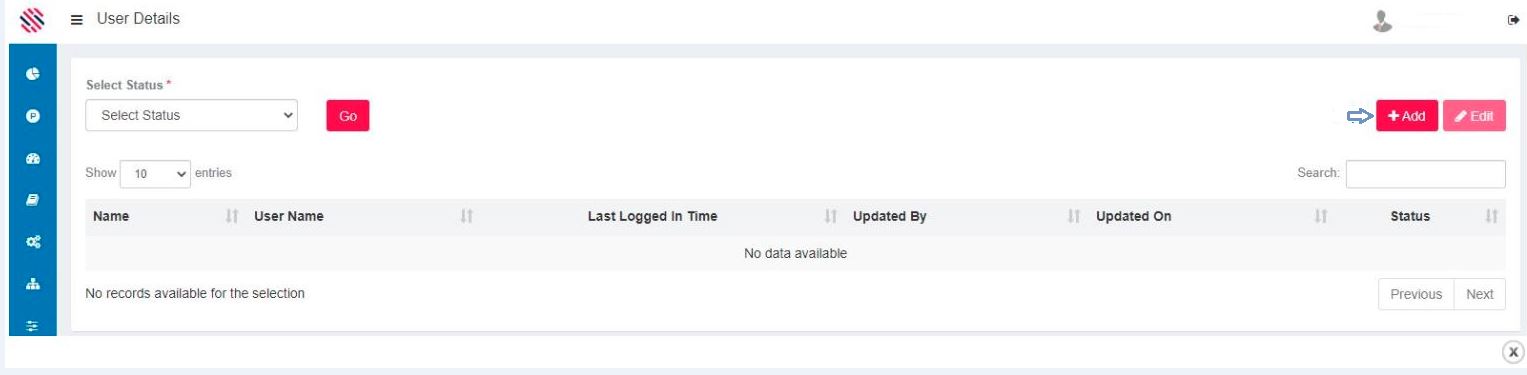
Figure 2
Fill all pertaining details. Subsequently, certain information gets auto populated and added in the corresponding fields. Select the names of Roles, Program, Projects, etc., and click on the double arrow icon, wherever it is applicable. More than one role, projects from programs, and environments can be selected. Select and click on the double right arrows and it will be moved to the adjacent text box. The left arrows will reverse the action. An option is provided for uploading the user’s image at the end of the page.
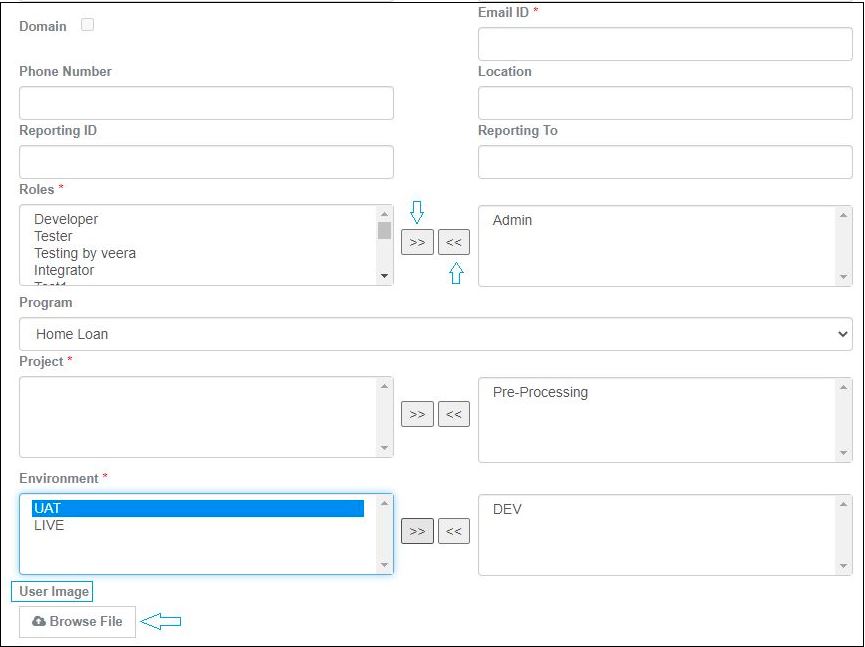
Figure 3
If it is an internal domain, most of the details will be auto populated, in case of a non-domain user, all information needs to be provided. After filling all fields, Save.

Figure 3.1
User details will be successfully added. It can be viewed in the User Details grid. Select the Status and click on the Go button. Last Logged In Time, Updated By and Updated On fields enable comprehensive traceability. One can use the Edit option to edit.
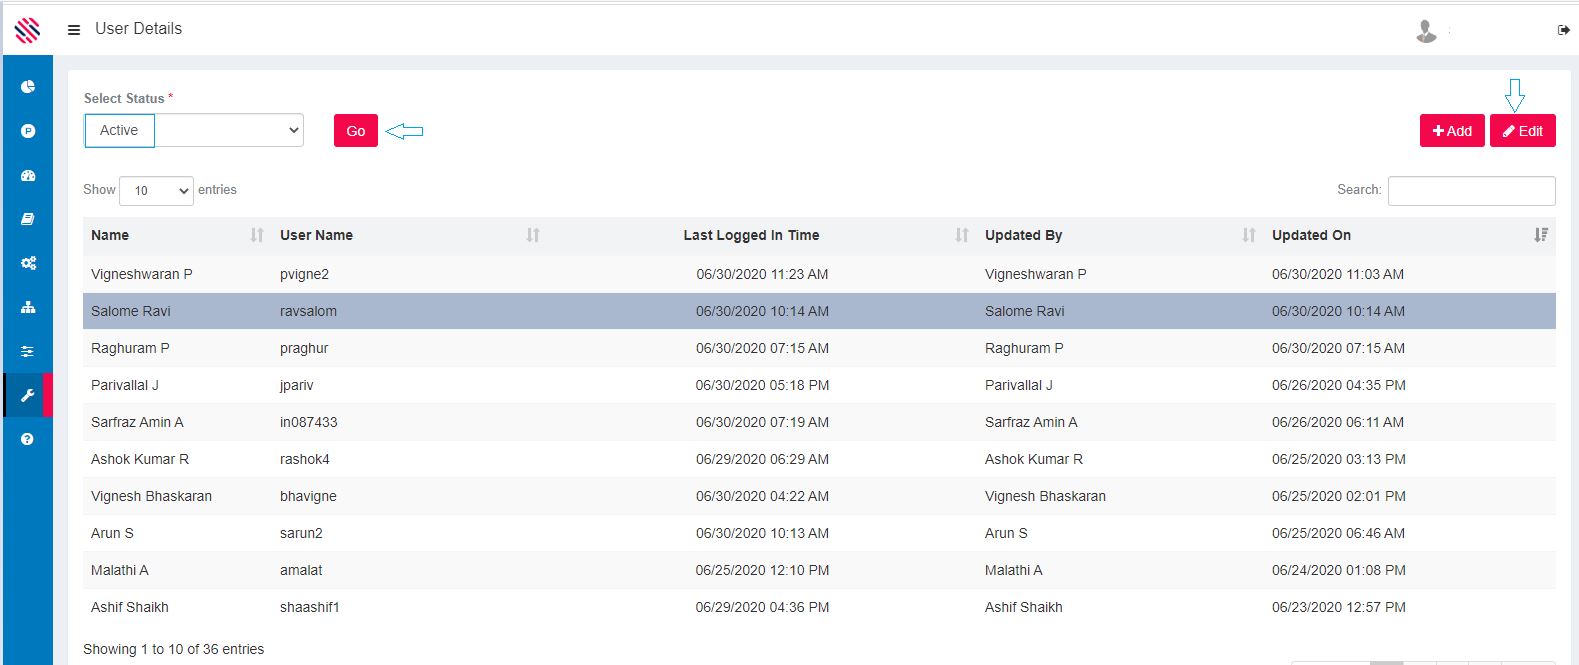
Figure 4