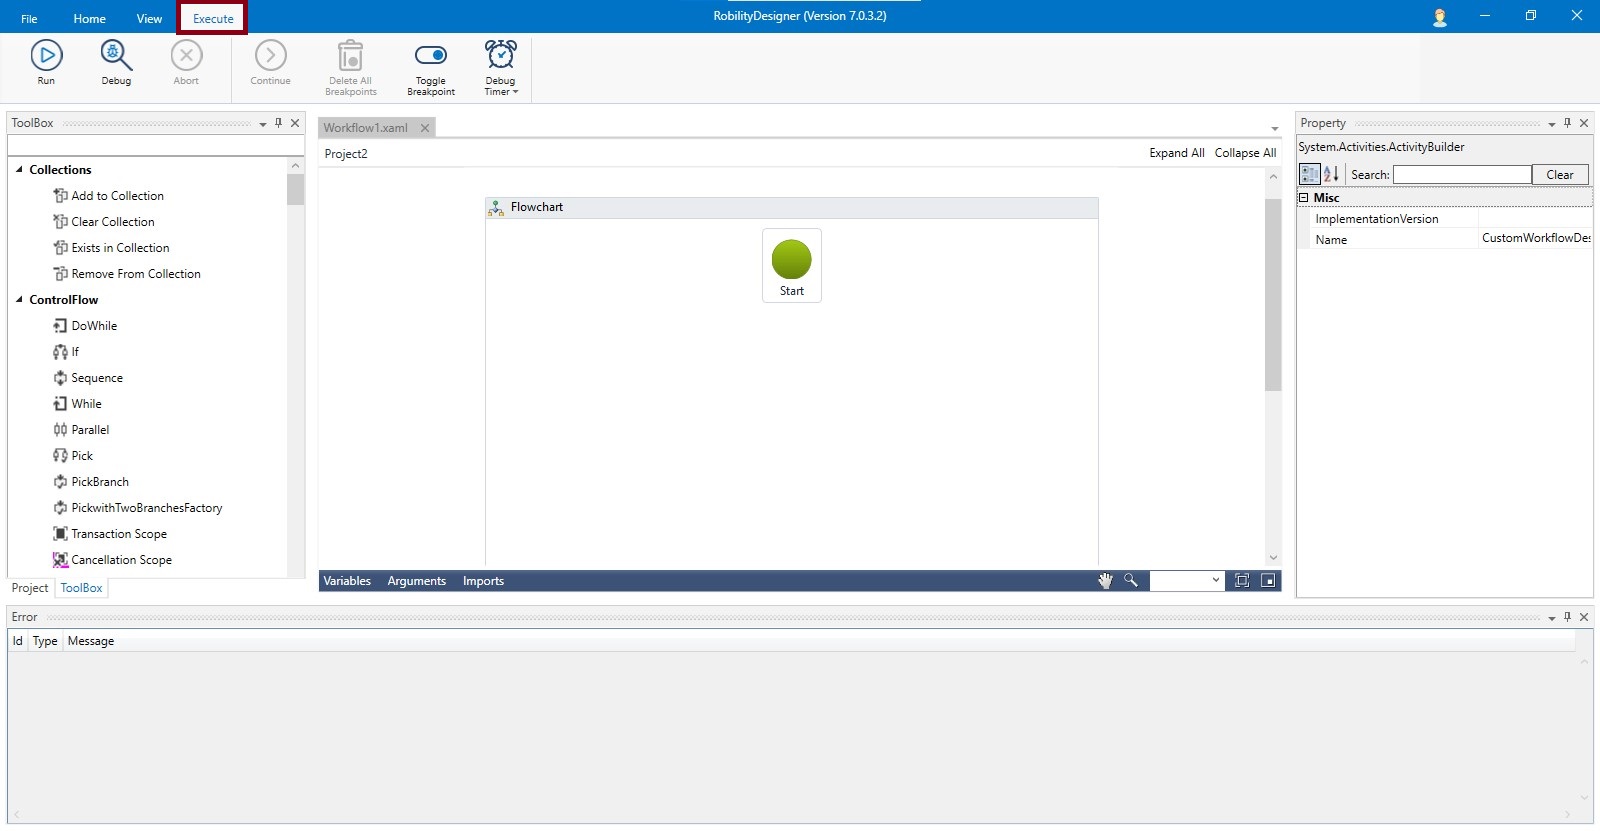
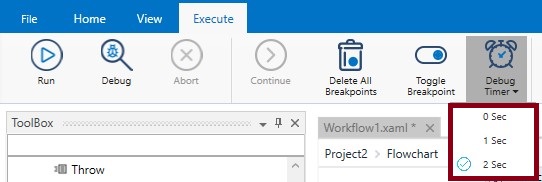
The Execute option enables the user to execute, abort & debug the created workflow seamlessly. Let us take a detailed walk-through of the menus in the execute menu.
Figure 1
Run
Run option is used to execute the workflow.
Figure 2
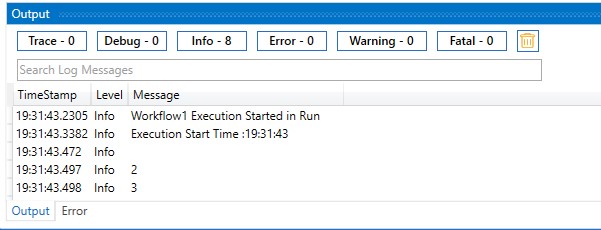
The result of the executed workflow will be displayed in the Output window. It shows all details including execution's start, end time and thereby the duration of the execution as well.
Figure 3
Debug
The Debug option can be opt for Debugging as it is an important part of determining workflow execution issues.
Figure 4
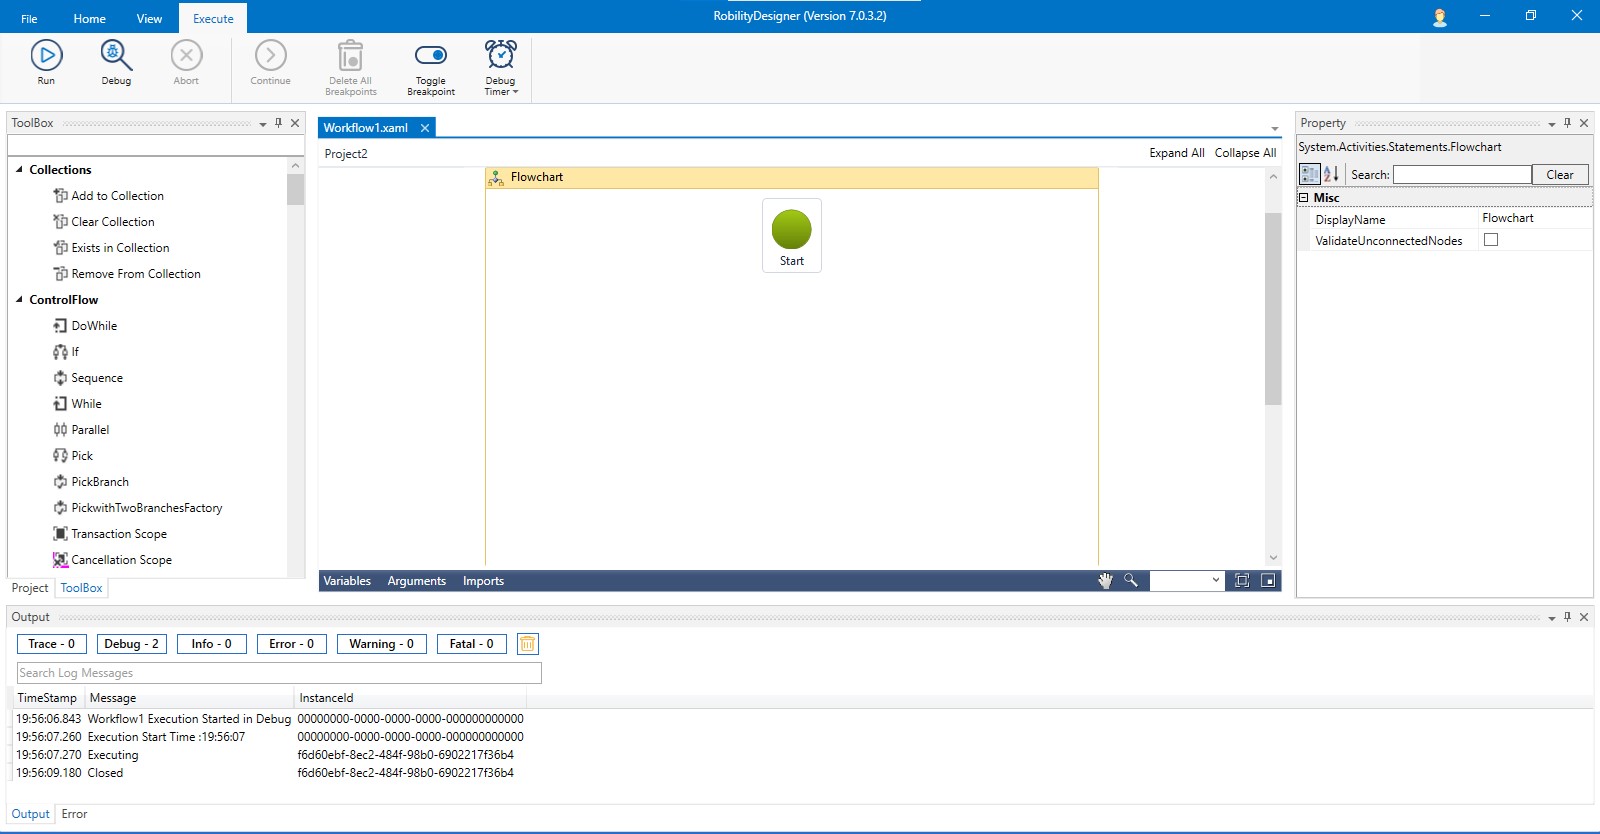
You can view the Debug result in Debug section of the output window. It contains the Instance ID, Timestamp, and Message.
Figure 5
The Abort option terminates the workflow's execution while either running or debugging. It enables you to terminate the execution on demand.
Figure 6
Continue
When it reaches the Breakpoint while debugging, the Continue option will be highlighted. User can use this option to continue the execution of the workflow.
Figure 7
Delete All Breakpoints
You can provide multiple break points in a workflow. If you want to delete all the breakpoints use this option to Delete All Breakpoints from the menu.
Figure 8
Toggle Breakpoint
Toggle Breakpoint feature is useful when the user wants to stop or pause at a preferred point in the workflow during the execution. Use this menu to enable or disable breakpoint for debugging.
Figure 9
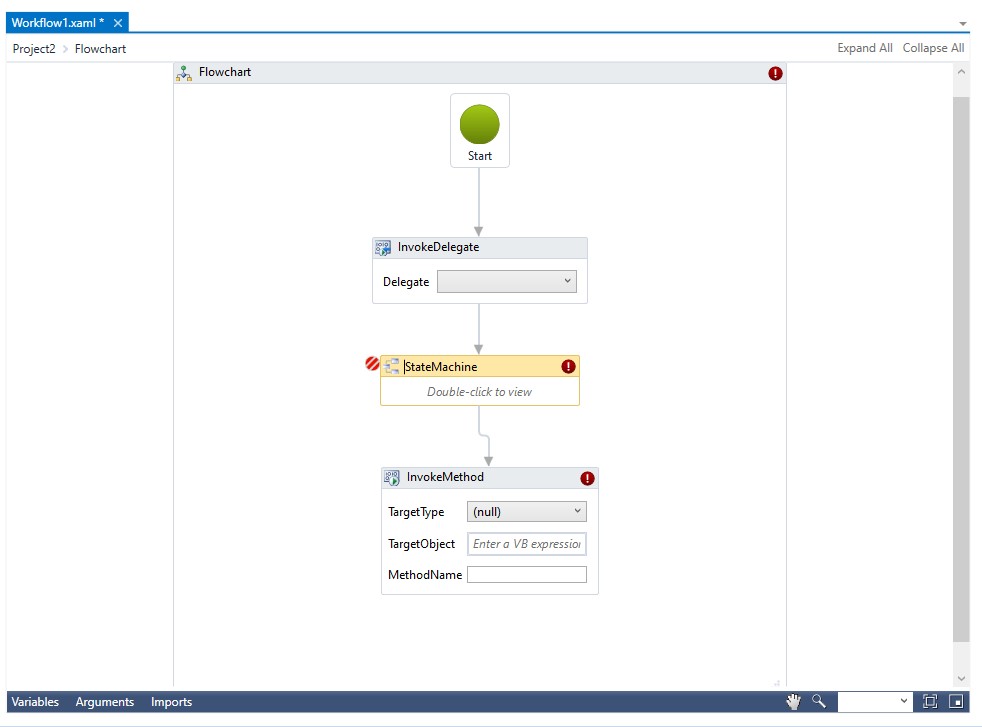
If users select a particular activity where they want a break and enable Toggle Breakpoint, that particular activity gets highlighted with a red icon, indicating that the break point has been activated for the same.
Figure 10
Debug Timer
The Debug menu now has a timer function, which gives even greater control to the robot designer for troubleshooting workflows.
Figure 11
You can select the time from the drop-down as per your requirements.
Figure 12
