The tenant home page consists of the following menus:
1. Tenant home
2. Robility AI
3. Invited Users
4. Administration
5. Help
Note: Please note that only users with administrator role can perform this operation.
Allocate license:
The license are allocated to the Tenant for various users under the project.
The user have to select the respective tenant from the grid.
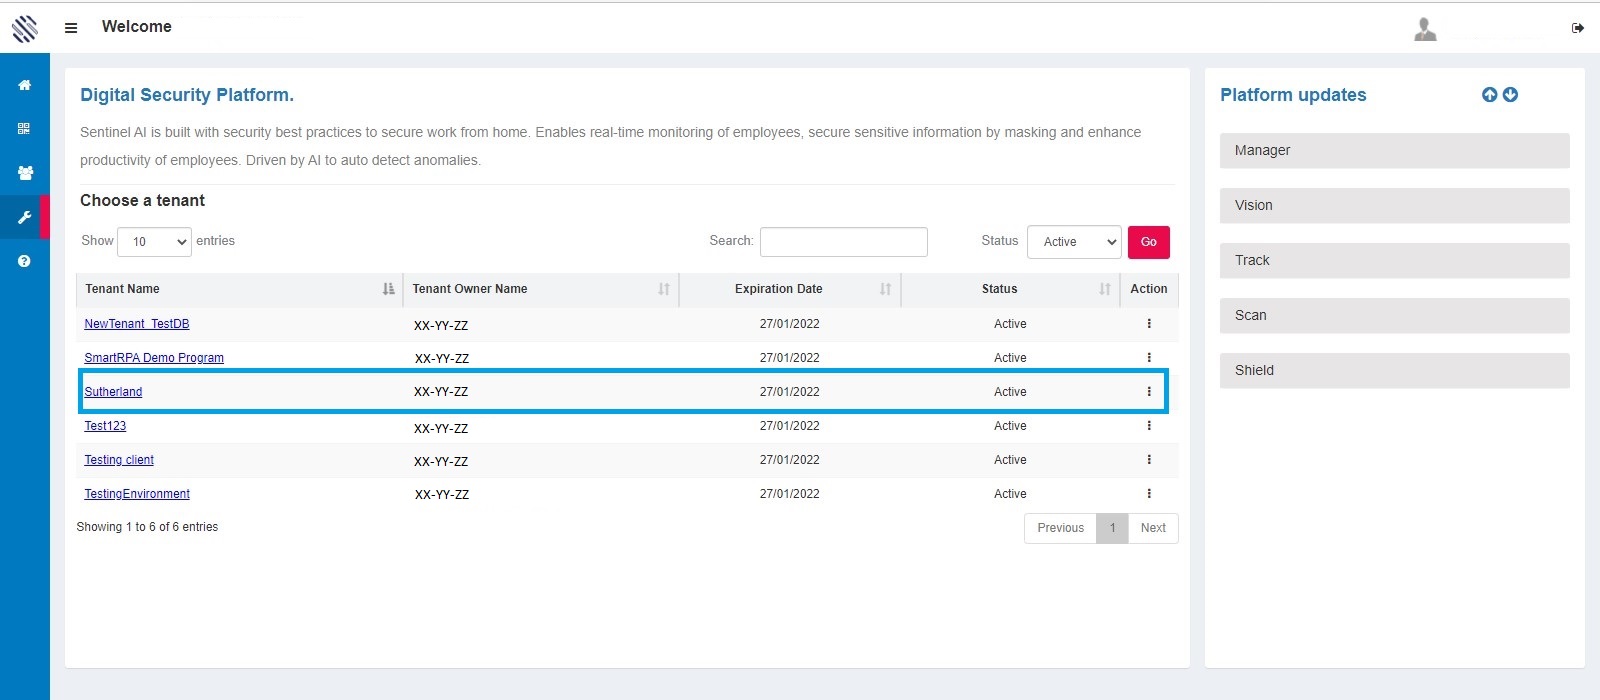
Figure 1
It redirects the user to the sentinel analytics page. In that page, from left corner the user have to,
Administration-->License Management-->License Management
The admin user can check the validity as and when they desire to do so. The last synced details are displayed at the top right. The Product Name and the Total Count against each is projected.

Figure 2
Add License:
Click on the Add License to access the following screen, which will display the total count of licenses allocated for the tenant against each product.
The Total Count Split for each product is represented as a pie chart on the right side.
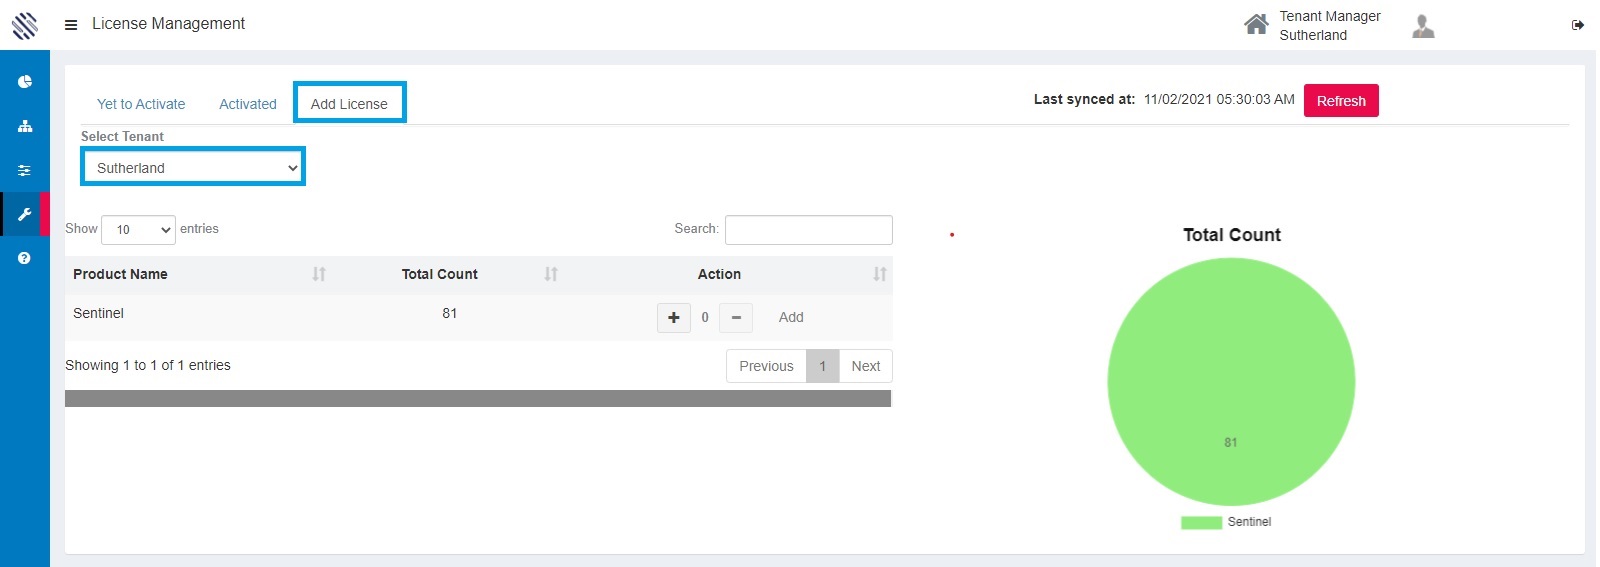
Figure 3
Initially when creating a tenant, 50 licenses for each of the products will be allocated. If the user requires additional licenses, it can be added using the increment option under the Action tab aligned against each product by clicking on the Add option.
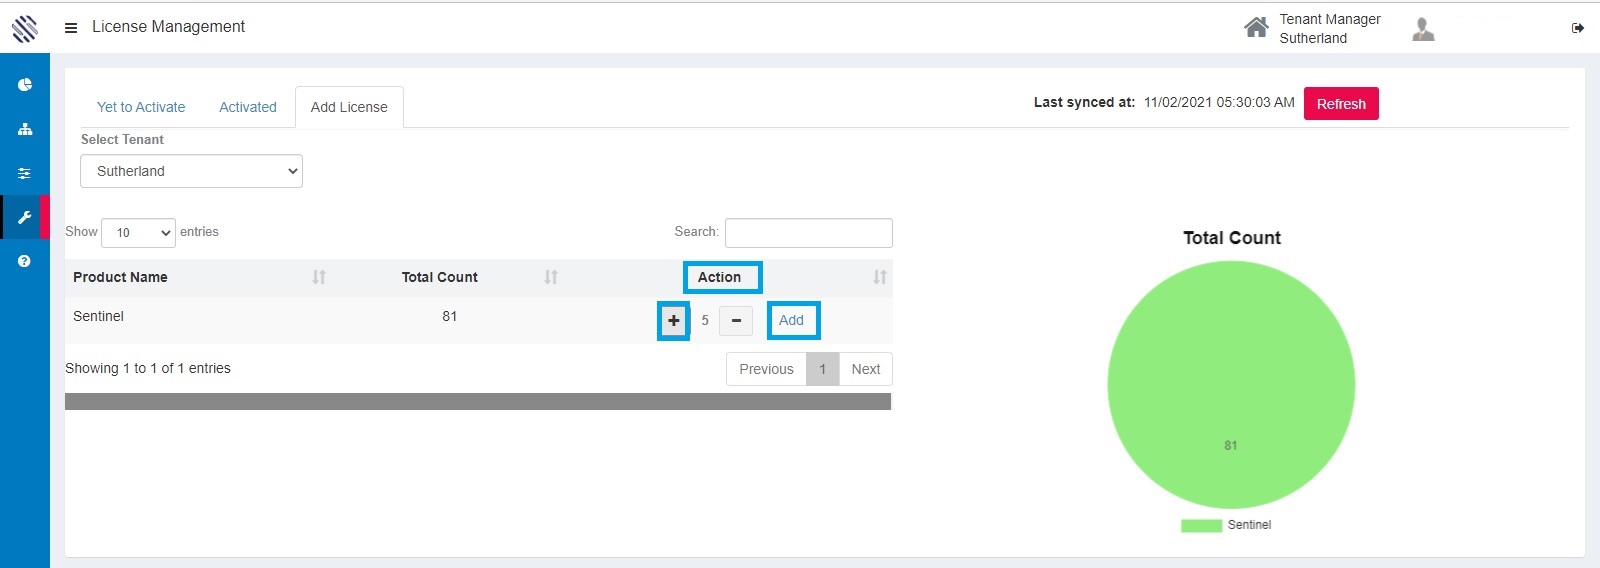
Figure 4
Confirm by clicking on the Yes option.

Figure 5
The License will be added successfully.

Figure 6
Thus, the license count of sentinel product increases to 30 from the originally allotted 25, for the selected Tenant.
Yet To Activate:
Yet To Activate tab will list out the Product Name, Its Total Count, Yet To Activate count and the Action button. The same details are represented as a pictorial representation in the colorful boxes.
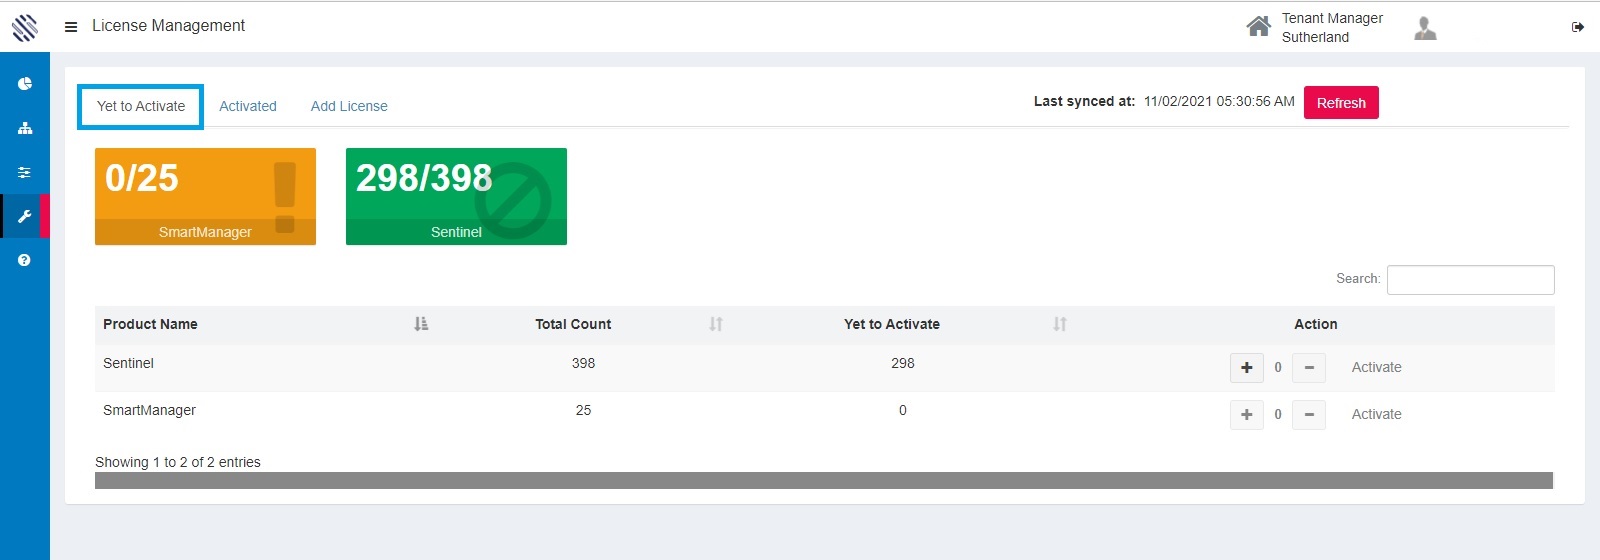
Figure 7
As displayed, the Yet to Activate Products are seen here, along with the Total Count. If one wants to activate, they can choose to do so by clicking on the + symbol and clicking on the Activate button, under the Action tab. For every click on the plus symbol number will be incremented and vice versa for the minus symbol.
In the following example, out of 298 yet to activate licenses,2 have been activated for Sentinel.
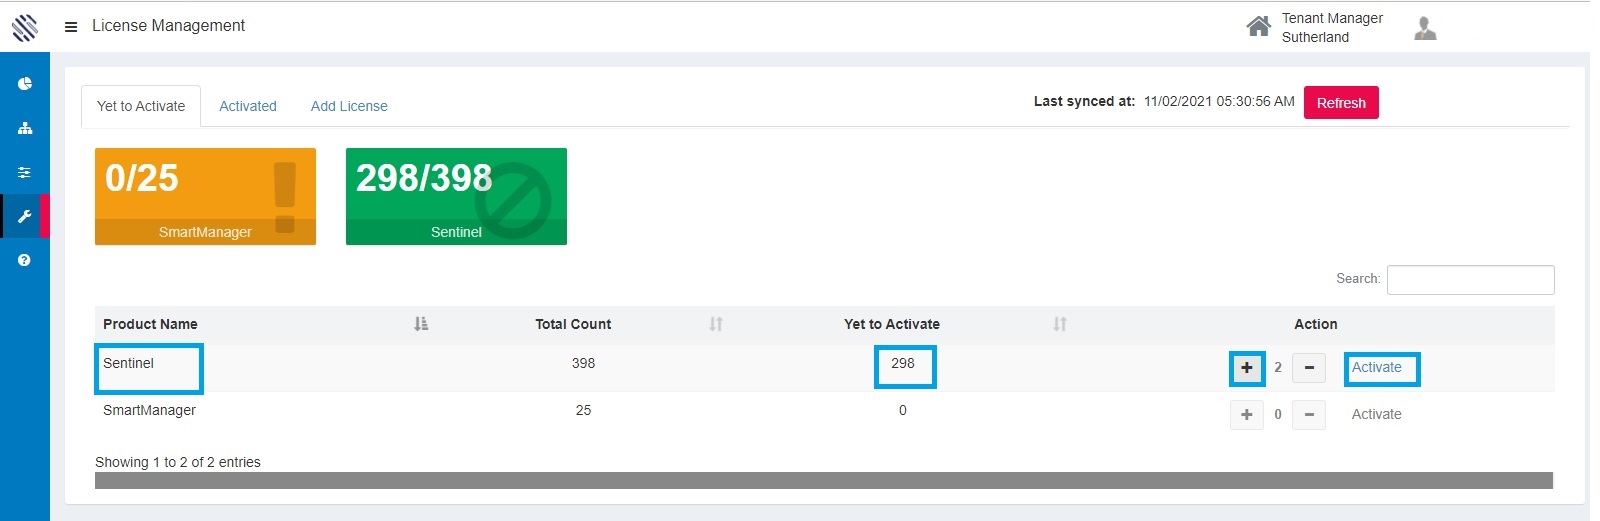
Figure 8
Confirm.
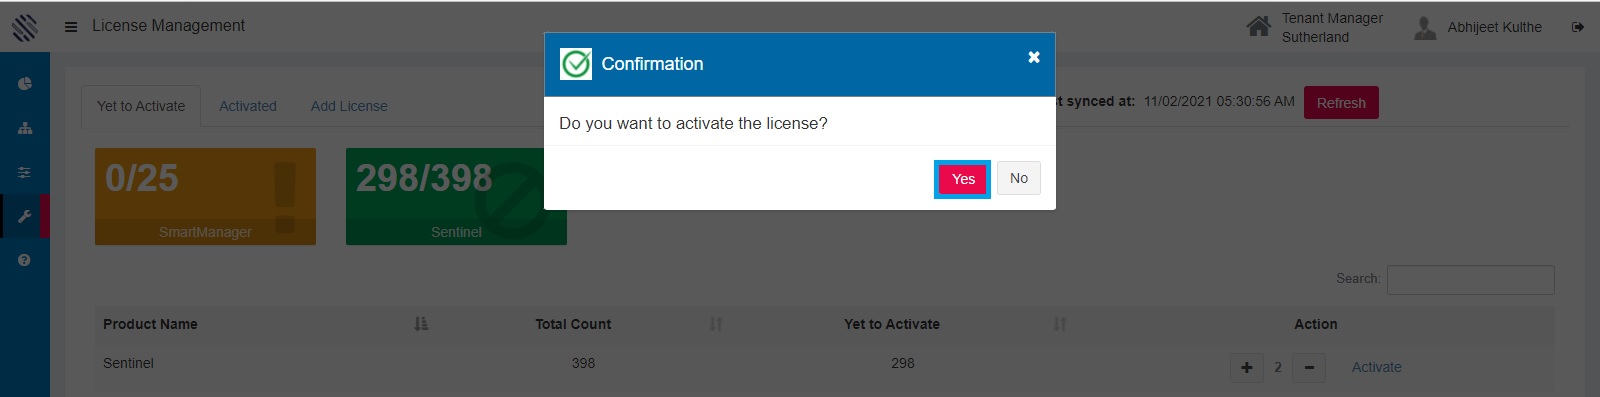
Figure 9
One will get a reiterating message and the licenses will be activated successfully.
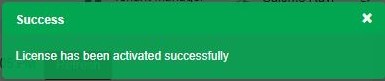
Figure 10
Activated:
Click on the Activated option to access the following screen, which will display all activated products and their counts.
The activated Count = Occupied+ Expired+ Available
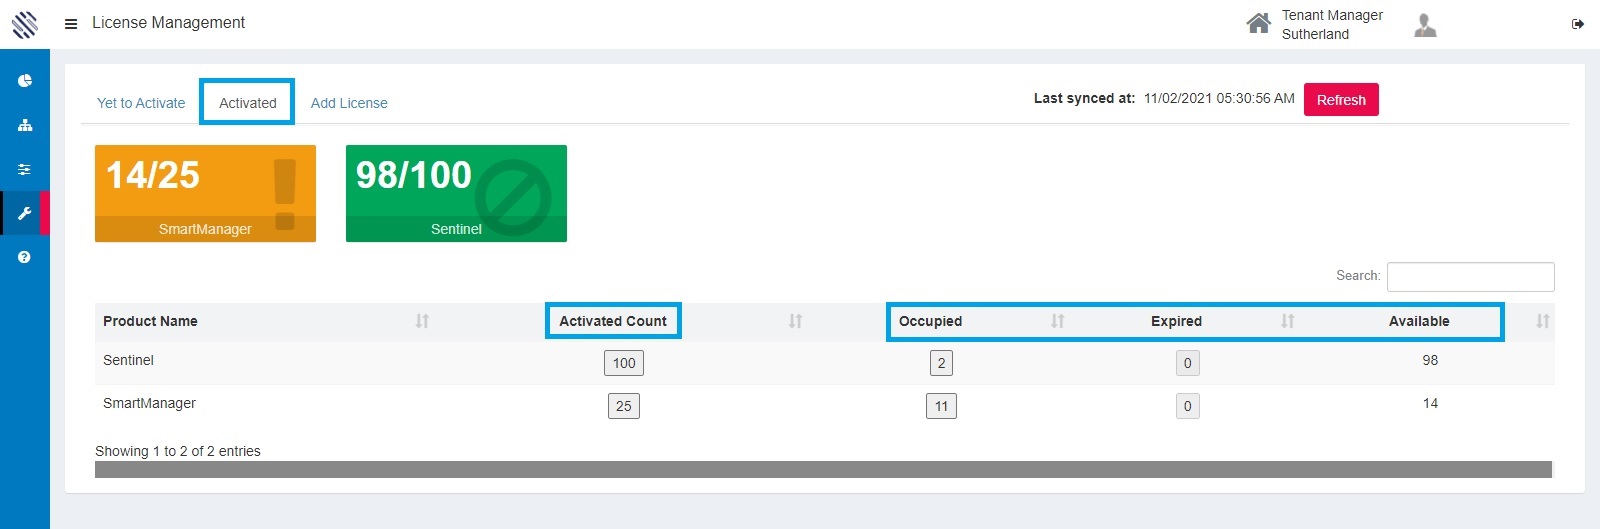
Figure 11
In the following example, for Sentinel, 100 licenses are activated, out of which 2 are occupied, none has expired and 98 are available.
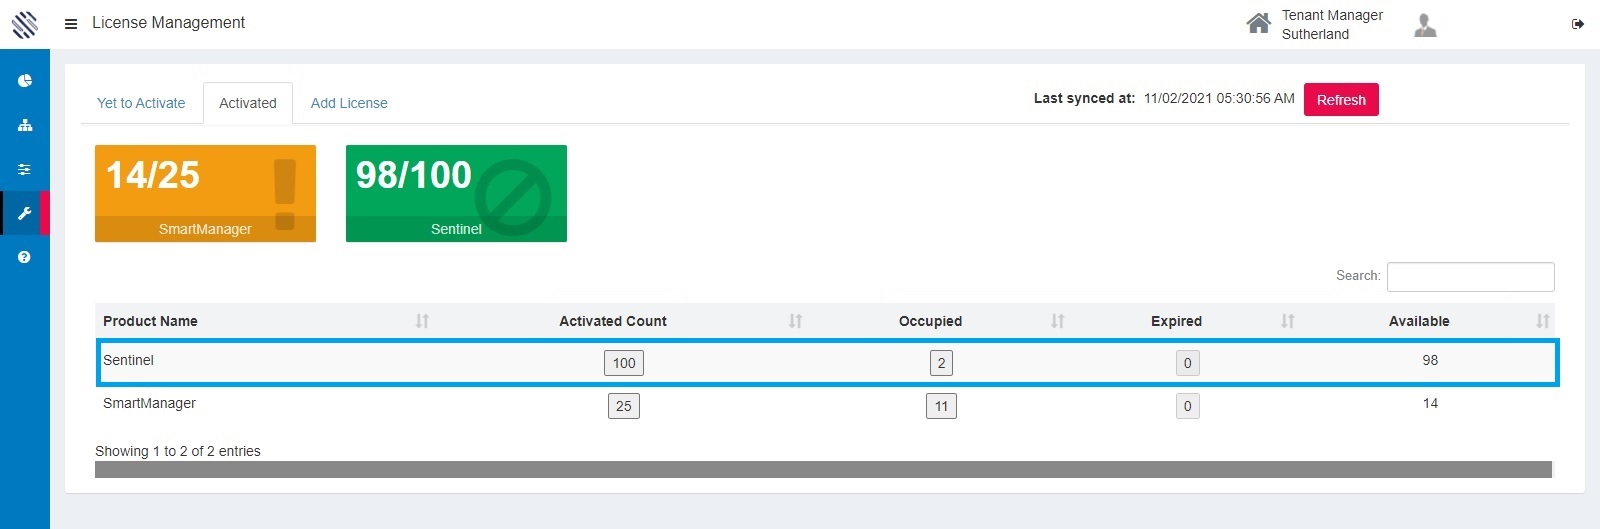
Figure 12
If one wants to obtain comprehensive details, click on the box containing the number under the Activated Count header that is adjacent to the Product Name for a further drill down.
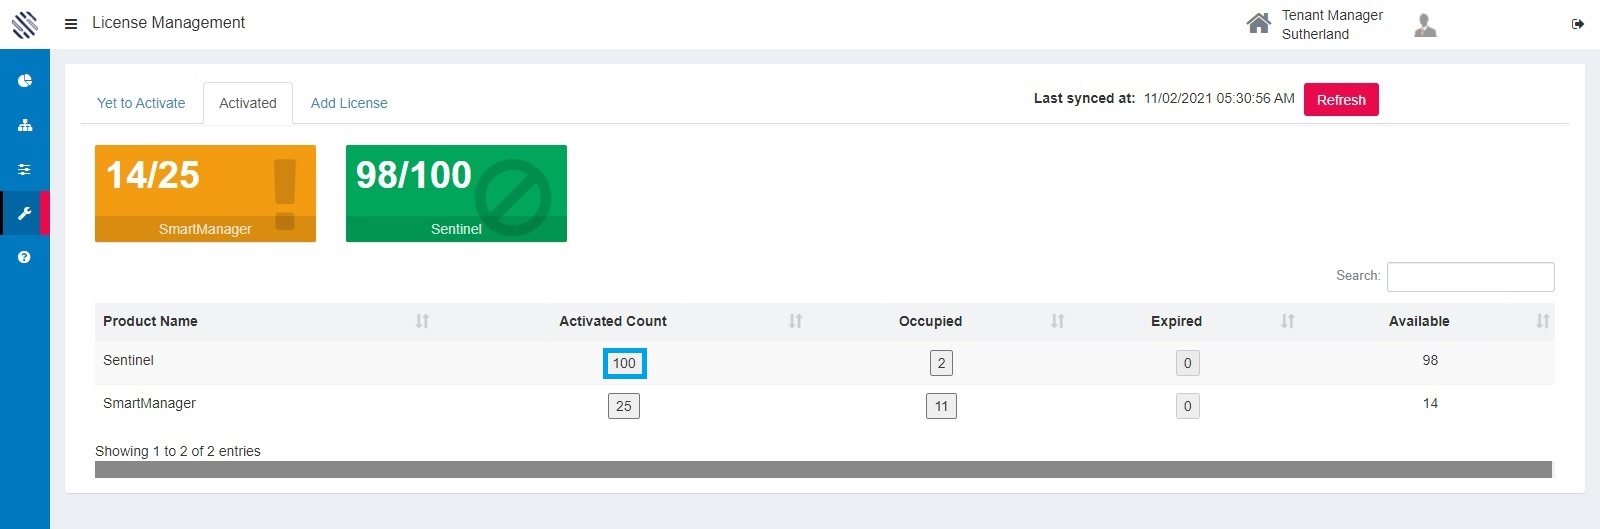
Figure 13
A comprehensive current report with each License ID, along with its pertaining information such as the Expiration Date, Status, the Machine Name and the Username are displayed.
Each status is projected using different colors.

Figure 14
Similarly, clicking on the number on the Occupied header will provide all pertaining information of the selected product.
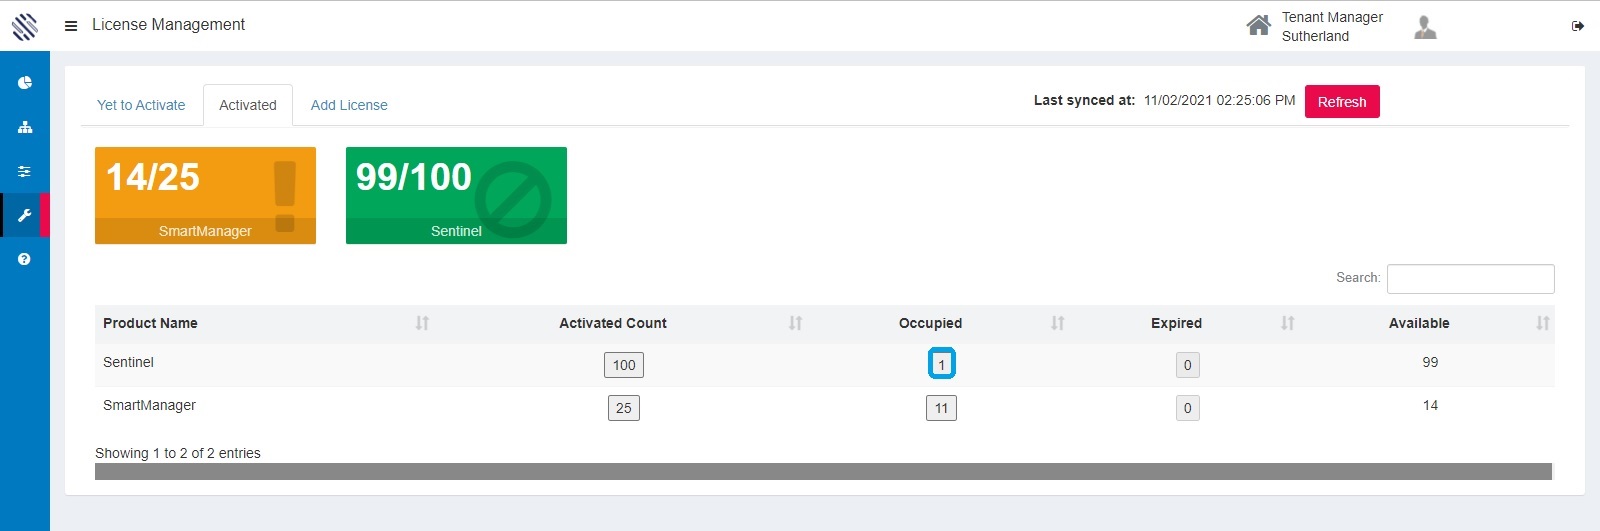
Figure 15
Details such as the Tenant, Machine Name, User Name, the Last Connected Date are displayed. To disconnect the License, click on the Action button.
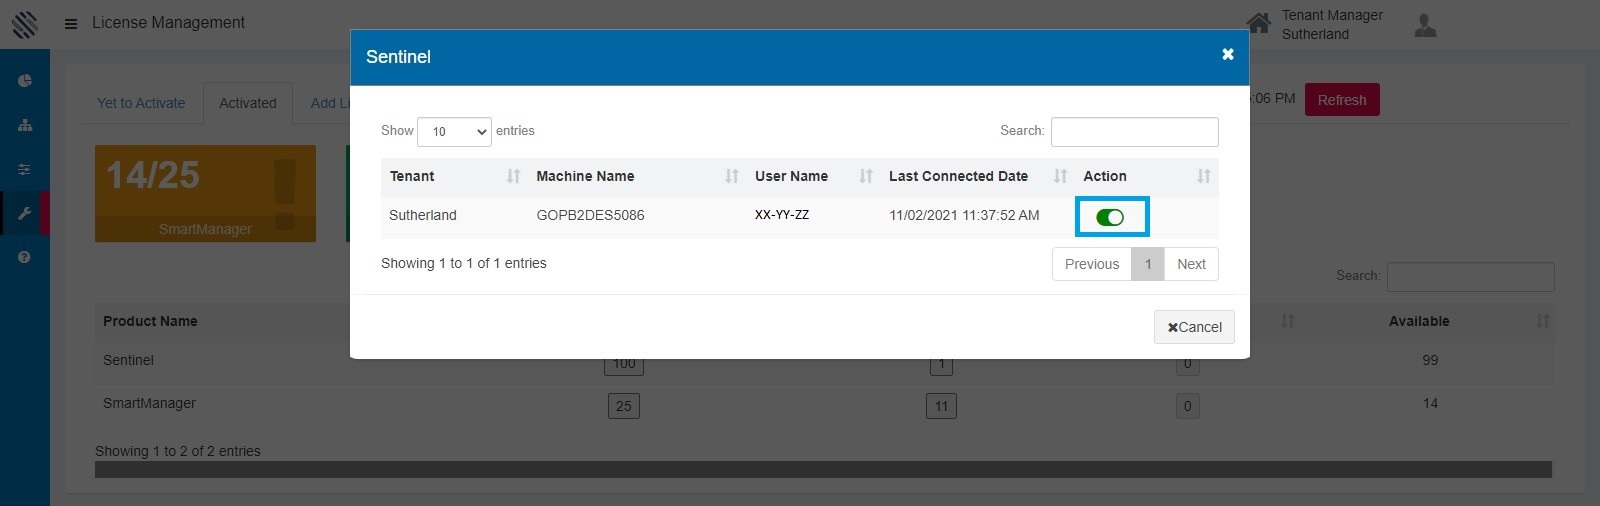
Figure 16
Confirm by clicking on the Yes option.
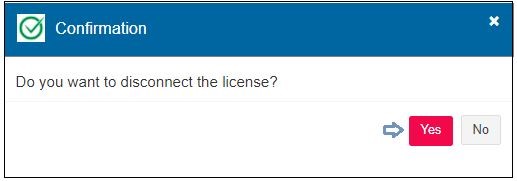
Figure 17
The license will be deactivated successfully.

Figure 18
Likewise, clicking on the number box adjacent to the Expired header will display the expiration details.
License track:
The License Track screen projects an overall summary of the Product Name with the Total Count of licenses used.
The user have to select the respective tenant from the grid.
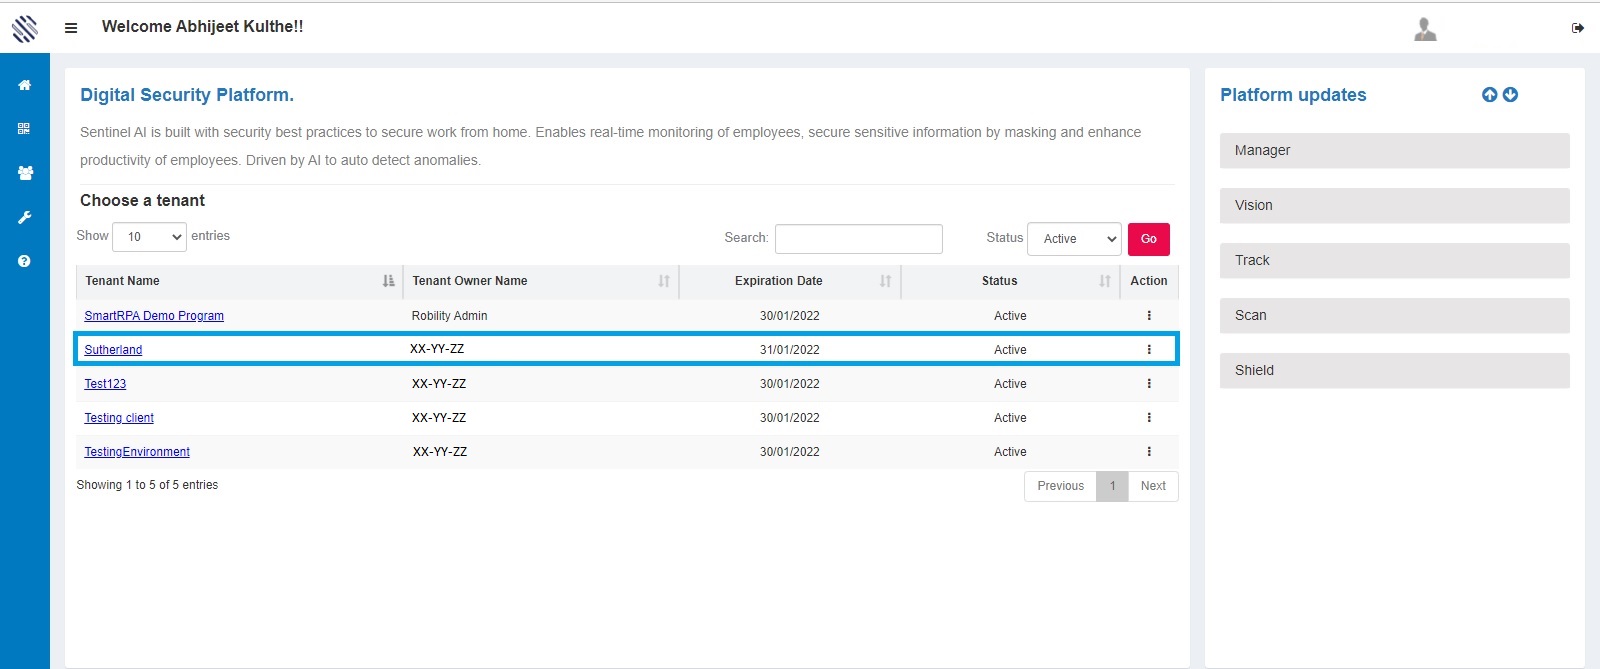
Figure 1
It redirects the user to the sentinel analytics page. In that page, from left corner the user have to,
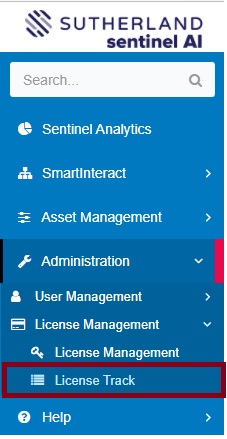
Figure 2
Administration-->License Management-->License Track
Thus, License track in a single screen provides a perfect audit trail as displayed in the ensuing images.
The activated split is represented as a pie chart.
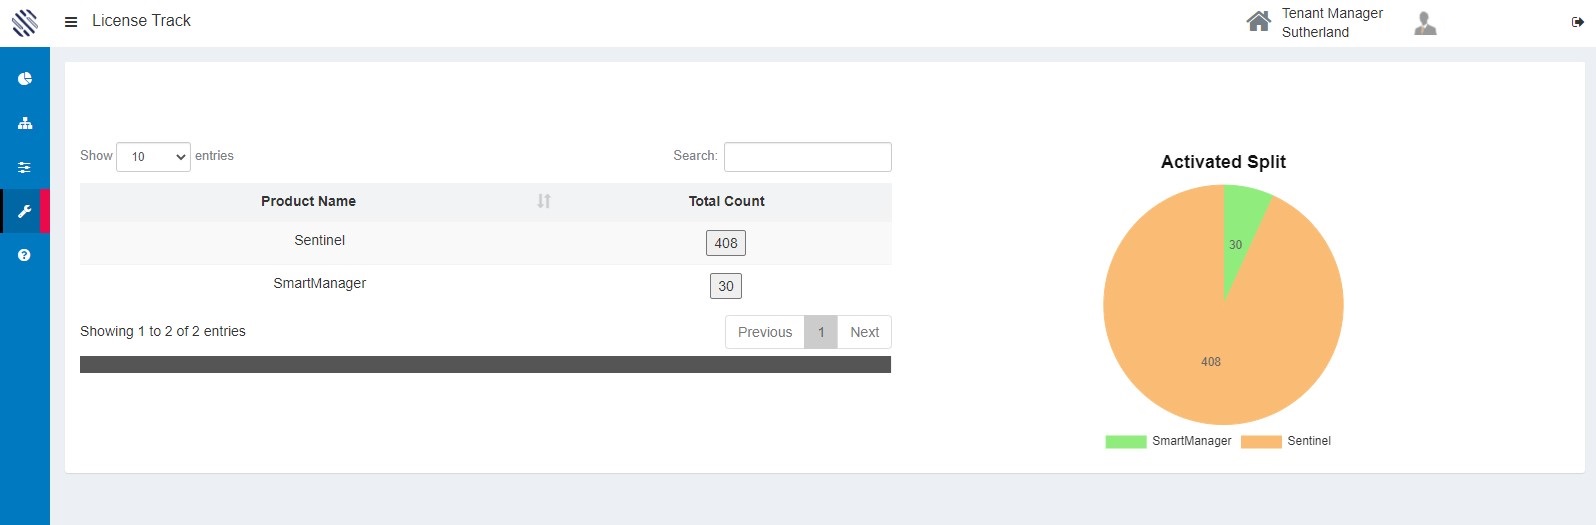
Figure 3
Clicking on the Total Count button, adjacent to Product Name will show the list of license IDs with their corresponding status.
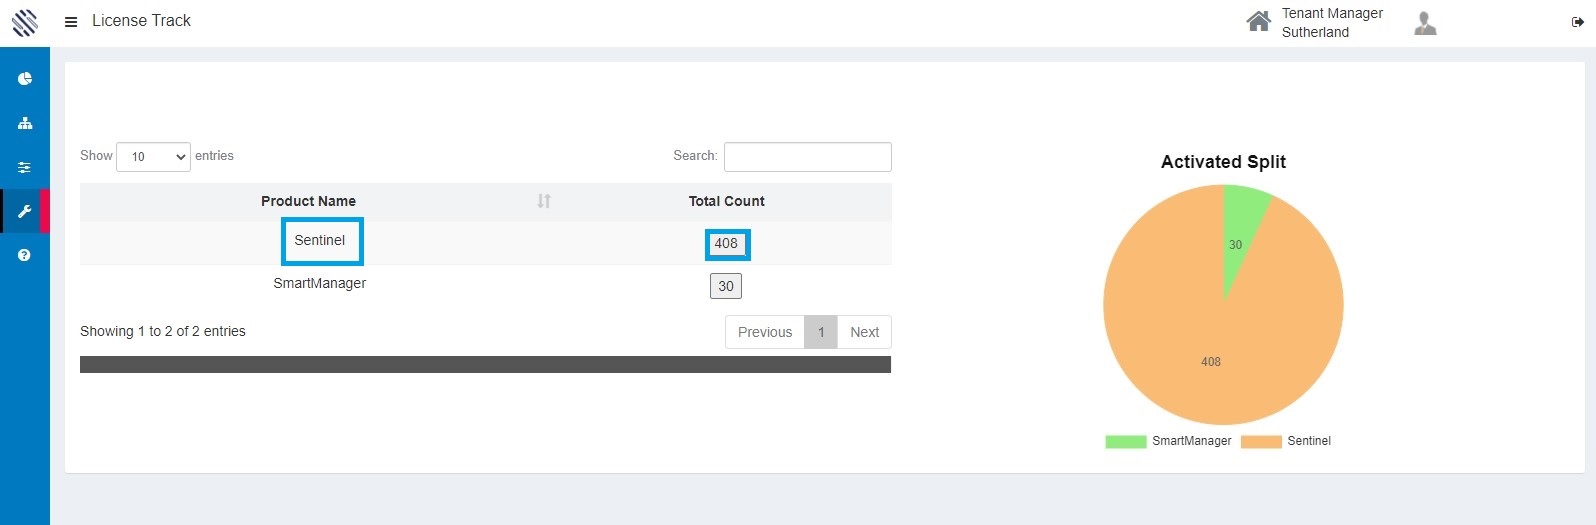
Figure 4
The License ID, Status of each ID are displayed. Click on the eye icon to view further details.
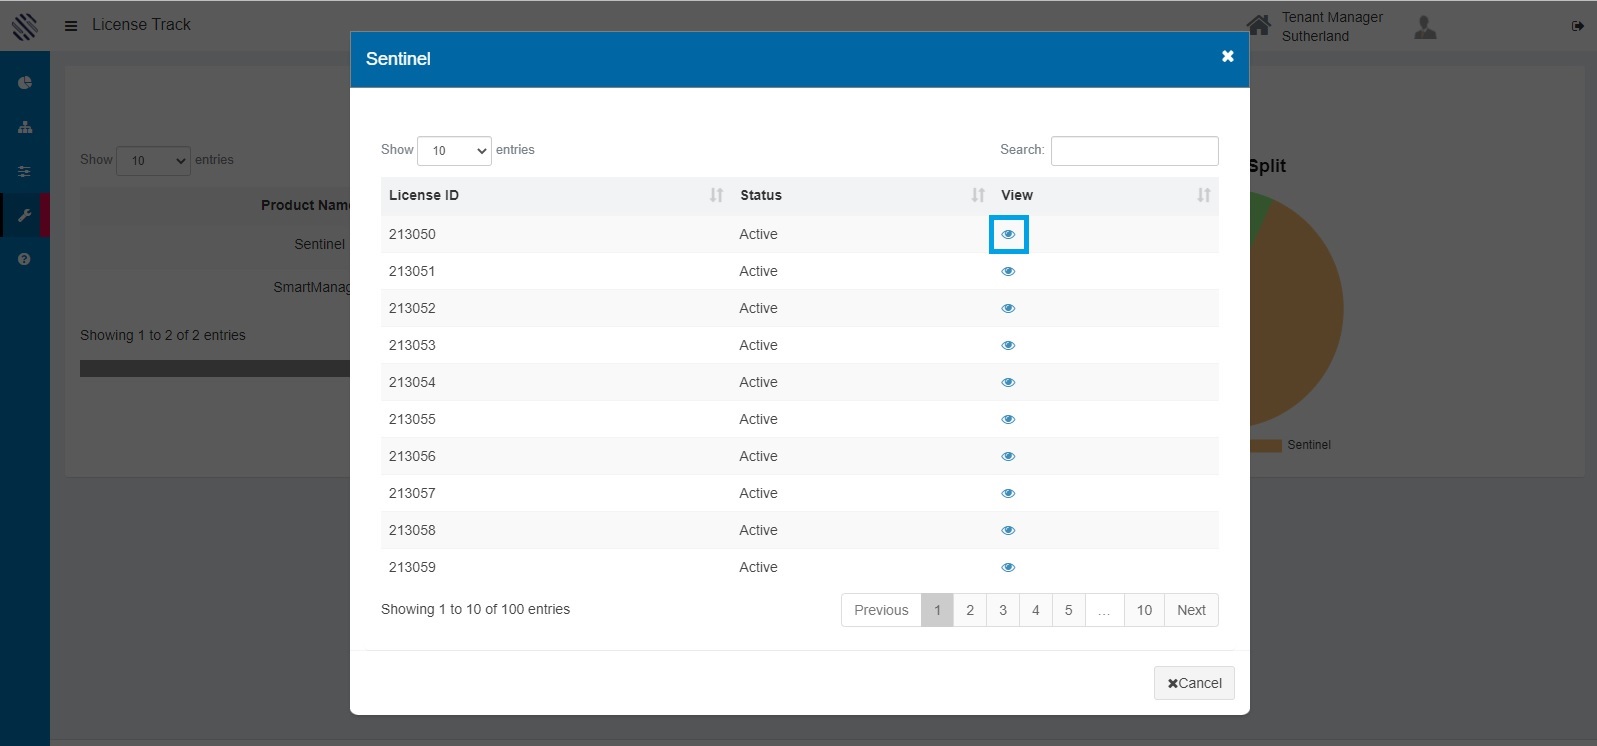
Figure 5
The Tenant, Machine Name, Username, Start and End time, and Duration can be tracked using the view option.
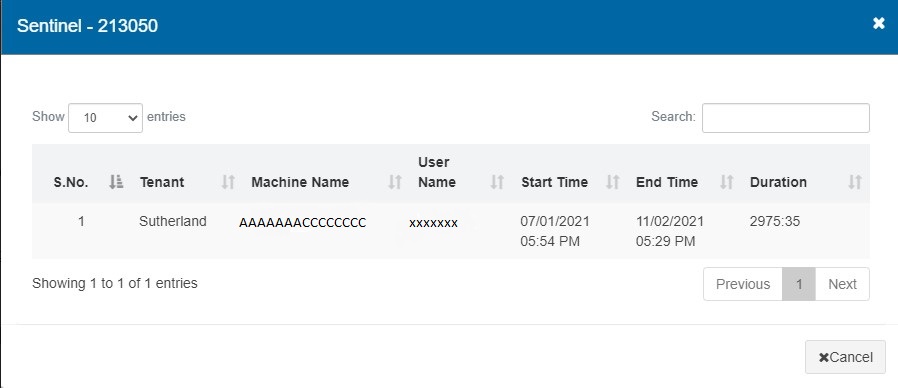
Figure 6
As mentioned, the split-up of activated total count is also represented in a Pie Chart for an enhanced pictorial view. Thus, the license track facilitates proficient tracking of the various licenses, their count and status
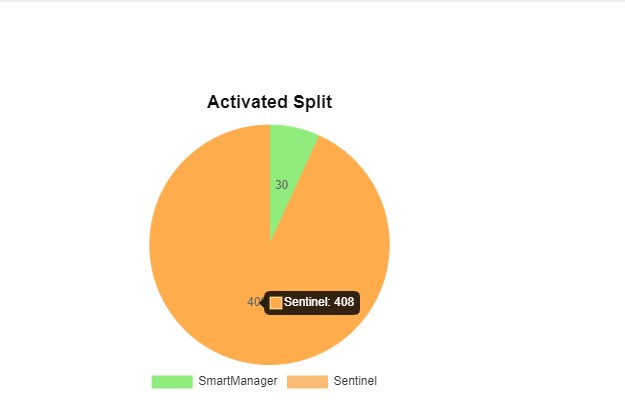

Figure 7 Figure 8