WriteLog
This activity is used when you are required to print/record the activities of the robot, e.g., error message pops up/data extraction is completed, based on the log level chosen during the run time.
Technical Reference:
|
|
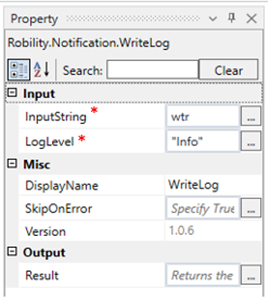
INPUT |
InputString: This specifies the value that is required to be displayed. |
|
LogLevel: The Log Level drop-down has multiple options to choose from and they are as follows: · Info · Trace · Fatal · Error · Debug · Warning · Off Depending on the selected option, the message is displayed only at that log level. |
||
|
MISC |
Display Name: Displays the name of the activity. You can also customize the activity name to help troubleshoot issues faster. This name will be used for logging purposes. |
|
|
SkipOnError: It specifies whether to continue executing the workflow even if it throws an error. This supports only Boolean value “True or False”. By default, it is set to “False.” True: Continues the workflow to the next step False: Stops the workflow and throws an error. |
||
|
Version: It specifies the version of the web automation feature in use |
||
|
OUTPUT |
Result: Declare and assign variable to return “SkipOnError” result. |
* Mandatory fields to execute the workflow.
Example:
Here we are going to extract data and display the log information for the activity.
To automate the process,
1. Open a project and create a workflow.
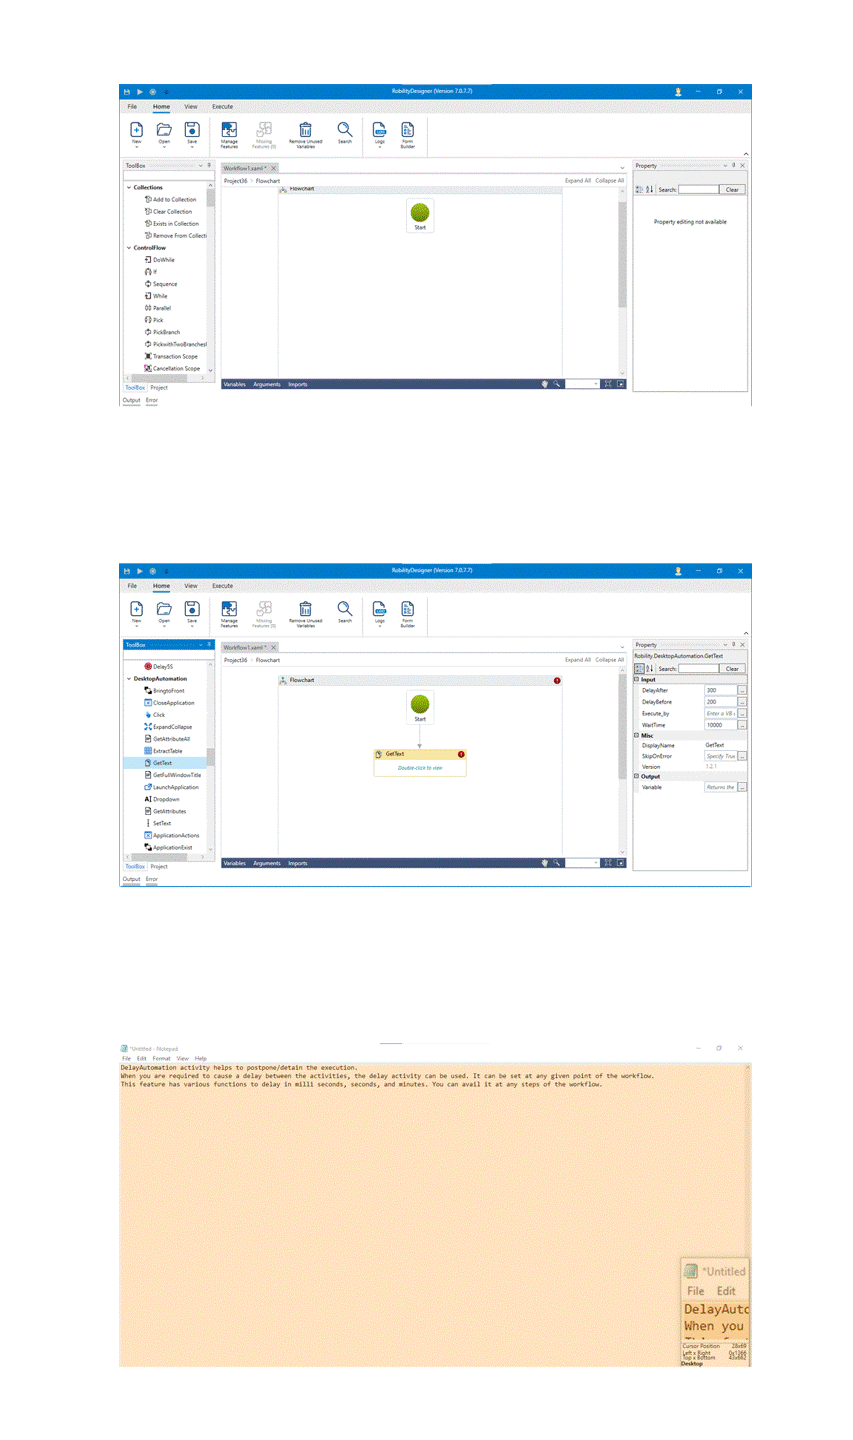
2. Search for Get text activity from Desktop automation and drag and drop it to the workflow.
3. Double click on the activity and select the application.
4. Create a variable from the output panel as “wtr”.
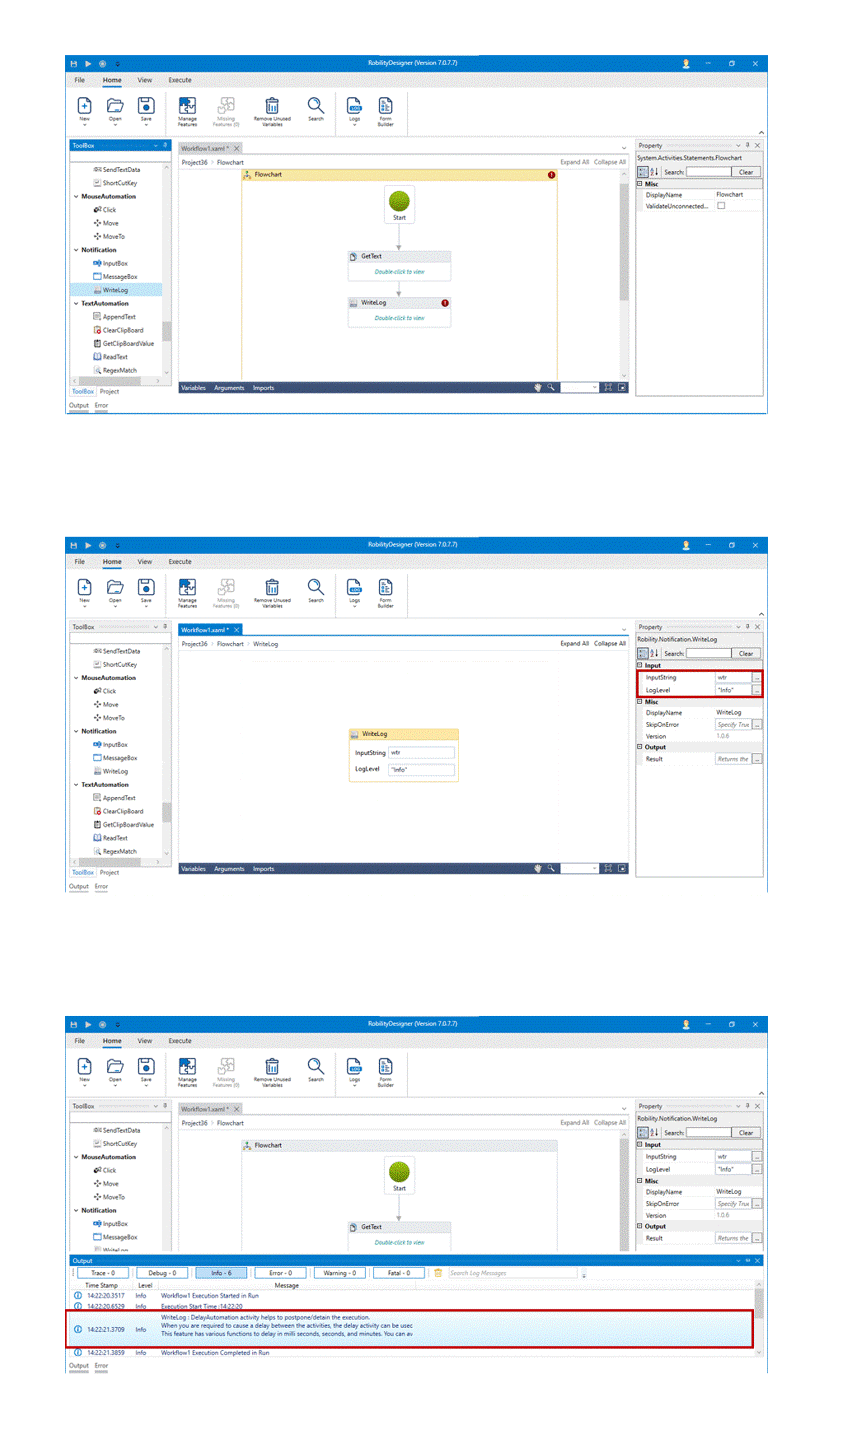
5. Next add write log activity below to the get text.
6. Enter the input string from get text activity.
7. Then, Enter the log level in double quotes.
8. To see the output, you can add an activity and execute the workflow.
9. The output will be displayed in the output window.
The bot will automate and extract the data from the Notepad application and then displays the log information.


