Create File
This activity helps the user to create a new file in the specified location.
Technical Reference:
|
|
INPUT |
Extn: Specify the file type from the extension that needs to be created. From the drop down, select anyone. Txt – This creates a notepad document. Xlsx- This creates a excel sheet document. Docx- This creates a Microsoft Word document. Doc – This creates any type of word application that is available. |
|
FileName: Specify the name in which the folder needs to be created within the double quotes. |
||
|
FilePath: Specify the path where the folder needs to be created in double quotes or select it manually. |
||
|
Overwrite: This box enables to overwrite any document if its already available in the path. |
||
|
MISC |
Display Name: Displays the name of the activity. You can also customize the activity name to help troubleshoot issues faster. This name will be used for logging purposes. |
|
|
SkipOnError: It specifies whether to continue executing the workflow even if it throws an error. This supports only Boolean value “True or False”. By default, it is set to “False” True: Continues the workflow to the next step False: Stops the workflow and throws an error. |
||
|
Version: It specifies the version of the web automation feature in use |
||
|
OUTPUT |
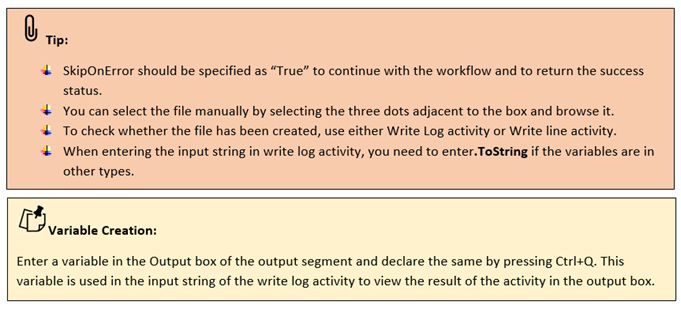
Result: Declare and assign variable to return “SkipOnError” result. Use a message box or write log to view the result. |
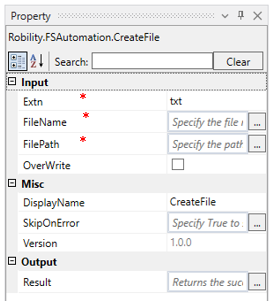
* Mandatory fields to execute the workflow.
The following activity illustrates on how can create a new file in a specified folder.
Example:
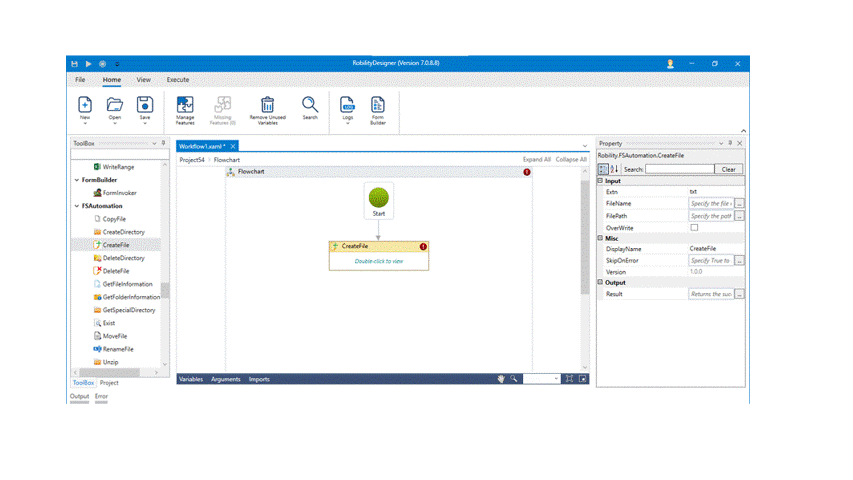
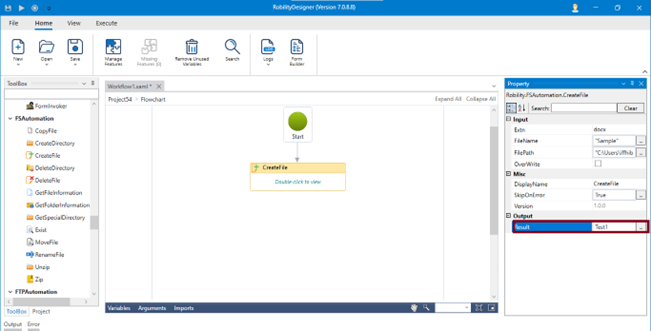
1. Open a project and create a workflow.
2. Drag and drop the Create File activity from FS Automation.
3. Double click on the activity.
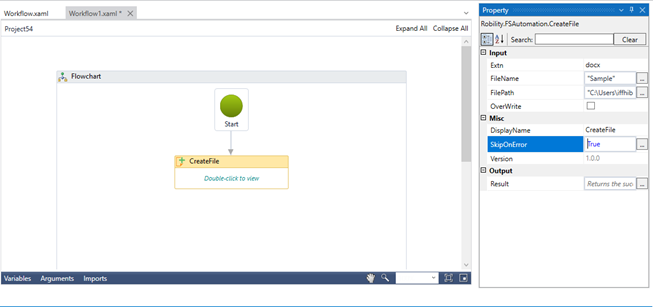
4. Enter the name “Sample” in which the file needs to be created within the double quotes.
5. Enter the file path where the file needs to be created within the double quotes or browse and select it manually by selecting the three dots.
6. To return the success status, Specify “True” in Skip on Error tab.
7. Declare and assign a new variable in Result tab.
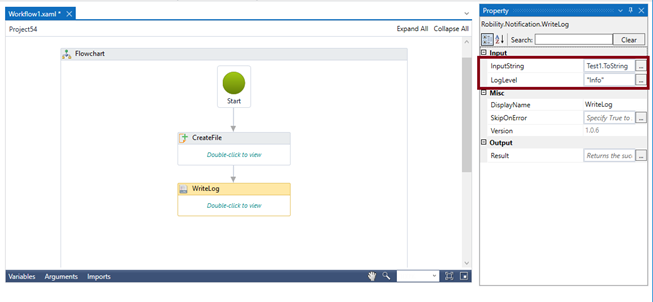
8. Drag and drop Write log activity and connect below the Create File activity.
9. Enter the input string as Test1.ToString in the box.
10. Enter the log level as “Info”.
11. Now, execute the workflow.
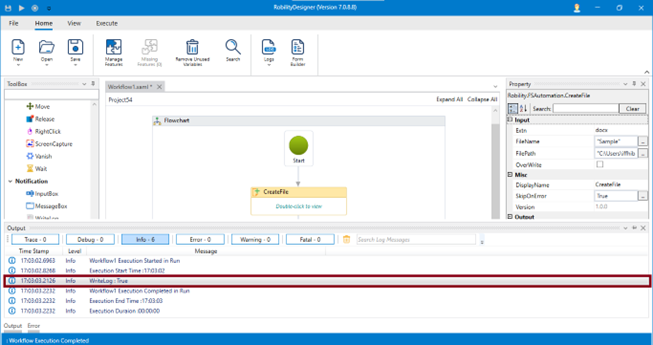
The bot creates a new Microsoft word document in the specified location.