Setting up Assisted robot
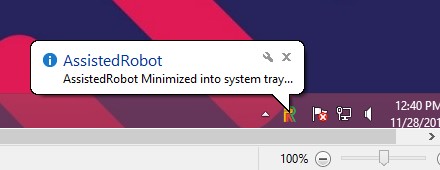
Once the Assisted Robot is installed, it can be minimized into the system tray.
Upon installing,the settings page will be displayed. Close it.The Assisted Robot main form will be displayed. Close that as well. Upon closing, it will be minimized into the system tray.
Figure 1
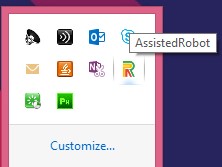
Select and right click on it.
Figure 2
It will enable the hot keys.
Figure 3
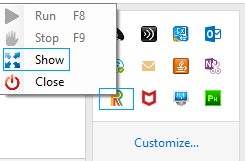
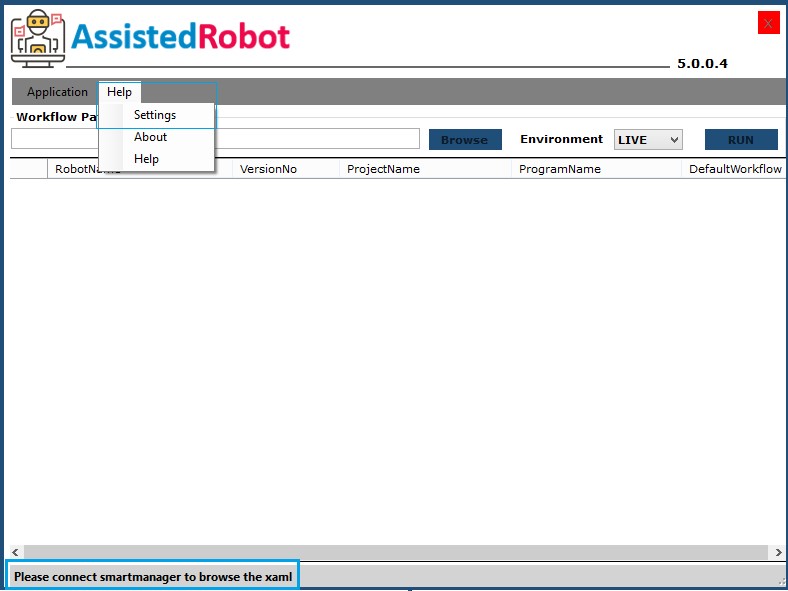
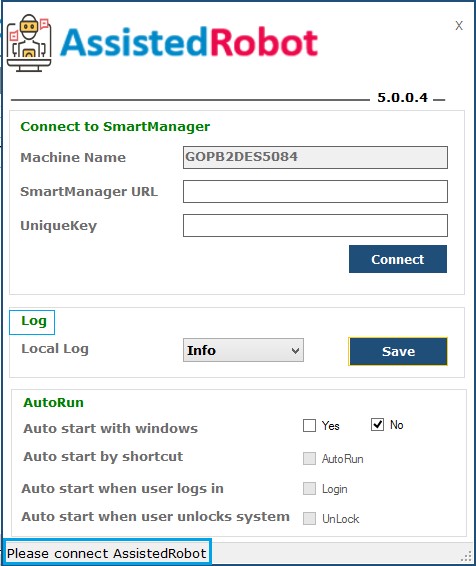
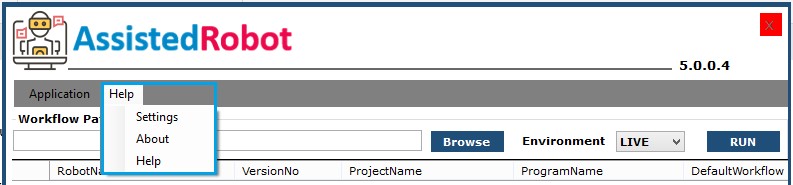
Click on Show to access the following screen.
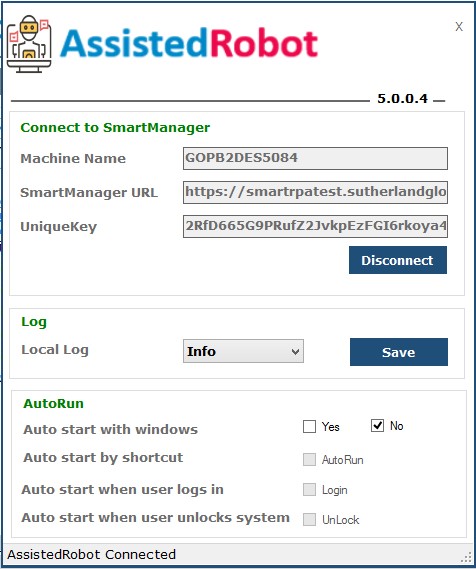
Left click on the Help menu and click on Settings to access the Connect To SmartManager screen. Refer Figure 4.
Figure 4
Check the Auto Run option. Select and Save the Log level.
Figure 5
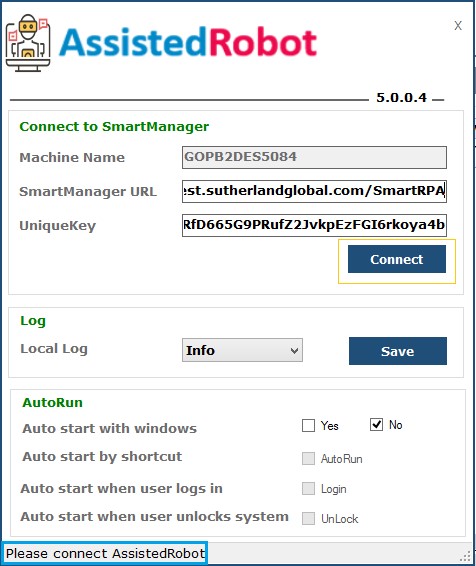
How to connect Assisted Robot?
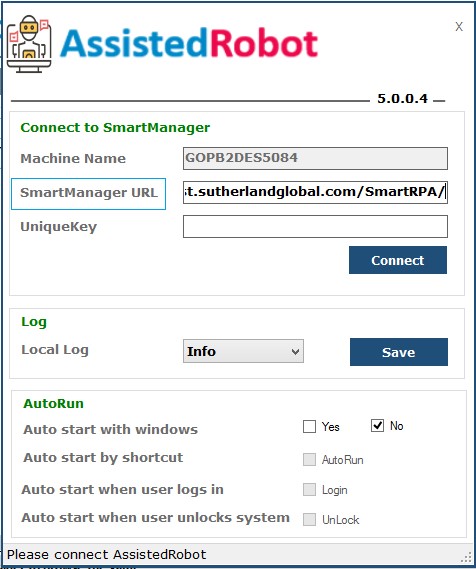
Once again open the Connect to SmartManager screen. Machine Name will be auto populated. Key in the SmartManagerÔÇÖs URL.
Figure 6
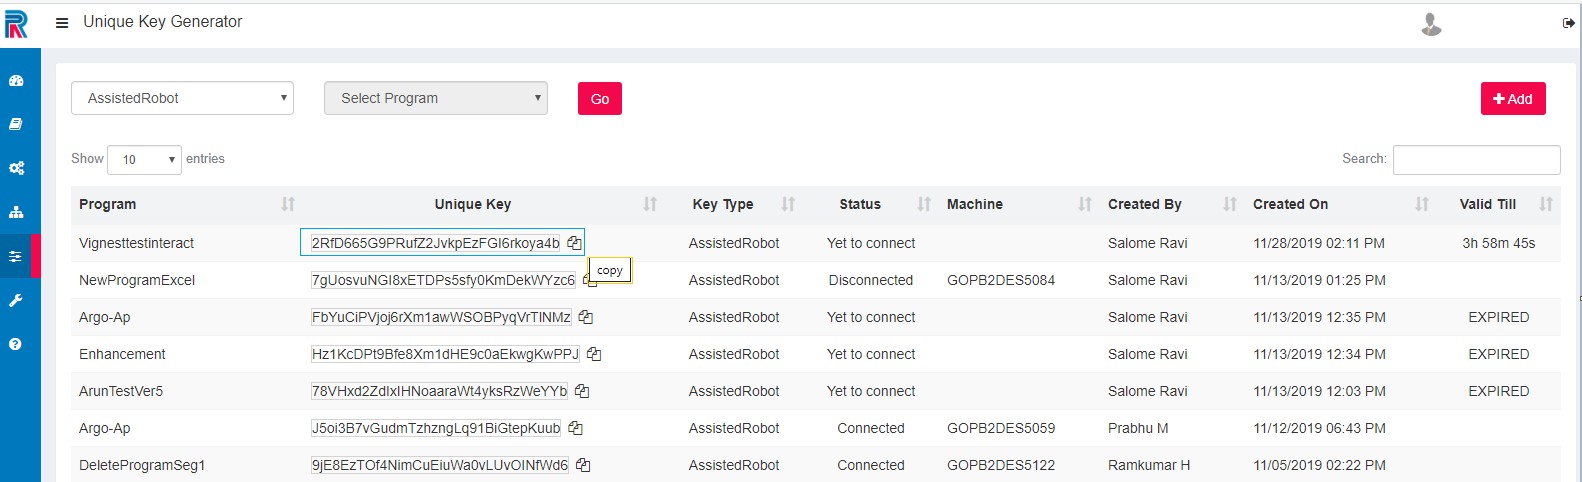
Generating the Unique key.
Log in to the SmartManager to generate the unique key .
Figure 7
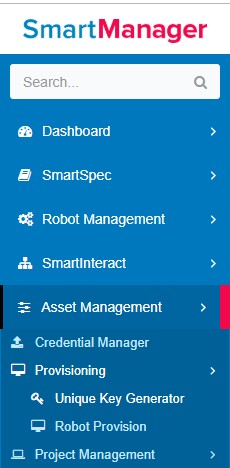
Asset Management tà Provisioning à Unique Key GeneratoràAdd
Select Assisted Robot as the Key Type from the drop-down. Select the Program Name from the drop-down. Key in the Number of Keys ( one.) Generate the unique key.
Figure 8
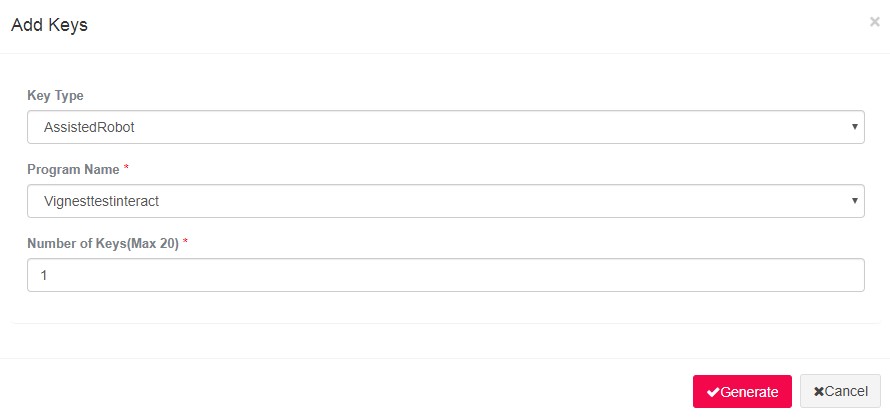
Note: A maximum of 20 keys can be generated.
The Unique key is generated and displayed as shown in the following images.
The Key Type, Created By, Date, Machine Name (the one for which the unique key is used), and the Validity Period of the key are provided. The Status of the key states Yet To Connect. Once the Assisted robot is connected, this will change to the connected status.
Note: The key will remain active for four hours, after which it elapses, and the user is required to repeat the steps to generate another key.
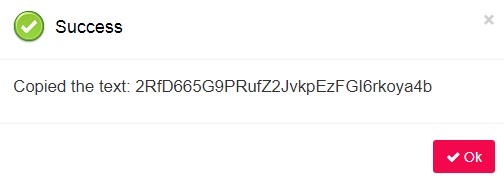
Copy and paste the generated key in the Login Screen. Refer Figure 11.
Figure 9
Copy the key.
Figure 10
Paste it in the Unique key field. After pasting the Unique Key, the message at the bottom will prompt the user to click on the Connect button. Click to Connect.
Figure 11
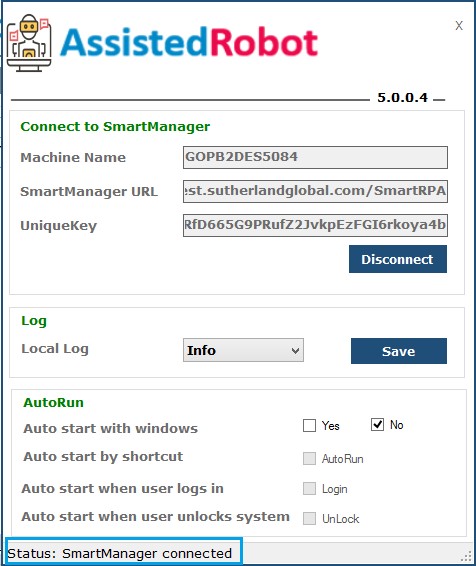
The Assisted Robot is now integrated with the SmartManager.
Figure 12
Functionality
How to execute the workflow?
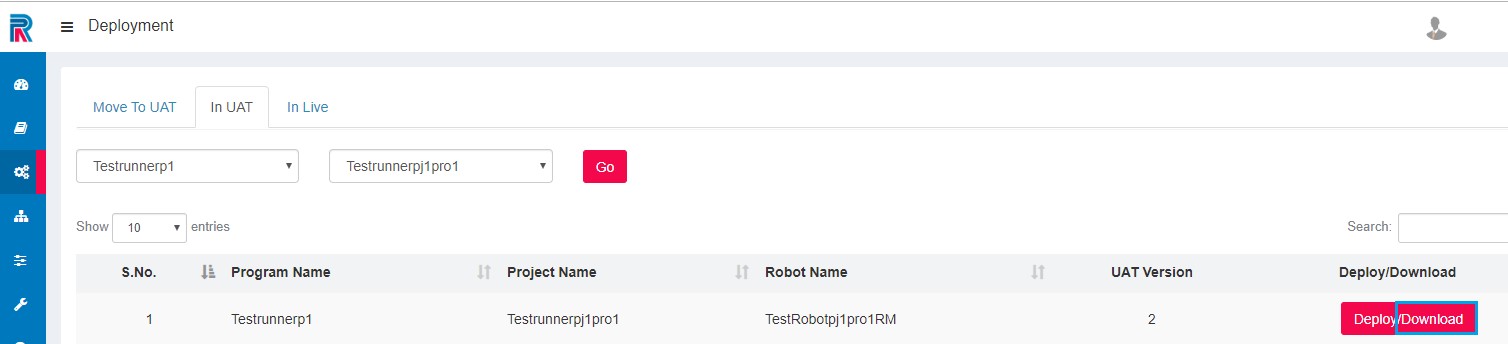
SmartManageràRobot ManagementàRobot Deployment
Select the Program and Project. Select the environment ( either In UAT or In Live). Click on the Go button. Click on Download to access the Robot List by Version page. Refer Figure
Figure 13
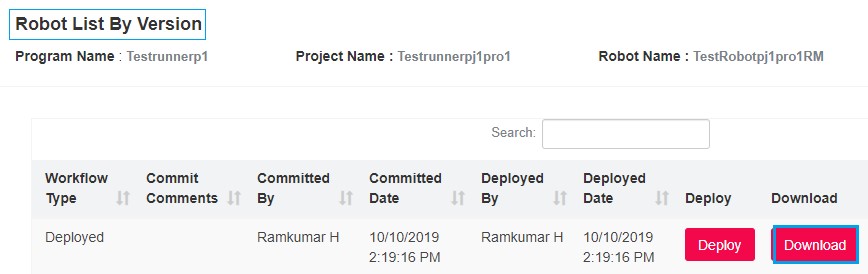
Once again click on the Download button to download the robot from here.
Figure 14
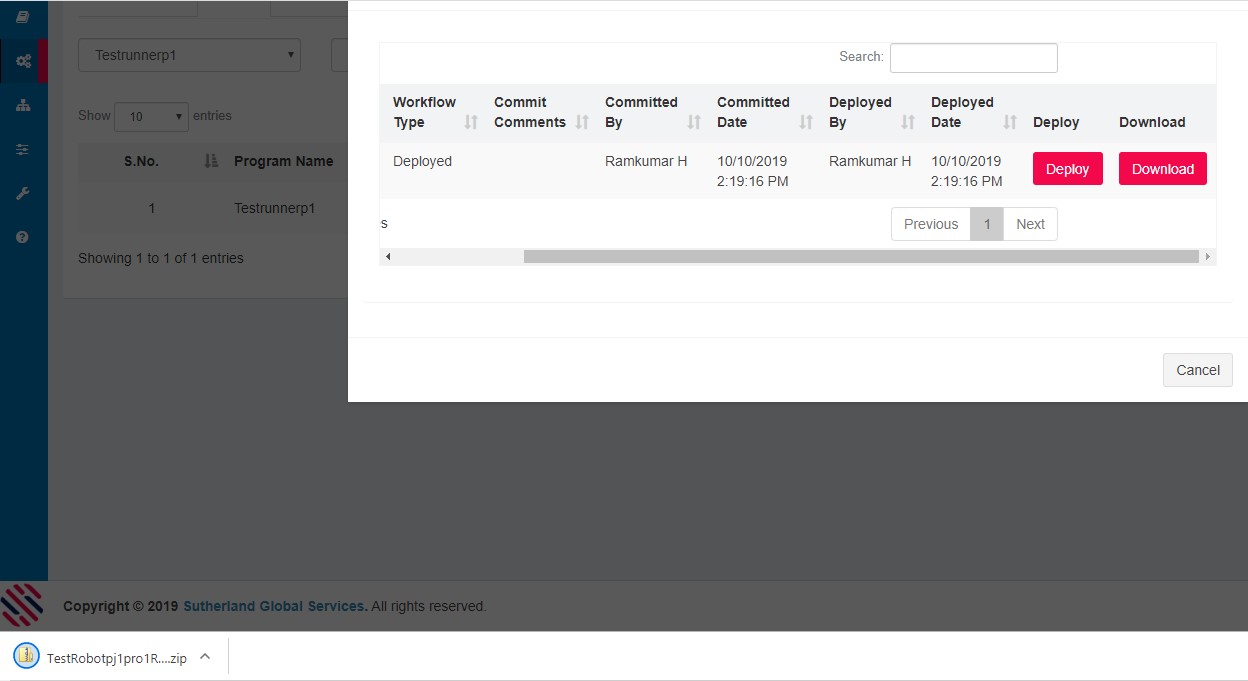
Download the preferred workflow from the SmartManager and copy the file in the local path to which the Assisted Robot will have access.
Figure 15
The user can locate a saved workflow using the Browse button.
Figure 16
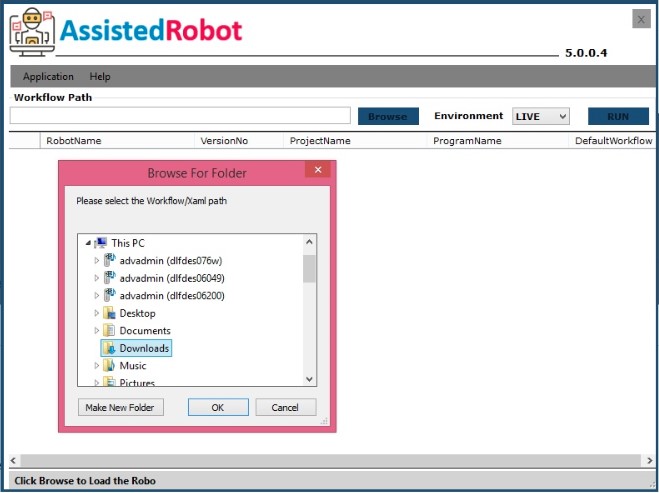
The Robot Name, Version Number, Project and Program Name along with the Default Workflow will be displayed. Select the robot and click on the Run button.
Figure 17
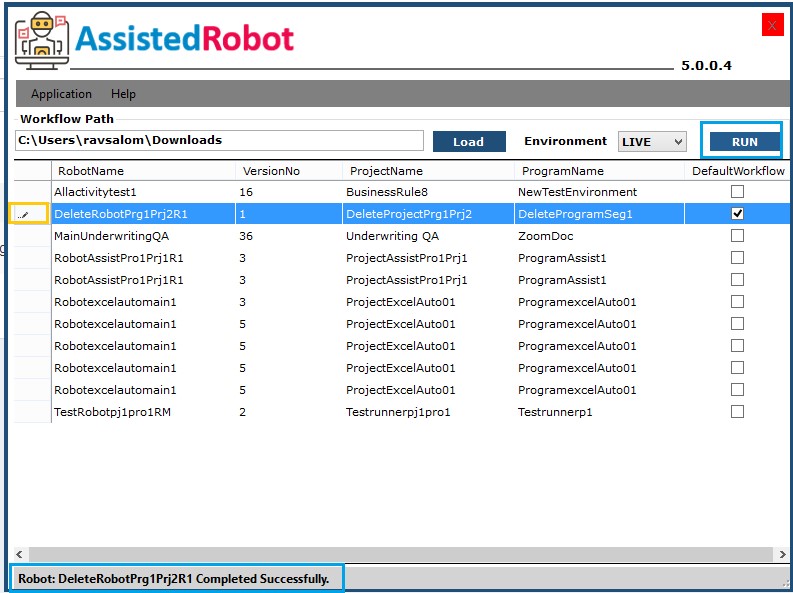
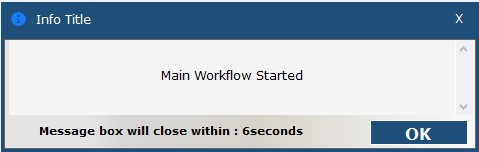
Robot starts running and commences the execution.
Figure 18
After run is completed, the success message will be displayed as seen in the image above this. Refer Figure 17.
Note: if the run fails, one can see it in the local logs.
Features
How is the Load option useful?
If one does not need to browse and upload the workflow, but wants to key in the path manually, from memory, the load option is used. Just type the path name and click on Load. The workflow will be loaded, and user can proceed to run the same.
Figure 19

What is in the Application Menu?
Left click on the Application menu.
Figure 20
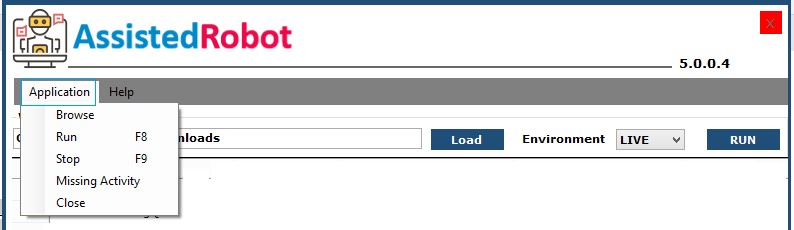
Browse: The Browse option is an essential feature. it enables the user to choose a workflow from a list of workflows saved in the specified location on the local desktop, to execute the same.
Run: Run is an important option in the application. Clicking the Run option triggers the workflow that is selected for execution and starts processing the transactions.
Stop: The Stop option is another functional utility of the Assisted Robot that allows the user to suspend the execution during the runtime of the workflow and displays the output window on the screen. This will be enabled only after Run is clicked.
Close: The Close provision helps the user to close the application when the execution is discontinued or if the user prefers to close the application.
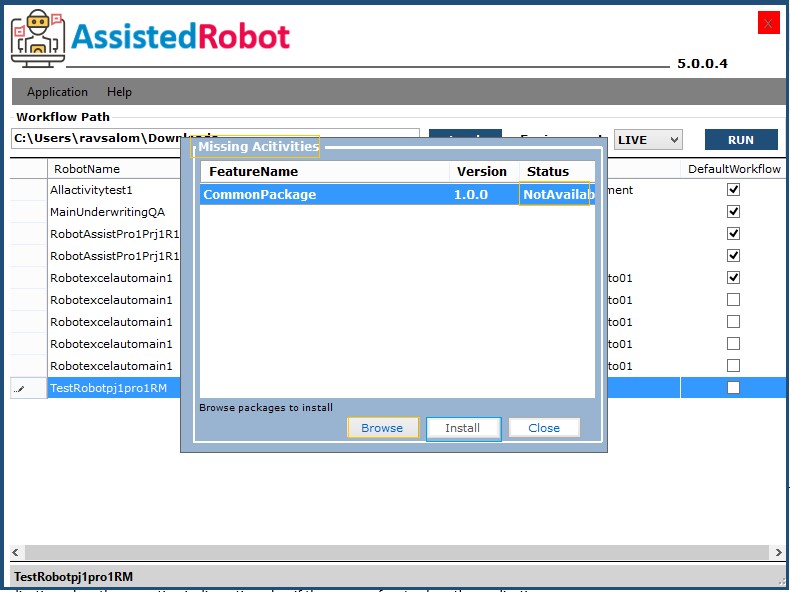
Missing Activity: While the execution is triggered, a validation of the availability of activities is performed. If these activities are required for the execution of robot, without interruption. a pop up appears, prompting to install the missing activities.
Thus, One has an option to browse and upload Missing Activities, if required.
Figure 21
Note: Right click on the Application and it will have Run, Stop, Show and Close options, as does the Help menu.
What are the features available in the help menu?
It has sub-menus, such as, Settings, About and Help Document. A comprehensive explanation follows.
Help
Left click on the Help menu. The Help menu comprises Settings. Click on it to connect with SmartManager, generate the unique key and connect the assisted robot.
Figure 22
Disconnecting SmartManager
The status at the bottom states that the assisted robot is connected. If one wants to disconnect the SmartManager, it can be done here .Likewise, to begin with and to connect assisted robot, the same screen will be used.
Figure 23
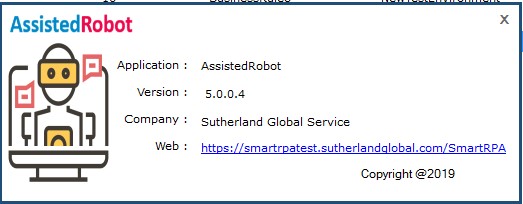
The other option in Help is About and displays details about the application.
Figure 24
Help Document
A comprehensive help document can be accessed to understand the application better.
Other Features
Browse :One can straightaway click Browse and load the workflow.
Environment: Lists down two choices, namely, Live and UAT in which the robot can run.
Run: One can run the workflow.
What are the available log levels?
Local logÔÇÖs drop-downs have the following options:
Off: You can turn off the log levels if you do not require them.
Trace: Trace level allows the user to capture every single action or step executed by the robot, along with the step by step information. Info, Debug and the succeeding levels are traced when one chooses the trace level.
Debug: If the requirement is for the initiation and completion details of the activities, barring the system information, choose the Debug level. Information, Warning and the subsequent levels will be captured (if present) when one chooses the Debug level. Except for trace, all other log levels will be displayed.
Info: This log level provides information pertaining to the start and end of the execution of the workflow and captures errors, if any, warnings and fatal errors, if any, will be captured if the user selects the info log level.
Error: In certain runs, some part of the workflow will be executed, and some others may not due to errors and in such instances the user could set Error- to check where, and how the mistake has occurred.
Fatal: The execution of the robot that can be interrupted due to factors such as the prime inputs being invalid is of high importance and therefore will be tracked under the fatal option.
Select the log level and save.
Log Files
They are stored locally in the C:\AppData\Local\SmartRunner\Logs folder with the corresponding dates.
They contain the footprint of each activity that gets executed from the start until the end of the workflow.
Logs help to debug the issues that are prevalent in the runtime of the robot and also help us find those errors that suspended the execution.
Explore with Hot Keys
Hot Keys brings user-friendly features to further enhance the application.
Figure 25
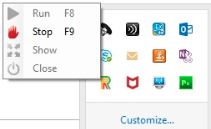
Figure 26
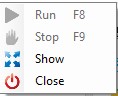
One can use the shortcuts for actions in the system tray icon.Refer Figures 25 and 26
- Select the SmartRunner Icon in the System tray and use the Stop option to stop the robot during the runtime. It will be enabled once run is initiated
- Select the SmartRunner Icon in the System tray and use the Show option to show the landing page of the assisted robot [minimized mode]
- Select the SmartRunner Icon in the System tray and use the close option to close the application if the robot is not running [minimized mode.]
Best Practices for optimal performance of the Assisted Robot
- Robot is to be designed to acquire the credentials of the tools or target systems from the user through an input dialog box or request the user to enter directly in the target system
- Transactions or input is to be processed and should be maintained in the local memory excel file, since the robot does not communicate with the SmartInteract workflow (webservice to receive input)
- Robot launches the browser and creates a dialog or input window, accessible by the agent to key in the required details or inputs for the robot to execute or process the transaction This is because the robot will not be able to communicate with the browser launched by the user
- Assisted Robot comprises a stop option to terminate the robot, so build workflow with necessary validation procedure to either proceed or terminate the execution
- The utilization of Google, Microsoft and Abbyy OCR engines require internet access.
Benefits
- Desktop will register logs in the local memory and not transport any customer data to the SmartRPA platform server resulting in enhancing security protocol as well as keeping the platform light for greater efficiency
- Users key in the target systemÔÇÖs credential or RSA token OTP to authenticate the robot to execute the transaction without disclosing the credentials, leading to enhanced security
- The userÔÇÖs desktop can be utilized to run the robot even during non-production or idle hours ,increasing productivity and positively impacting revenue streams.