The Get stop status activity can be employed in the workflow to terminate the process.
It can be used in several preferred points in the workflow where we wish to halt
the execution of the robot.
The “Stop” will be initiated only if the “GetStopStatus” activity is utilized in the
workflow.
Technical Reference
|
|
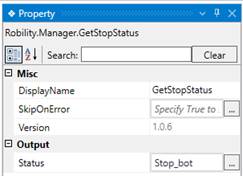
MISC |
Display Name: Displays the name of the activity. The activity name can also be customized to help in troubleshooting. |
|
SkipOnError: It specifies whether to continue executing the workflow even if it throws an error. This supports only Boolean value “True or False.” True: Continues to execute the workflow irrespective of any error thrown. False: The workflow aborts if it throws any error. None: If the option is specified as blank, by default the activity will perform as “False” action. |
||
|
Version: It specifies the version of the Robility Manager feature in use. |
||
|
OUTPUT |
Output: It helps to view the output of the activity in a "Boolean" datatype. True: Indicates that the workflow has been successfully stopped by the activity. False: Indicates that the workflow has not been stopped by the activity and specifies the exception thrown. |
Use Case
The following use case illustrates how we can utilize the “GetStopStatus” activity
in a workflow, which facilitates to stop a workflow when it’s executed in the runner.
Here we are using the workflow from the “Use case” of “EmailAutomation” feature
which has been automated to run in loop. This Automation use case helps to read
the mails and extract the report from the mailbox in a loop.
(To get detailed information, refer the use case).
Within the workflow, we are utilizing the “GetStopStatus” activity to “Terminate” the
execution of the bot utilizing the “Stop” button in the “Manager.”
The output of the activity will terminate the workflow and moves the robot to "Idle"
state in the “Manager.”
Steps to execute the bot
In the following steps, we are continuing from the “EmailAutomation use case”,
follow the previous steps in the use case.
1. Add a “GetStopStatus” activity and place it before the “ForEach” activity in the
workflow.
a. Navigate to the “Status” in the properties of the activity and declare a variable
to view the status of the activity.
b. There are two ways to create a variable-
i. Method 1 – Click on the "Status" property within the "GetStopStatus" activity and
enter the variable name. In this case, we are using " Stop_bot." Then, press
"Ctrl+Q," which is a shortcut key to create a variable.
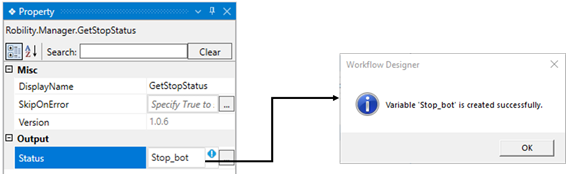
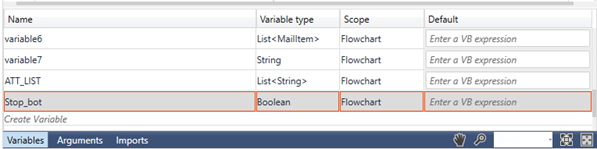
ii. Method 2 - Click on the Variables pane and enter the name " Stop_bot." Then, in
the "Variable Types" column, select "Boolean" from the dropdown menu.
2. Now, save the workflow and publish the workflow. (Click here to know how to
Publish the workflow.)
3. Once the workflow has been published, navigate to the “RobilityManager”.
a. Login with your credentials to access the platform.
b. Select the “Tenant” name under which the project has been published.
c. Navigate to the “Projects” menu and click on “Go” button against the respective
automation project.
d. Next navigate to the “Robot” menu and connect the “Machine” to execute the
Automation. (Click here to refer the steps to connect the robot to Runner.)
e. Once the robot has been connected, copy the “License key” available in the
Manager.
4. Lauch the “Runner” in your machine and paste the “License key” in the Runner.
5. Then, navigate to the “Robot” in RobilityManager and click on “Run” button to
initiate the Automation.
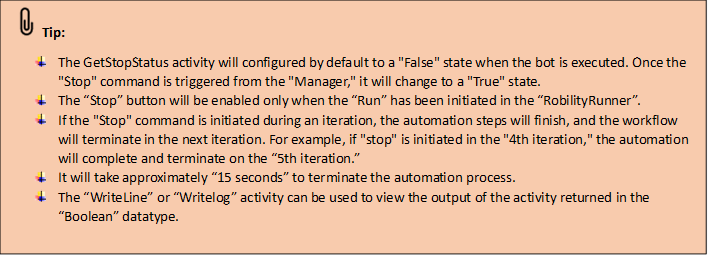
6. When the Runner receives the “Request”, it will initiate to execute the workflow
and the status in the “Manager” will be changed to “Run initiated”.
7. Now, the “Stop” button will be enabled to terminate the workflow through Manager.
a. Click on the “Stop” button on the “Manager”.
b. A request will be sent to the “RobilityRunner” to terminate the workflow.
c. The workflow will be aborted, and the robot moves to “ToCheck” status and gets
back to “Idle” state.