
This activity is used to connect to Microsoft Azure blob storage to create containers that help
download and upload files.A container organizes a set of blobs, like the directory in a file path
system. A storage blob can include number of containers and the containers can create “n”
number of files.
Technical Reference
|
|
INPUT |
ContainerName: Specify a name for the container to be created. |
|
MISC |
Display Name: Displays the name of the activity. You can also customize the activity name to help troubleshoot issues faster. This name will be used for logging purposes. |
|
|
SkipOnError: It specifies whether to continue executing the workflow even if it throws an error. This supports only Boolean value “True or False”. By default, it is set to “False.” True: Continues the workflow to the next step False: Stops the workflow and throws an error. |
||
|
Version: It specifies the version of the AzureBlob feature in use |
||
|
OUTPUT |
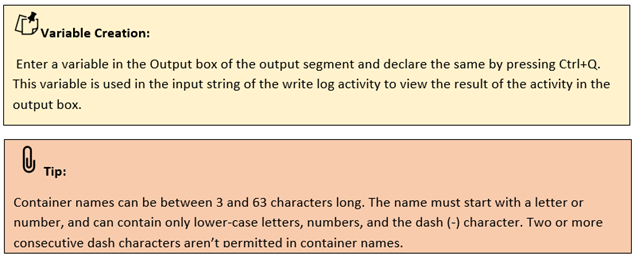
Output: This is not a mandatory field. However, to see if the container has been created, declare a variable here. |
|
|
Result: Declare a variable here to validate the activity. It accepts only Boolean value. This is not a mandatory field. |
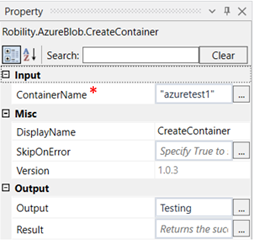
*Mandatory field to execute the workflow
Use Case
The following example illustrates on how we can use the create container activity
to create a container in the Microsoft azure blob storage. Here we are going to
create a container "azuretest1" in the azure blob storage.
Steps to execute the bot
1. Drag and drop an azure scope activity to the workflow.
2. Enter the account name and account key.
3. Drag and drop the create container activity within the Azure scope.
4. Click on the activity.
5. Enter a name for the container to be created within double quotes. Here it
is “Azuretest1.”
6. Enter the declared variable in the output box of the output segment. Here it
is Testing.
7. Drag and drop a writelog activity below the azure scope.
8. Enter the above declared variable in the input string of the write log activity and
add.ToString to it as the writelog accepts only string values. E.g., Testing.ToString
9. Enter the log level as “Info.”
10. Execute the activity.
The bot executes the activity and creates a container in the Azure blob storage.