
This activity is used to import data from the browser to the created table.
Technical Reference
|
|
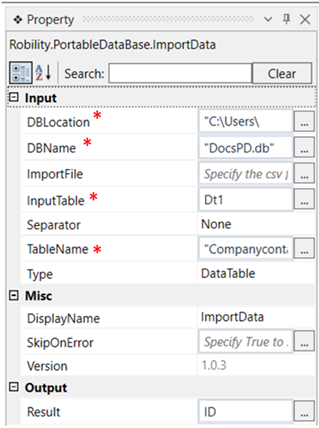
INPUT |
DBLocation: Specify the location of the DB file. |
|
DBName: Specify the name of the database in which the table is present. |
||
|
ImportFile: Specify the name of the CSV File. |
||
|
InputTable: Specify the Variable from which the data has to be taken and imported to the created table. |
||
|
Seperator: Specify any separator present in the CSV File. |
||
|
TableName: Specify the name of the table into which the data has to be imported. |
||
|
Type: Choose the type from the drop down if it’s a datatable, CSV, Excel |
||
|
MISC |
Display Name: Displays the name of the activity. You can also customize the activity name to help troubleshoot issues faster. This name will be used for logging purposes. |
|
|
SkipOnError: It specifies whether to continue executing the workflow even if it throws an error. This supports only Boolean value “True or False.” True: Continues to execute the workflow irrespective of any error thrown. False: Stops the workflow if it throws any error |
||
|
Version: It specifies the version of the Portable database feature in use. |
||
|
OUTPUT |
Result: Define a Boolean value to validate the success state of the activity. |
*Mandatory fields to execute the workflow
Use Case
The following example illustrates on how we can use the import data activity, to
import data into the created table. This activity is used along with the HTMLtoDatatable
activity from the webautomation feature to import a data from the browser and insert
it into the table. To see if the data has been inserted to the table, we can use the
execute query activity along with a table viewer activity from the datatable automation
feature,to view the data inserted to the table.
Steps to execute a bot
1. Drag and drop a HTMLToDatatable activity to the workflow.
2. Double click on the activity and click on edit element and spy the data to be
imported from the browser. Here we have to keep the browser open,if not we can
use the open browser activity from webautomation to open the specific browser
and then drag and drop these activities.
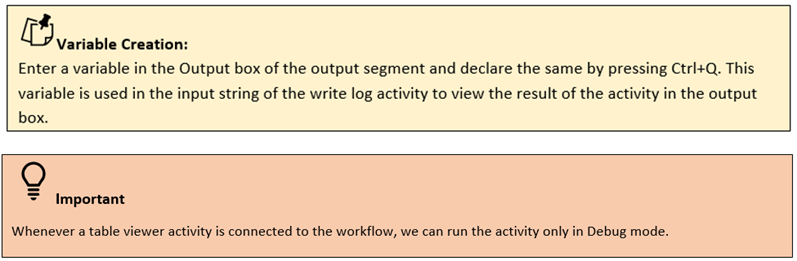
3. Create a variable in the Datatable box of the output window in the
HTMLToDatatable property window. Here it is Dt1.
4. Now drag and drop an import data activity to the workflow.
5. Double click on the activity and fill in the required details in the box given.
6. Enter the database location, database name and the table name to which the data
has to be imported.
7. In the import data property box, add the input table as Dt1 which is the variable
assigned in the HTMLToDatatable activity.
8. Choose the type as datatable as we are importing a datatable type from the
browser to the table.
To view the table with the imported data, we can use the execute query activity
to extract specific details along with the table viewer activity to view the table.
9. Drag and drop a execute query activity below the import data activity.
10. Double click on the activity and fill the DB location and DB Name.
11. Specify the query in the following format, if all the details are required from the table.
“Select * from Tablename;”, Example: “Select * from CompanyContact;”
12. If you need specific details from the table, for example if we need the contact from
the table, then specify “Select contact from CompanyContact;”.
13. Declare a variable in the Datatable box of the output window. Here it is Dt.
14. Drag and drop a table viewer activity below the execute query activity.
15. Specify the value if the datatable to be passed. Here it is Dt.
16. Execute the workflow
The bot uses the HTMLToDatatable activity to extract the data from the browser,
imports the data into the table using the import data activity, executes the query
mentioned for the table using the execute query activity and displays the
information mentioned in the query.