Use Case
The following activity illustrates how we will be using the get attributes activity to
retrieve the attribute of the element “products and platforms” from the webpage
https://www.sutherlandglobal.com/.
Steps to execute a bot
Here we are going to automate the process of getting attributes of a specified
element. It presents activities such as Get attributes, Message log, date table
viewer.
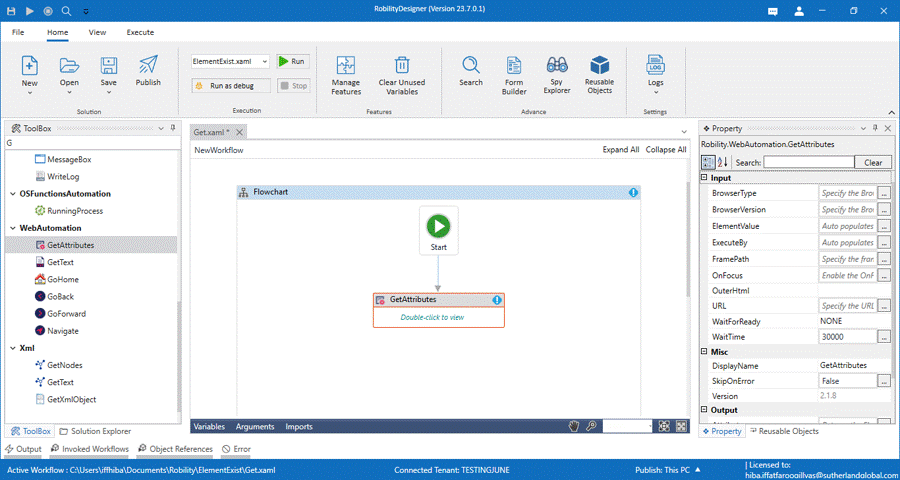
1. Open a project and create a workflow
2. Drag and drop the get attributes activity from the web automation feature.
3. Double click the activity and select the element “Products and platforms “from
the webpage for which the attribute needs to be retrieved.
4. Select the element from the webpage and choose the attributes. Click on export.
5. Once exported you can choose the variable that you wish to see as output from
the drop-down list in the select element screen. Here we choose the element “href”.
6. Then we need to create variables for the attributes and attribute value to complete
the workflow.
7. While creating the variable you can either choose a variable from the existing values
or type a new variable and press” CTRL+Q” to save the variable.
8. Here we are declaring the variable as "AttVal" on the Attributes property. And "Msg"
on the Attriutes value property to retrieve the attribute name and its values.

How to use a message box
1. Drag and drop a message box activity from the notifications feature below the get
attributes activity.
2. Add the variable “Msg” which was added in the “attribute value” of the get attribute
property to the input string.
3. Give a title to the Message box within strings in which the result would pop up.
For e.g., “Result”
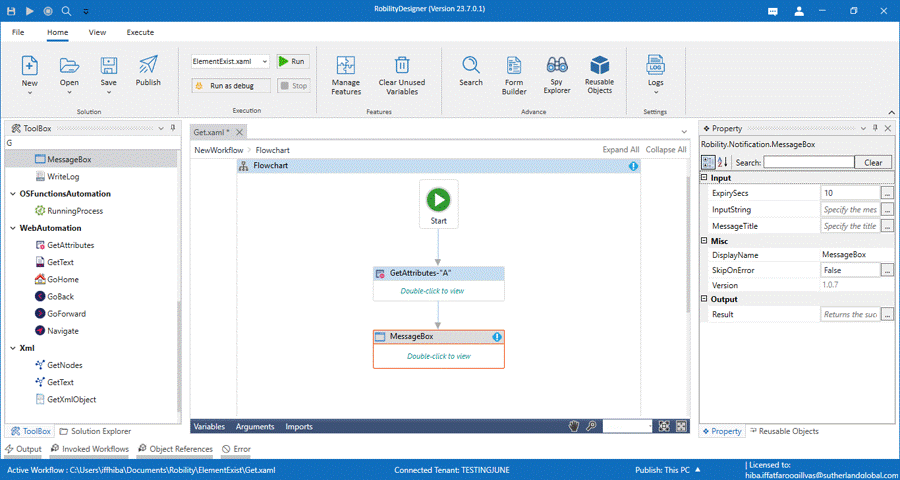
The output will appear on the message box.
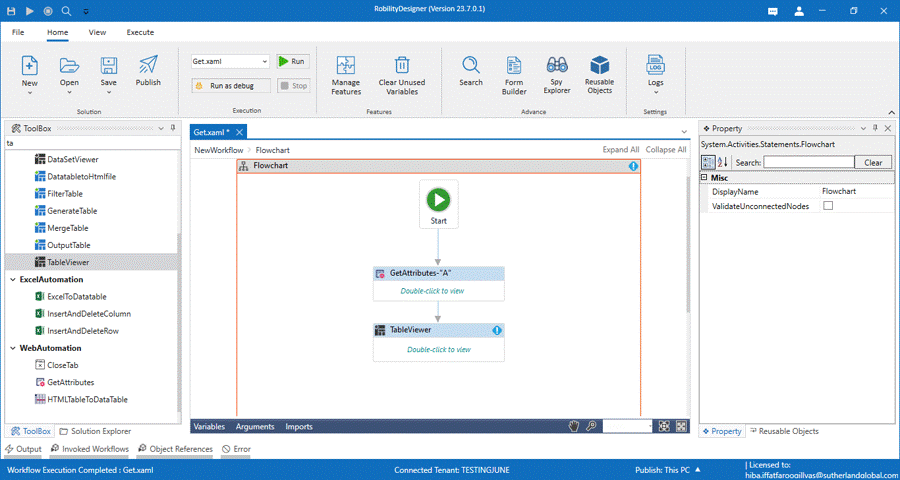
How to use a data table viewer
1. Drag and drop a table viewer activity below the get attributes activity from the
data table automation tab.
2. Add the variable “AttVal” which was created for the “attribute” property as
‘input table’ here. Add a title to the table as "Output".
3. Debug the workflow to view the value of the attributes in a table format as table
viewer activity will work only in debug mode.