This activity assists the user to append the additional input text to a specified
word document, either at the top or at the bottom of the page. This activity
works inside the "WordScope" application activity only.
Technical Reference
|
|
INPUT |
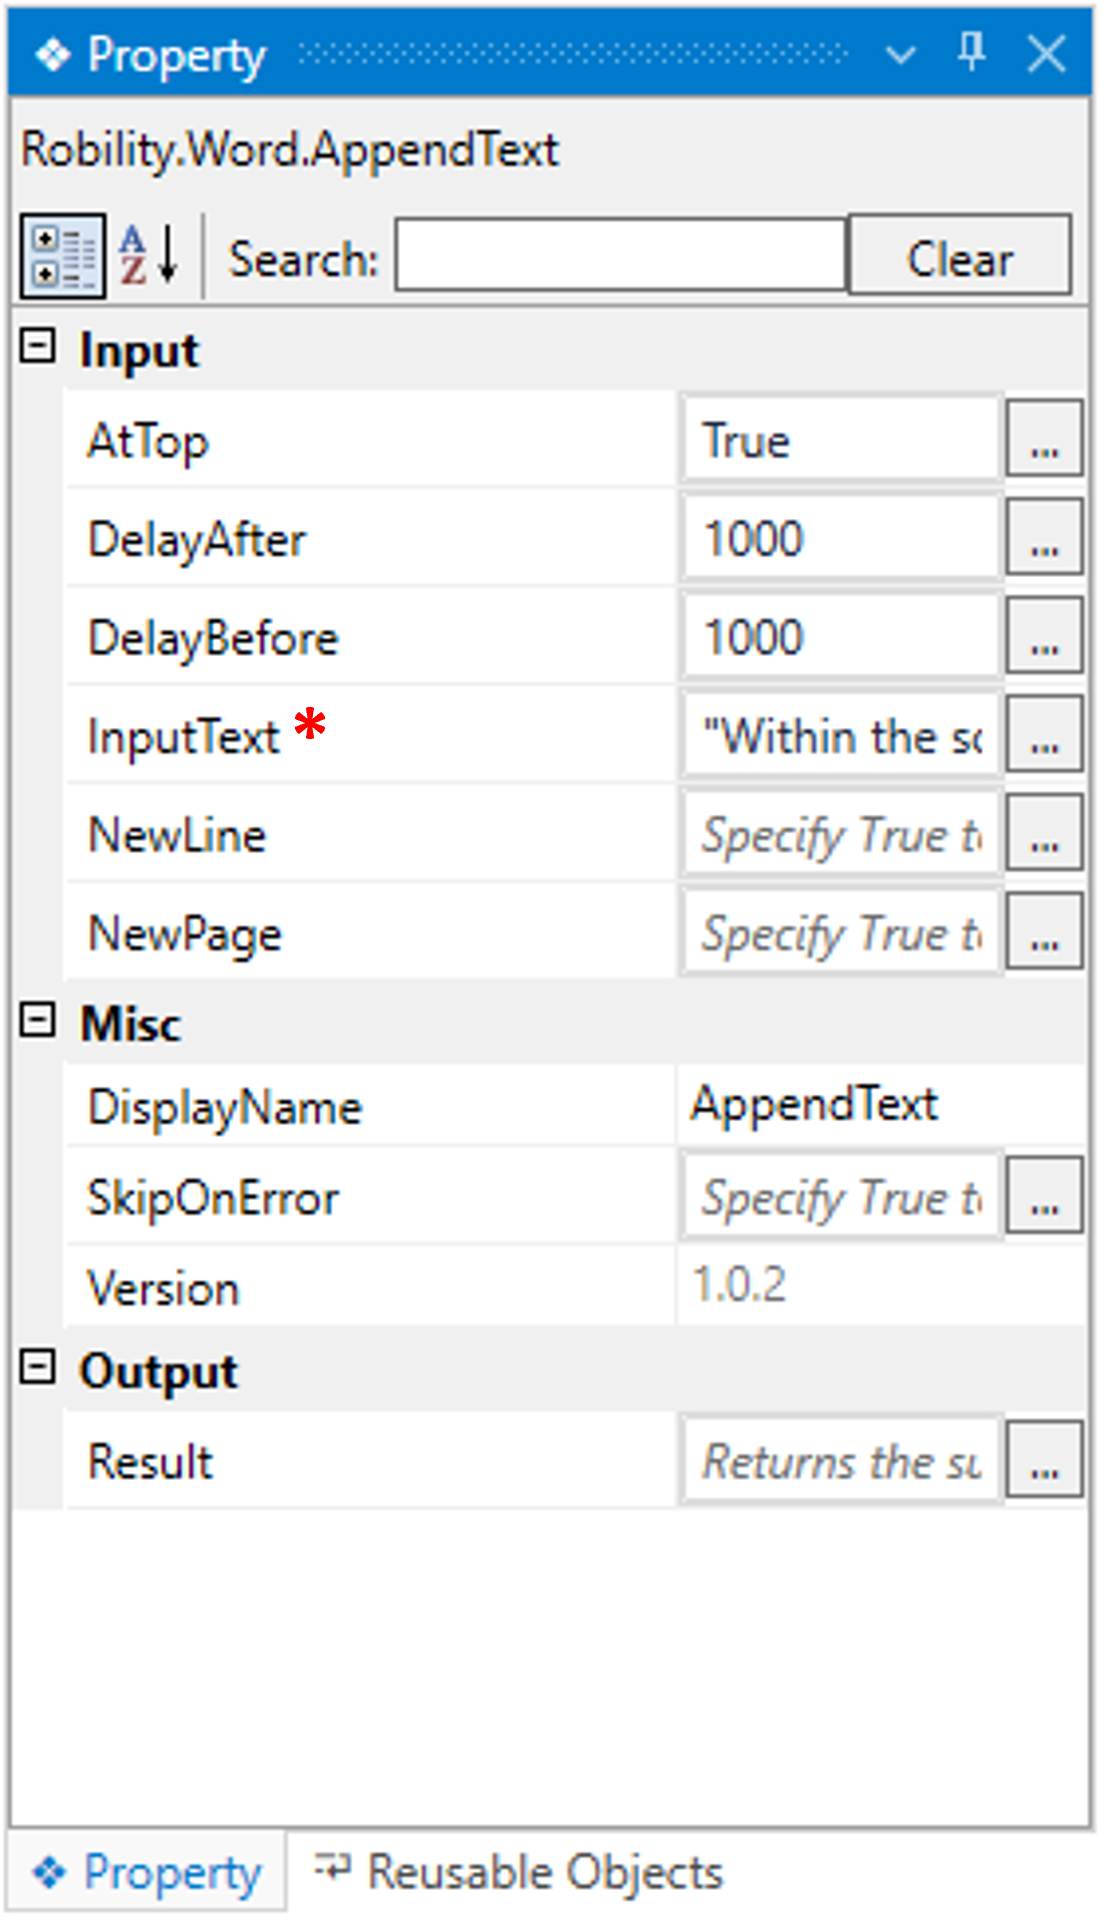
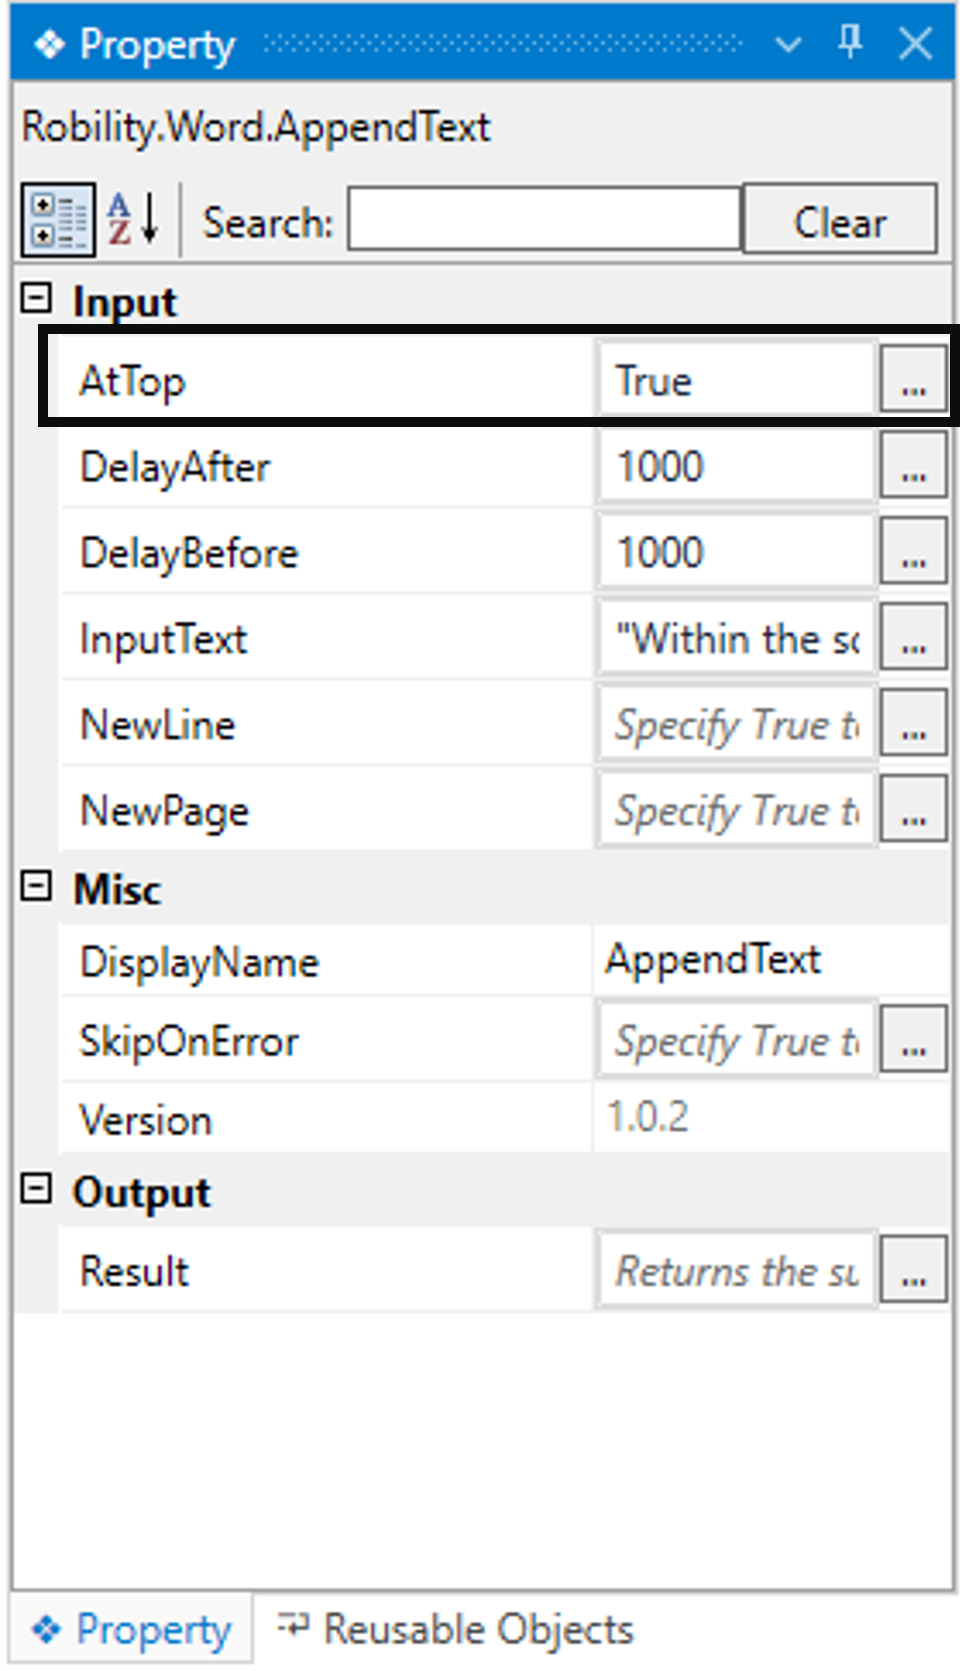
AtTop: This parameter enables to append the text at the top of the page in the specified word document. Specify the "Boolean" value as "True" or "False."
True: Enables to append the text at the top of the page. False: Does not add text at the top of the page. None: If the option is left blank, the activity will, by default, behave as if "False" were chosen. |
|
DelayAfter: It assists the user to add a delay before initiating subsequent activities. |
||
|
DelayBefore: It assists the user in adding a delay before starting the execution of the activities. |
||
|
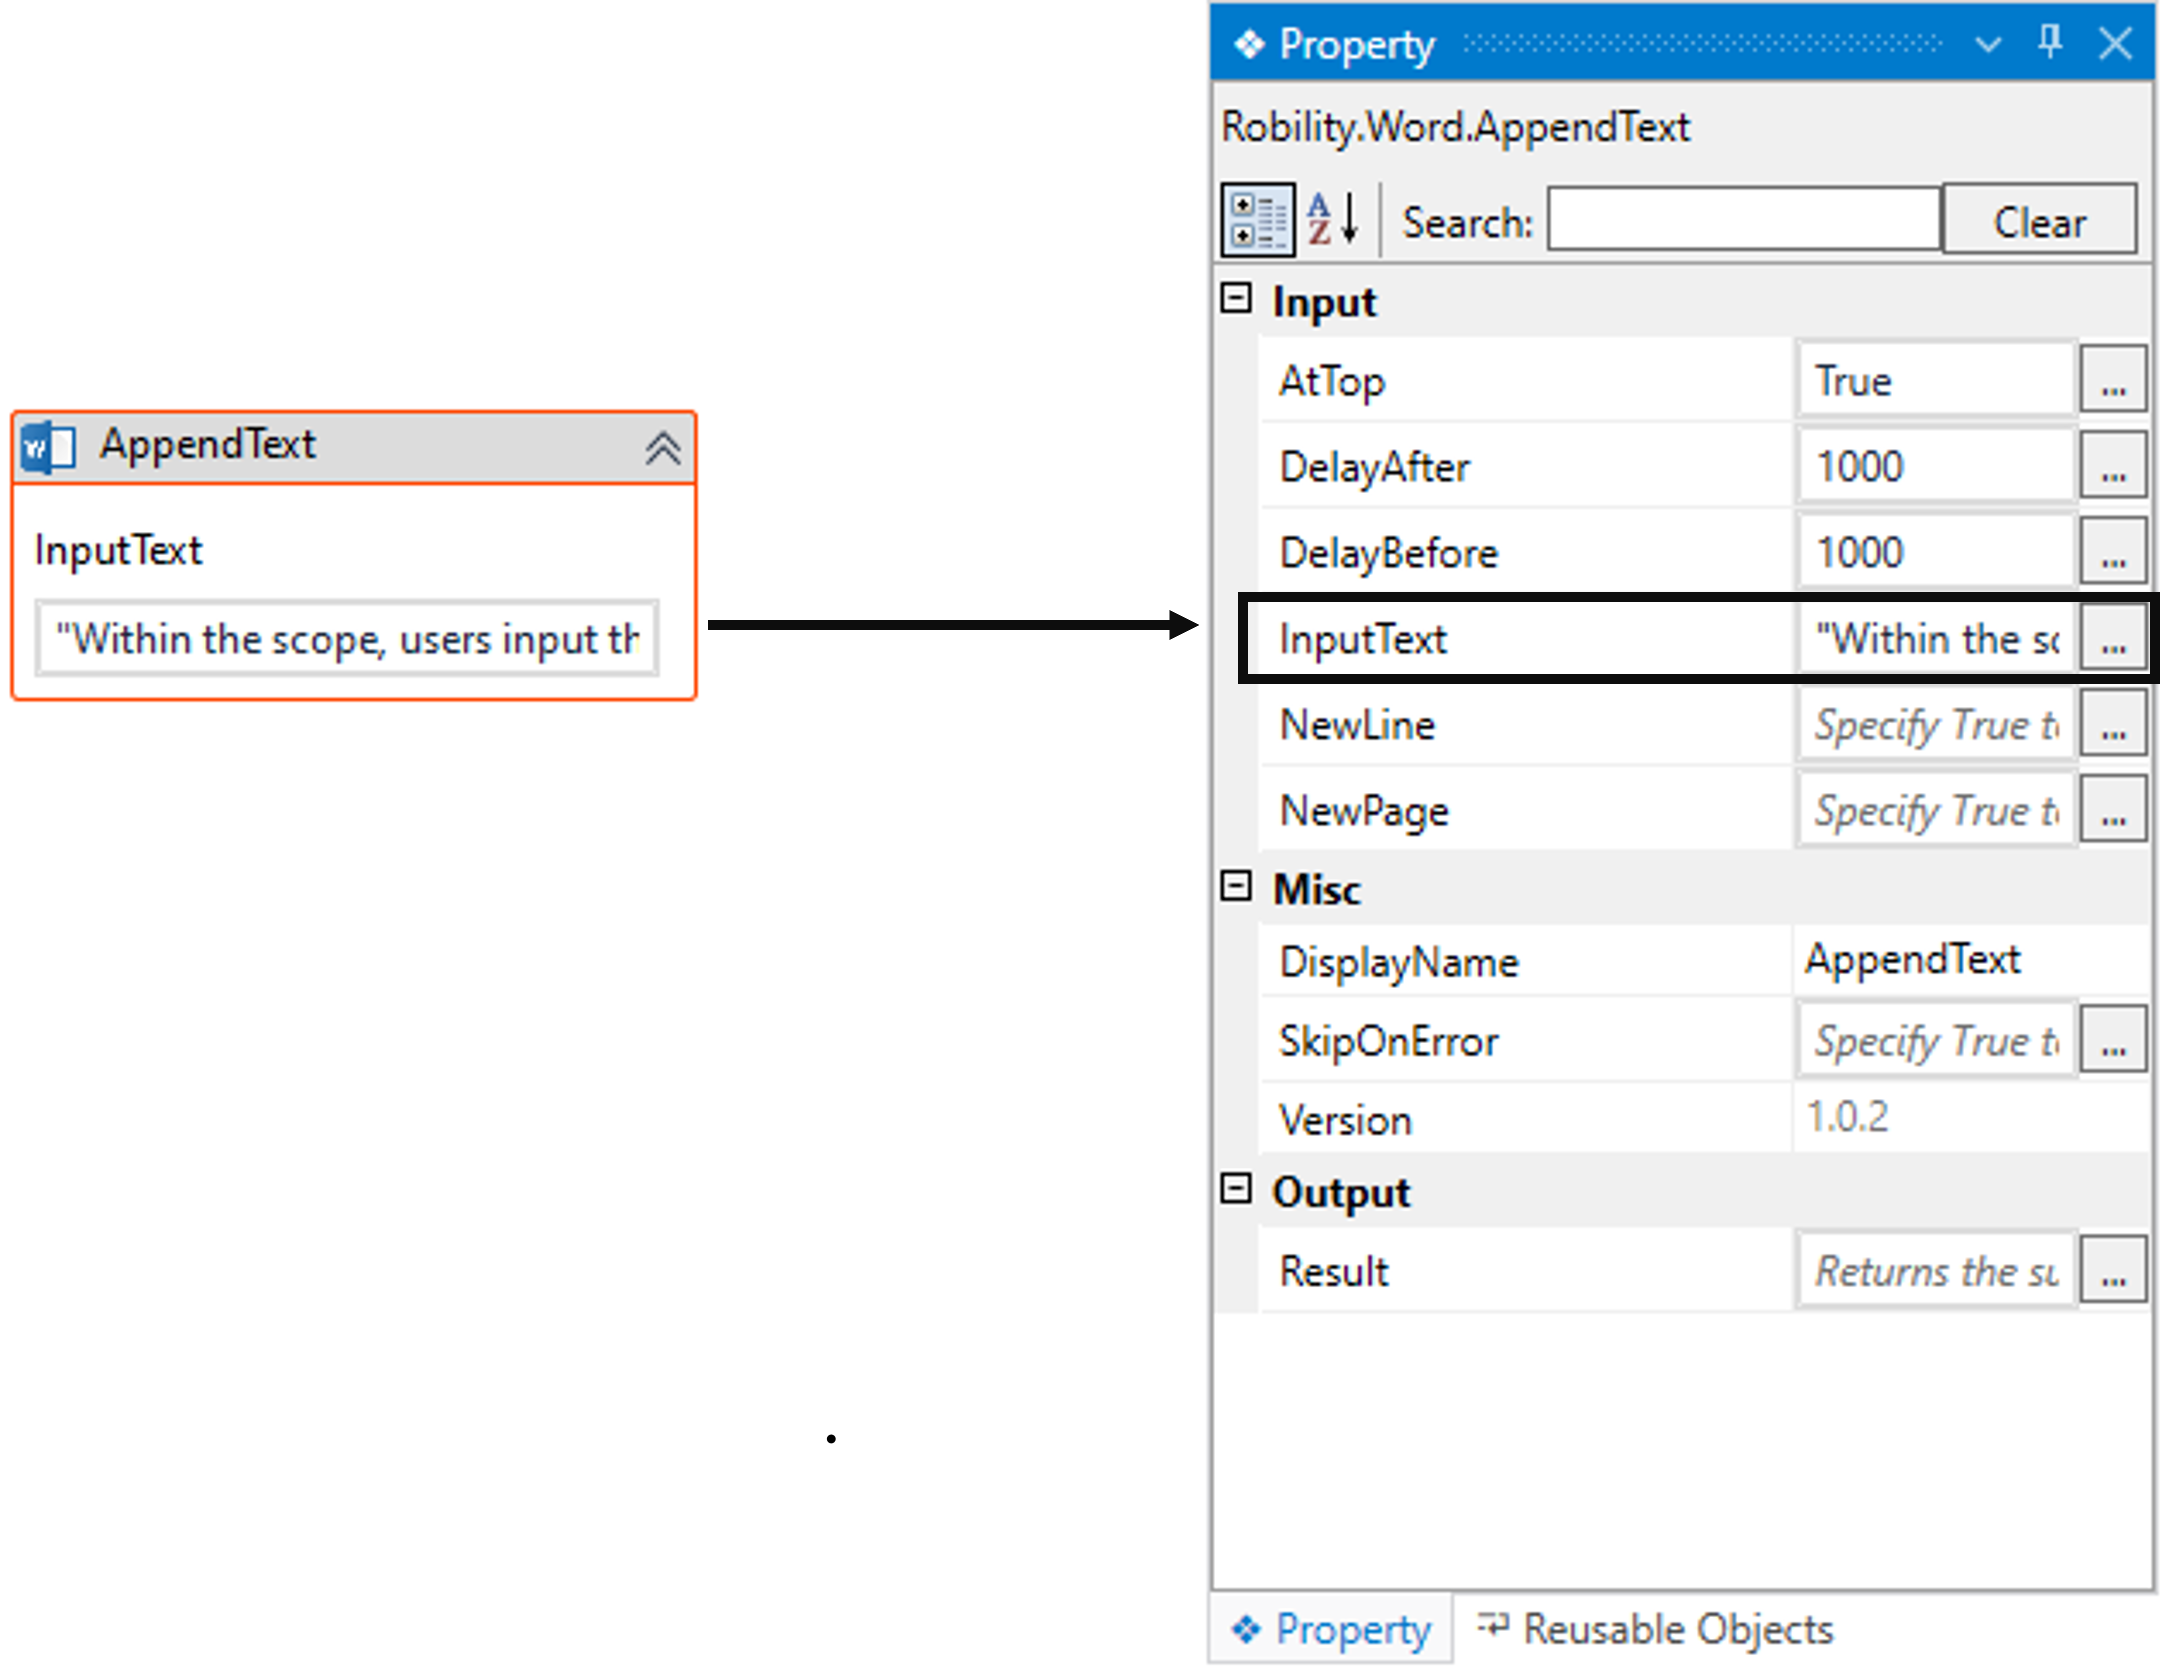
InputText: This parameter specifies to provide the “input” text that needs to be written in the specified input word document.
You can either hardcode the values in the “String” variable or pass the values as “String” datatype.
This parameter accepts values in “String” datatype. |
||
|
NewLine: This parameter enables to append the input text in a new line after the existing text in the specified word document. Specify the "Boolean" value as "True" or "False."
True: Enables to append the input text in a new line. False: Proceeds to write the input text in the same line next to the existing text in the word document. None: If the option is left blank, the activity will, by default, behave as if "False" were chosen. |
||
|
NewPage: This parameter enables to append the input text in a new page after the existing text in the specified word document. Specify the "Boolean" value as "True" or "False."
True: Enables to append the input text in a new page. False: Proceeds to write the input text in the same page next to the existing text in the word document. None: If the option is left blank, the activity will, by default, behave as if "False" were chosen. |
||
|
MISC |
DisplayName: Displays the name of the activity. The activity name can be customized, which aids in troubleshooting. |
|
|
SkipOnError: Specify the "Boolean" value as "True" or "False."
True: Continue executing the workflow regardless of any errors thrown. False: Halt the workflow if it encounters any errors. None: If the option is left blank, the activity will, by default, behave as if "False" were chosen. |
||
|
Version: It indicates the version of the feature being used. |
||
|
OUTPUT |
Result: It provides the ability to view the execution status of the activity. It returns values in "Boolean."
True: Indicates that the activity has been executed successfully without any errors. False: Indicates that the activity has been unsuccessful due to an unexpected error being thrown. |
* Represents mandatory fields to execute the workflow
Here's an example of how the “AppendText” activity works in the workflow –
The following is a simple example that demonstrates how to write an additional text
to the existing input word document.
1. Create a solution for building a workflow.
2. Install the "Word" feature from the "Manage Features" menu.
3. Drag and drop the "AppendText" activity onto the wordscope application body.
4. Double-click the activity to provide the essential details.
a. Next, moving to the “InputString” field, here I am providing the input text
as “Today’s weather has been pleasant.”
c. Now, navigating to the “AtTop” field in the properties section, here I am
specifying the value as “True” to append the text at the top of the page
in the word document.
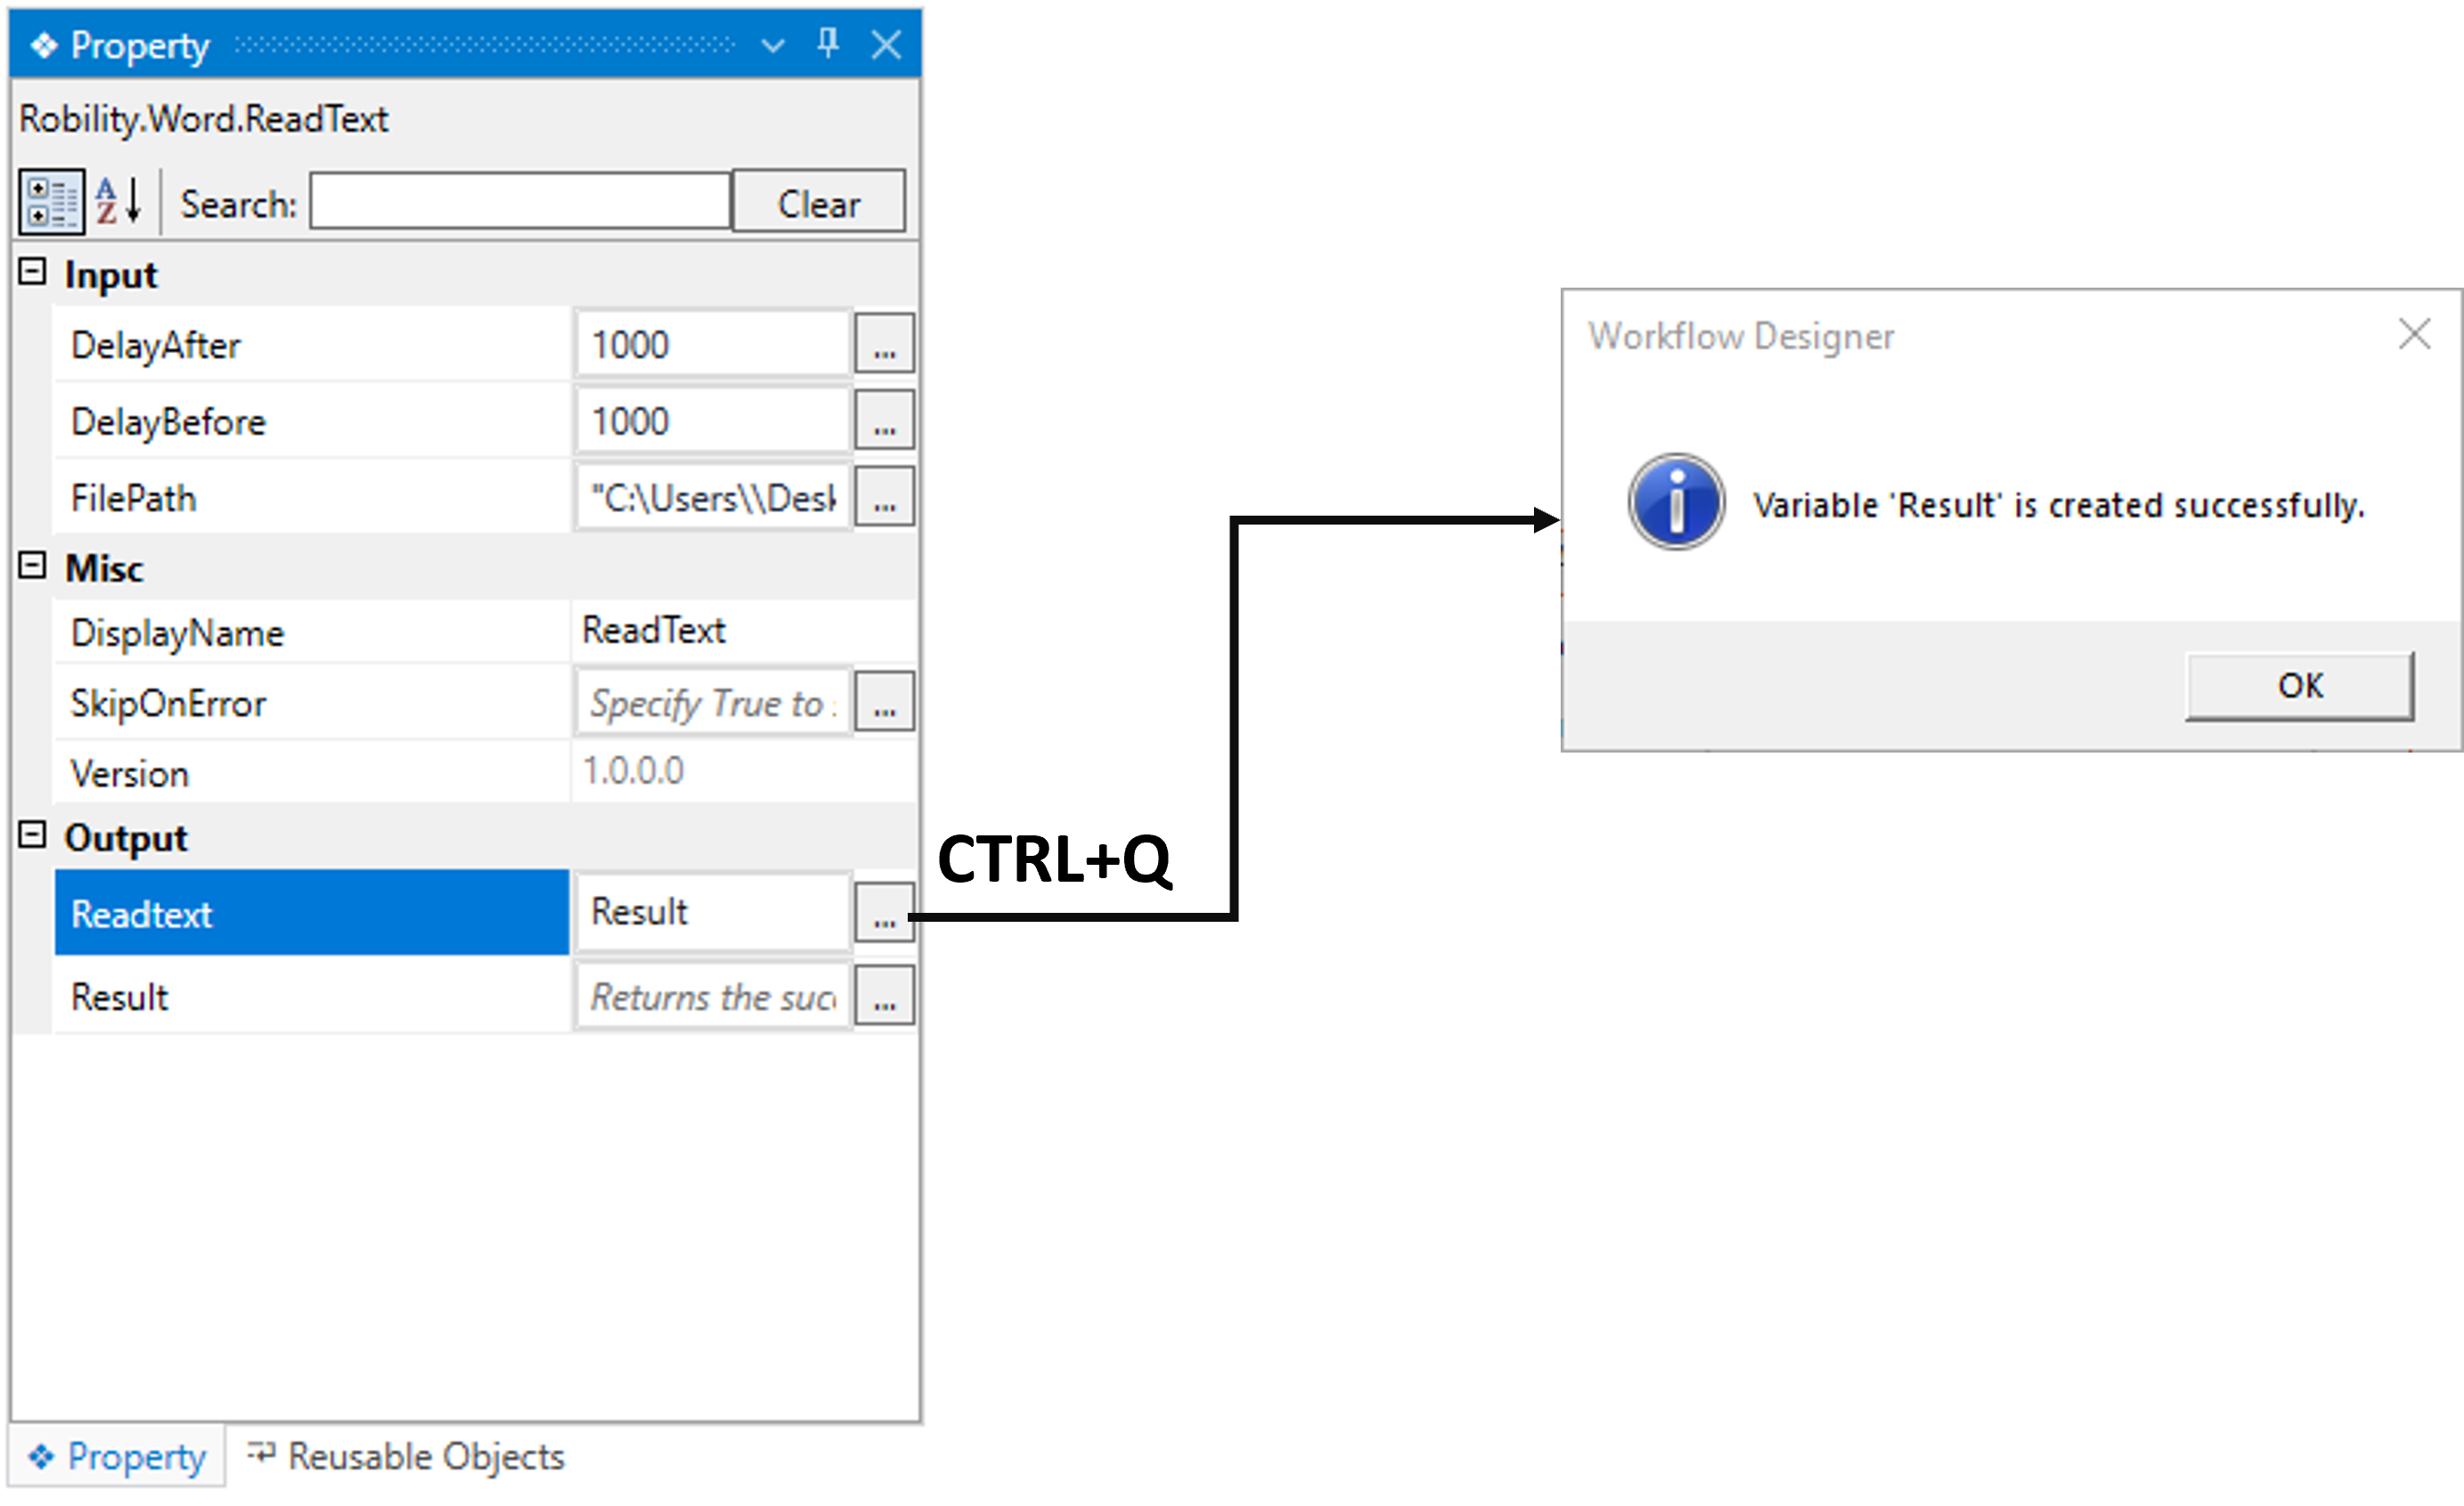
d. Moving to the “Result” property in the output section to declare
a variable to view the output.
i. There are two methods to store the spied value in the variable.
ii. Method 1: Double-click on the variable parameter in the “Output” section
and enter a name that helps you easily identify it in the flow. Here, I'm using
the name "Result" and using the shortcut key "Ctrl+Q" to create the variable.
iii. Method 2: Click on the variable pane, enter your preferred name
(here, I'm using "Result"), and choose the data type as "String" since the
output value accepts the string data type.
5. You can add a write log activity next to the “AppendText” activity to
view the output.
6. Now, execute the workflow to view the results.
Below is a sample of the output of the activity.
Click here to see how the activity is utilized in the workflow.


