
This activity assists the user in parsing tabular data available in Notepad into
CSV format.
Technical Reference
|
|
INPUT |
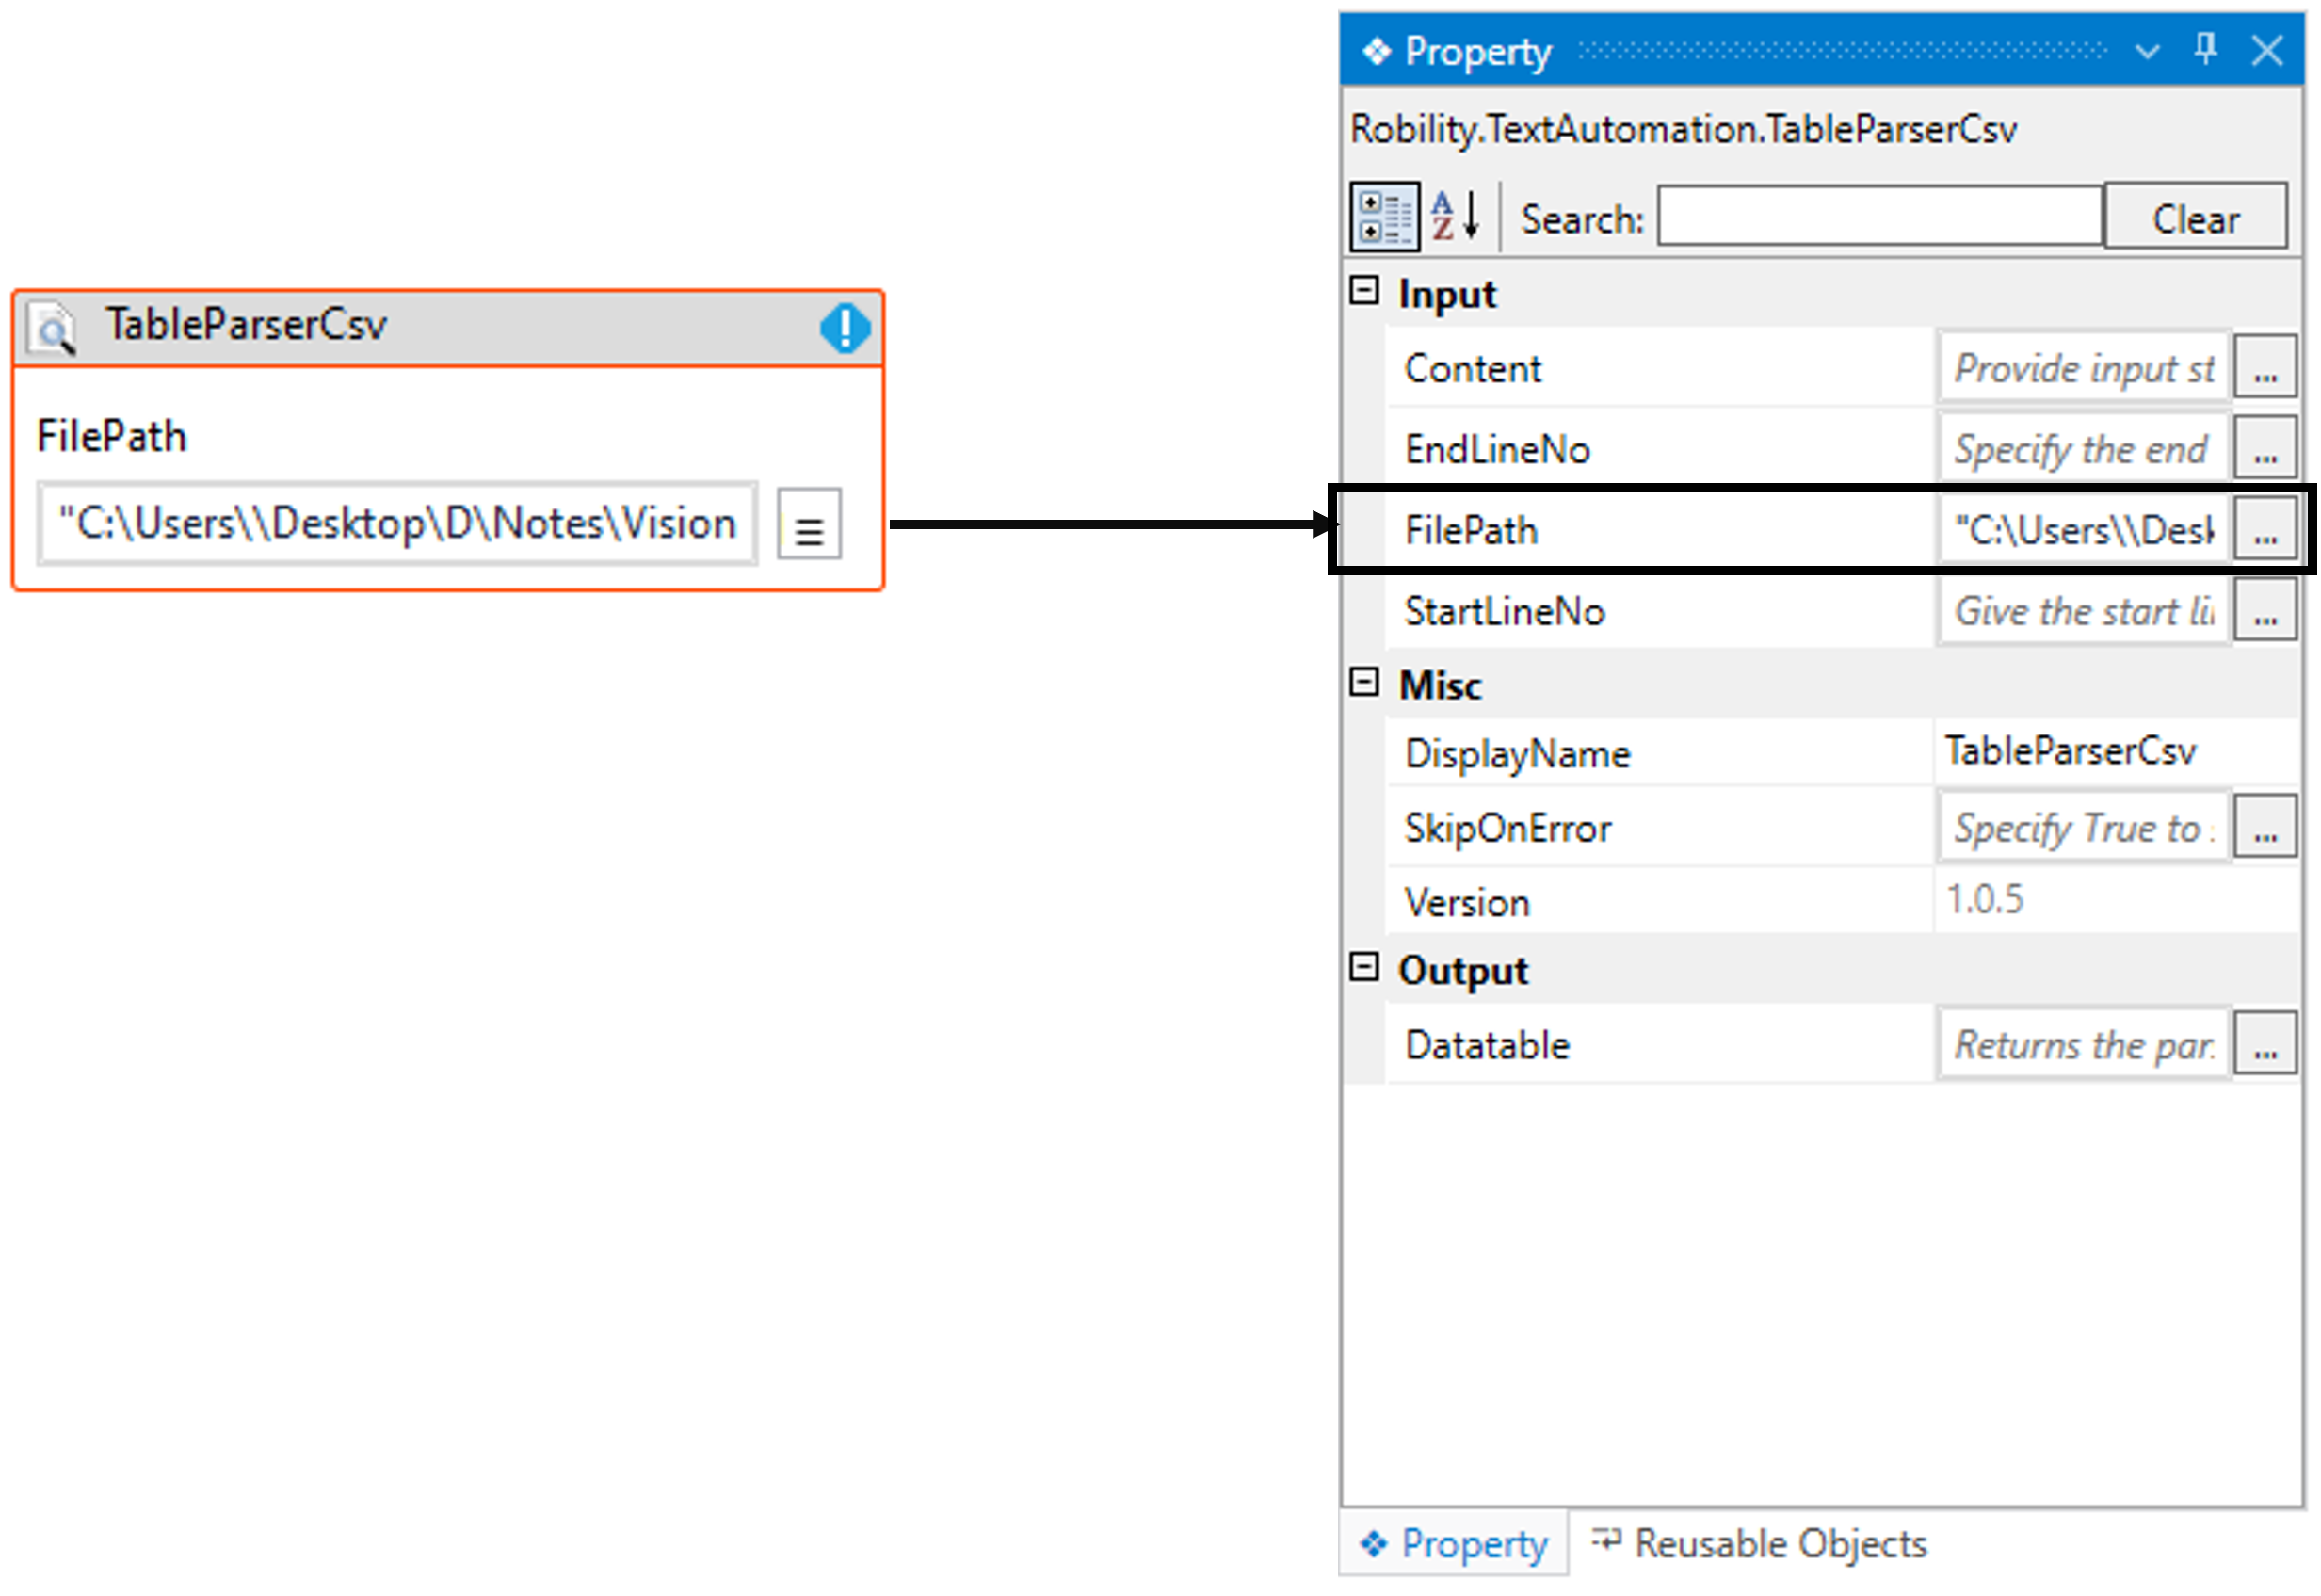
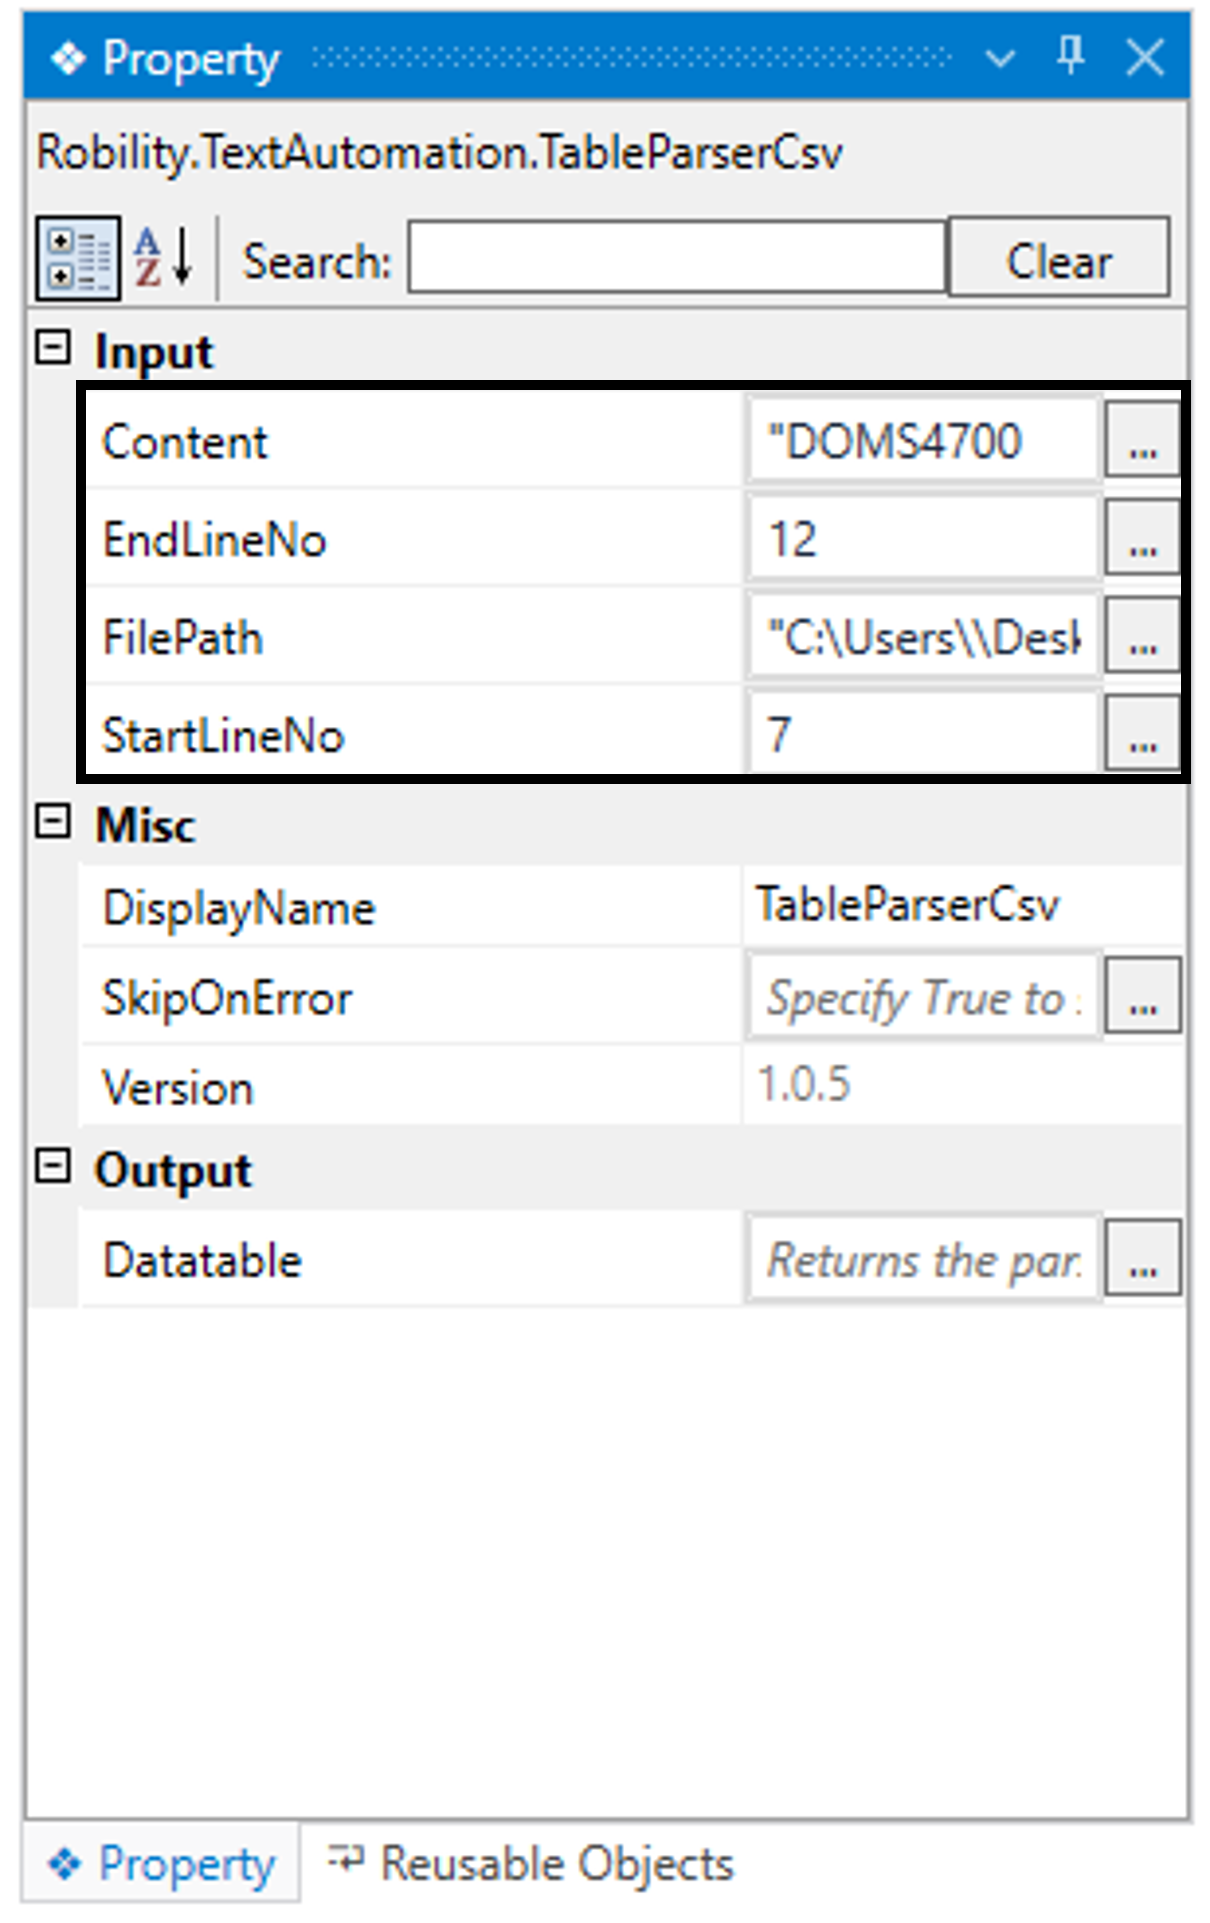
Content: This parameter indicates to provide the “Input” data that needs to be parsed into a CSV format.
You can either hardcode the values in “String” format or provide the values in “String” datatype.
This parameter accepts values in “String” datatype. |
|
EndLineNo: Indicates to provide the “LineNumber” up to which the input data needs to be retrieved to parse them into CSV.
You can either hardcode the values in “Integer” format or provide the values in “Integer” datatype.
This parameter accepts values in “Integer” datatype. |
||
|
FilePath: This parameter indicates to provide the “File path” of the CSV to where the parsed needs to be created.
You can either hardcode the values in “String” format or provide the values in “String” datatype.
This parameter accepts values in “String” datatype. |
||
|
StartLineNo: Indicates to provide the “LineNumber” from which the input data needs to be retrieved to parse them into CSV.
You can either hardcode the values in “Integer” format or provide the values in “Integer” datatype.
This parameter accepts values in “Integer” datatype. |
||
|
MISC |
Display Name: Displays the name of the activity. The activity name can be customized which will help in troubleshooting. |
|
|
SkipOnError: Specify the Boolean value as “True or False.” |
||
|
Version: It specifies the version of the Text Automation feature in use |
||
|
OUTPUT |
Datatable: It helps to view the output of the activity as the parsed output in “Datatable” format.
This field returns the output in “Datatable” datatype. |
* Represents mandatory Fields to execute the workflow
Here’s an example of how the activity works –
In the following example, I am going to use the “TableParserCSV” activity to
retrieve the details from the sample bill (mentioned in tips) and get it displayed
in a table format in an excel sheet.
Steps to execute the bot:
1. Open an existing workflow or create a new solution.
2. Drag and drop the “Table parser CSV” activity and set it as start node.
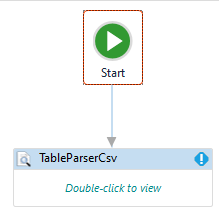
3. Double click on the activity.
a. Here I am providing the file path of the CSV file to store the output.
4. Navigating to the “ContentBox” in the properties, here I am providing the bill
details available in the notepad, as a hardcoded value in the “String” format.
5. Moving to the “End line” number, and here I am specifying the row number
till which the bot has to read the data.
6. Next, in the start line number, specifying the row number from which the
bot has to start reading the data.
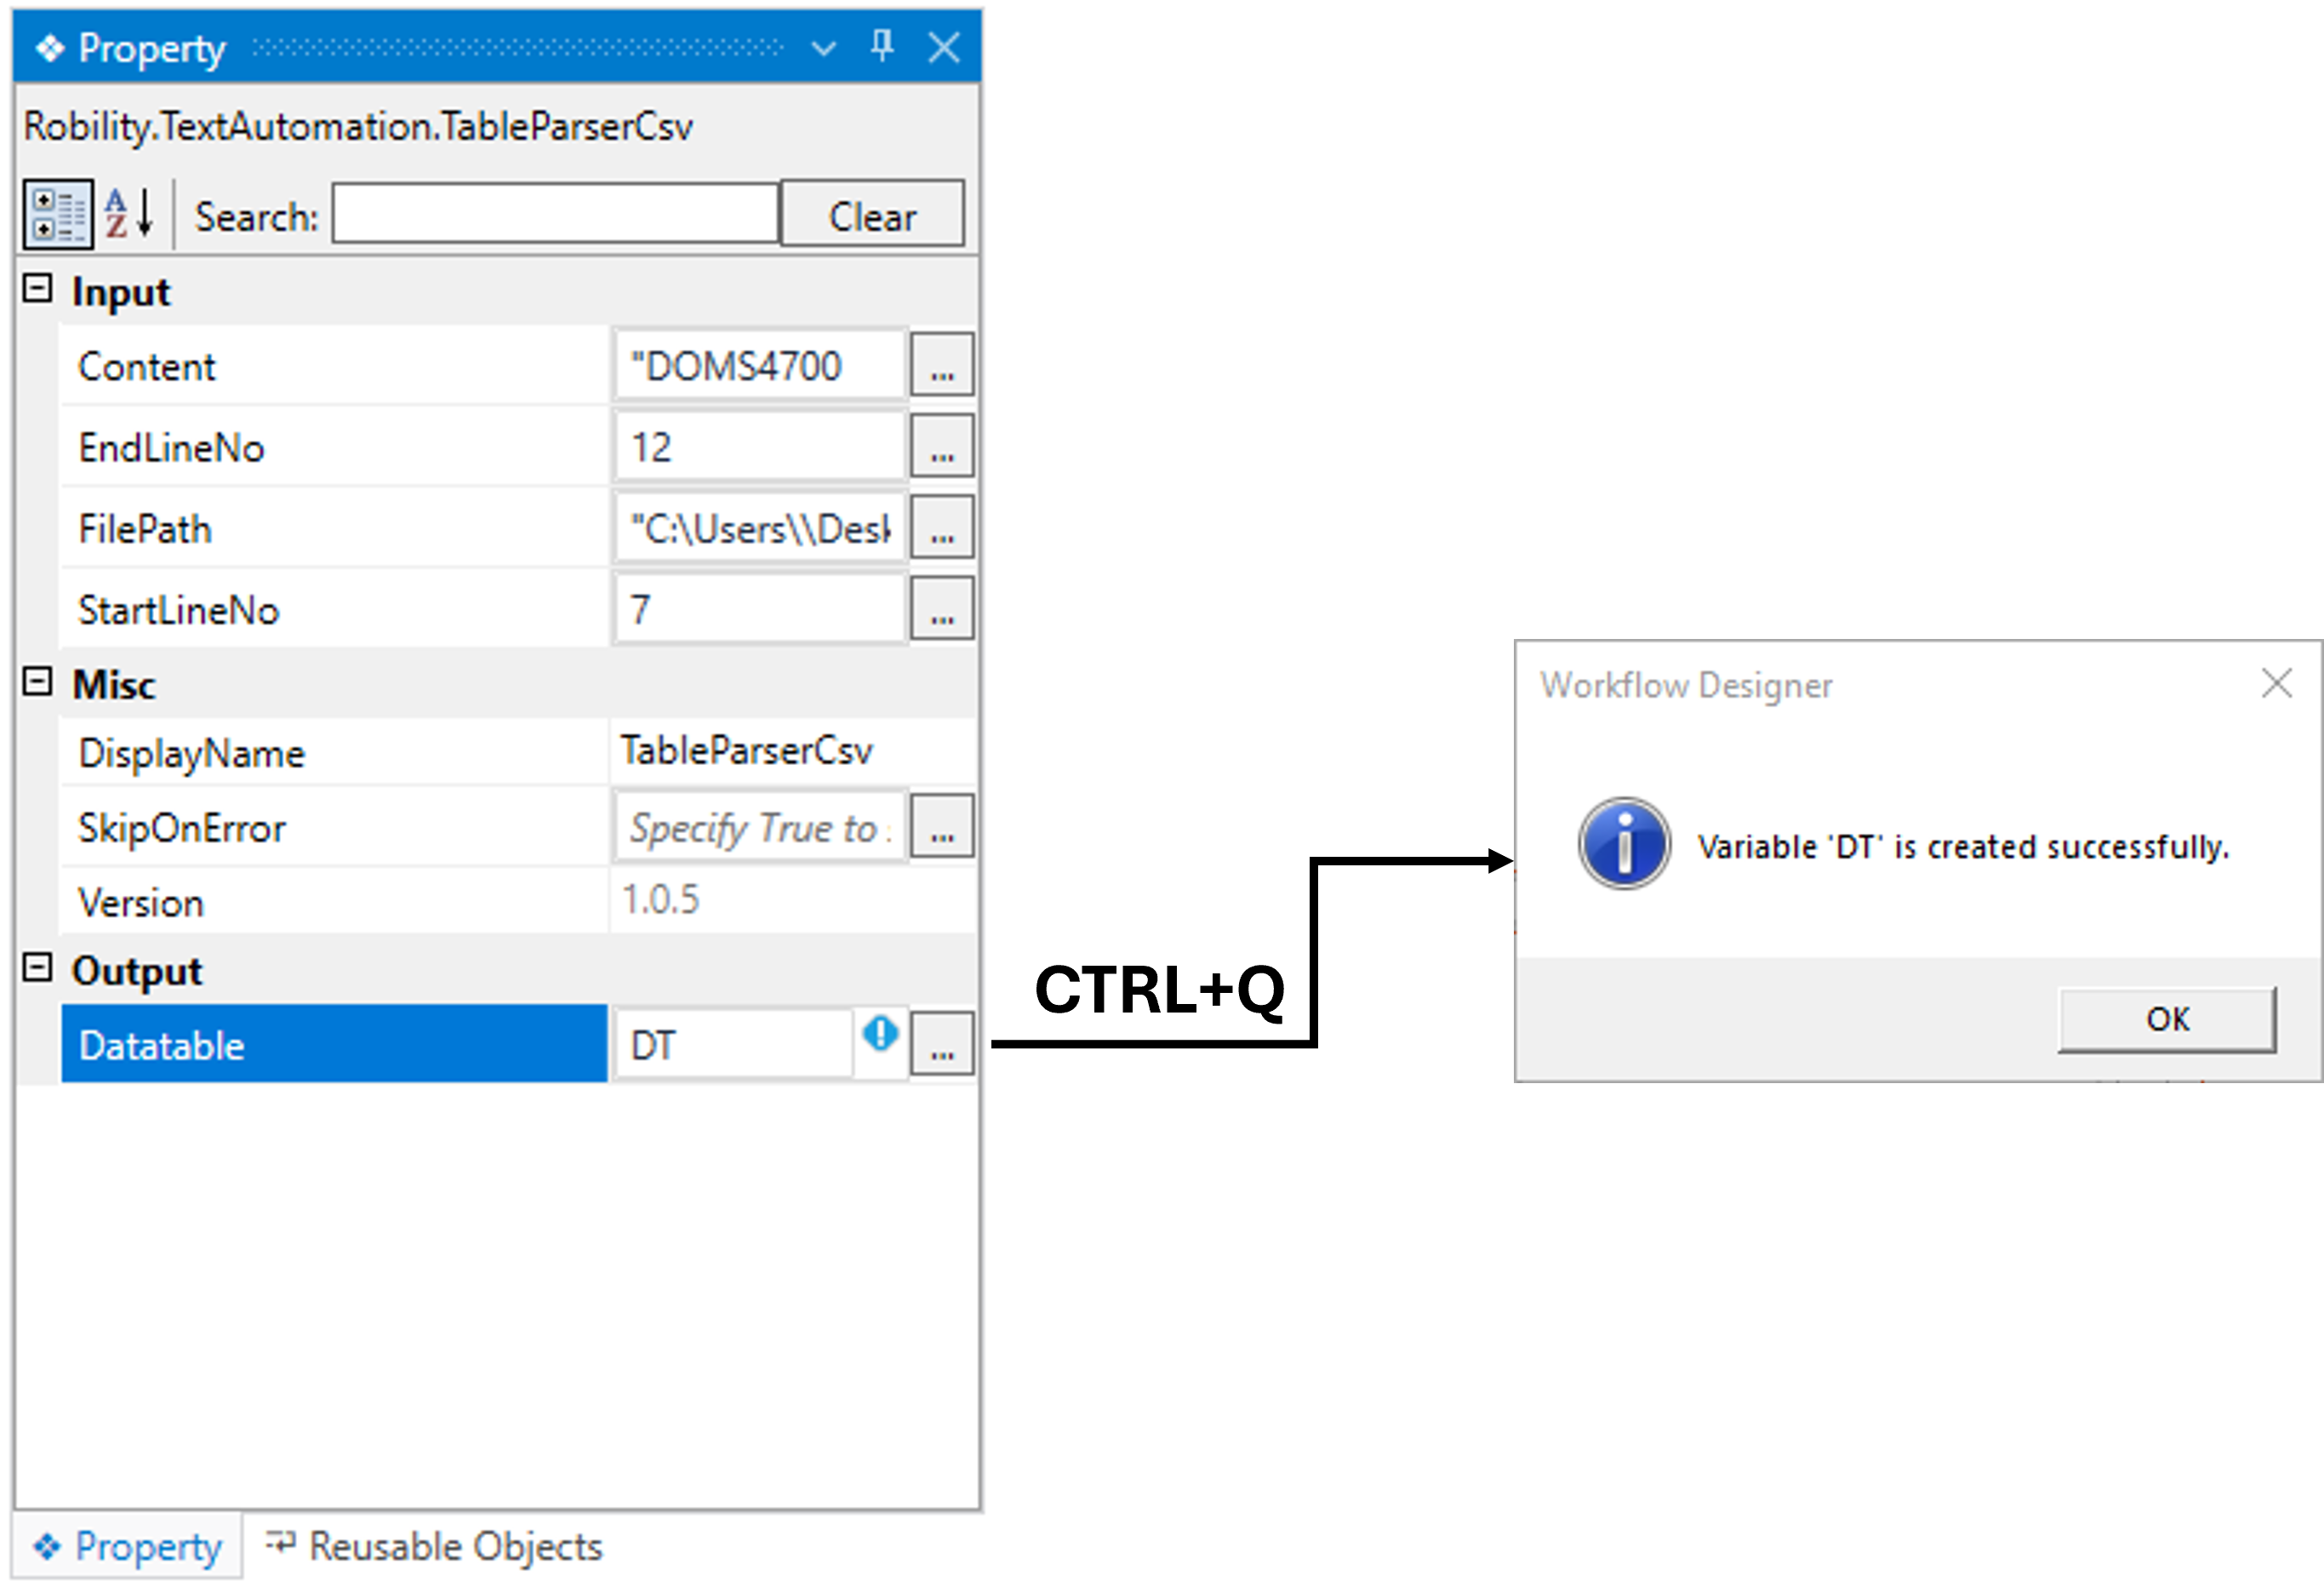
7. Navigating to the “Datatable” in the properties to create a variable to view
the output in a table format.
a. There are two ways to create a variable-
b. Method 1 – Click on the "Datatable" property within the "TableParserCSV"
activity and enter the variable name. In this case, we are using " DT." Then,
press "Ctrl+Q," which is a shortcut key to create a variable.
c. Method 2 - Click on the Variables pane and enter the name " DT." Then,
in the "Variable Types" column, select "Browse for Types" from the dropdown
menu.
d. The .Net window for data types will appear on the screen, enter the type
name as “System.Data.Datatable” and then click on “OK” button.
8. Now, place the “Table viewer” activity from the datatable automation
feature below to the table parser CSV activity.
a. Provide the required inputs to view the output.
9. Execute the activity.
The bot executes the activity and gives the output for the given bill in a table format.