
This activity helps the user set specific data to the clipboard.
Technical Reference
|
|
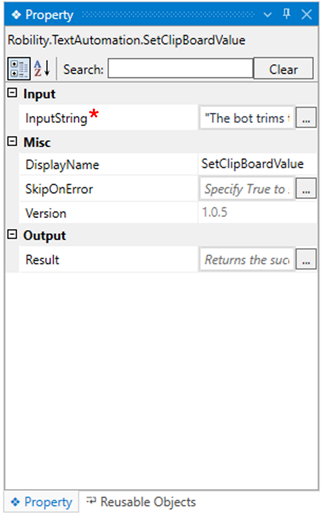
INPUT |
InputString: This parameter indicates to provide the “Input” data that needs to be added in the “ClipBoard”.
You can either hardcode the values in “String” format or provide the values in “String” datatype.
This parameter accepts values in “String” datatype. |
|
MISC |
DisplayName: Displays the name of the activity. The activity name can be customized, which aids in troubleshooting. |
|
|
SkipOnError: Specify the "Boolean" value as "True" or "False."
True: Continue executing the workflow regardless of any errors thrown. False: Halt the workflow if it encounters any errors. None: If the option is left blank, the activity will, by default, behave as if "False" were chosen. |
||
|
Version: It indicates the version of the feature being used. |
||
|
OUTPUT |
Result: It provides the ability to view the execution status of the activity. It returns values in "Boolean."
True: Indicates that the activity has been executed successfully without any errors. False: Indicates that the activity has been unsuccessful due to an unexpected error being thrown. |
* Represents mandatory fields to execute the workflow
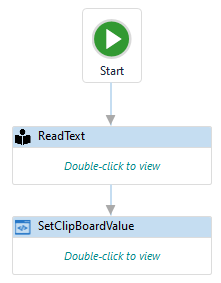
Here’s an example of how the activity works –
The following activity illustrates on how we use this activity to set a value on the
clipboard. Here we are continuing from the “ReadText” activity example.
Steps to execute the bot:
1. Create a solution named “TextAutomation” or open an existing solution.
2. Drag and drop the "SetClipBoardValue" activity onto the designer pane and
place it below it the “ReadText” activity.
3. Navigate to the “InpuString” in the property box and here I am providing the
value as “ReadText” variable declared as output.
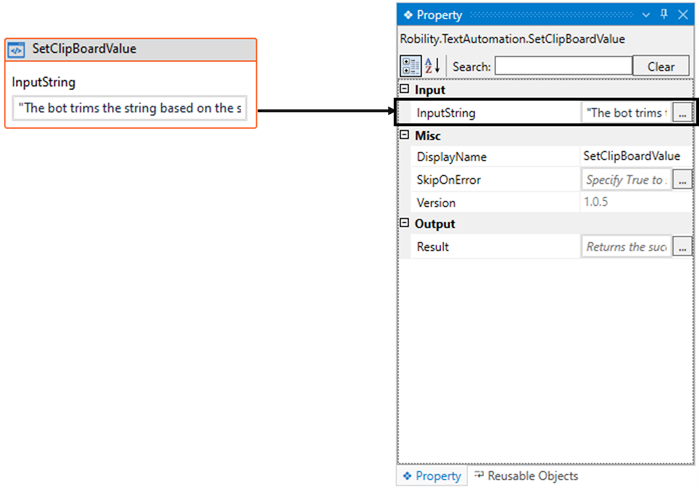
4. Execute the activity.
The bot executes the activity and the value given in the input string is set
in the clipboard. You can view the output in the clipboard.