This activity is utilized when human intervention is required to provide inputs for
processing during execution.
Technical Reference
|
|
INPUT |
Caption: This parameter indicates to specify the “Title” of the input box during execution.
You have the option to either hardcode the values in the "String” variable or pass the values as “String” datatype.
This accepts only the “String” datatype. |
|
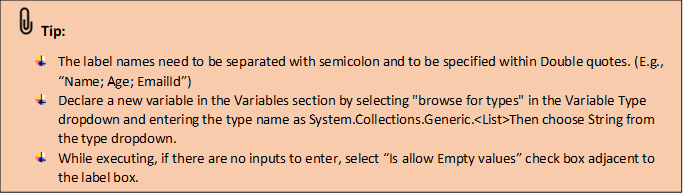
LabelNames: Indicates the “Field” names that is required to fetch information from the user.
You have the option to either hardcode the values in the "String” variable or pass the values as “String” datatype.
This accepts only the “String” datatype.
If there are two or more fields, the names can be specified with a semicolon in between. |
||
|
MISC |
Display Name: Displays the name of the activity. The activity name can also be customized to help in troubleshooting. |
|
|
SkipOnError: Specify the Boolean value as “True or False.” |
||
|
Version: It specifies the version of the FS automation feature in use |
||
|
OUTPUT |
List: It facilitates storing and viewing the activity's output in a "list" format. (Please refer to the steps in creating a workflow for more details.) This field accepts “List[string]” datatype. |

* Represents mandatory fields to execute the workflow.
Here’s an example of how the “InputBox” activity works –
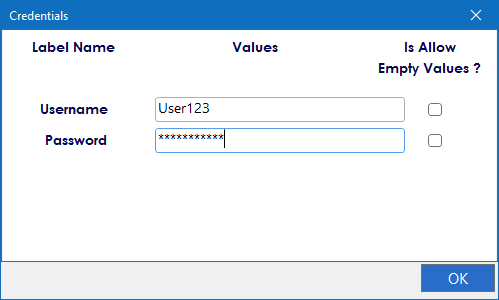
In the following example, I am going to create an input dialog box to fetch
username and password from the user as input.
1. Create a new solution named “Input” or open an existing solution.
2. Install the “Notification” from “Manage Features”.
3. Drag and drop the “InputBox” activity to the workflow and set it as start
node.
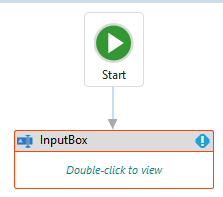
4. Double click on the activity to provide the required details.
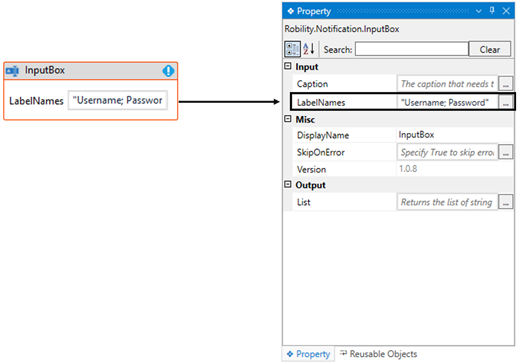
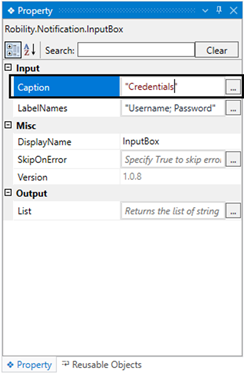
a. Here, I am providing the “LabelNames” as “Username; Password”, as in
this case I need to input from the user.
b. Navigating to the “Caption” in the properties to provide the title for the box.
i. Here I am specifying the “title” as “Credentials”.
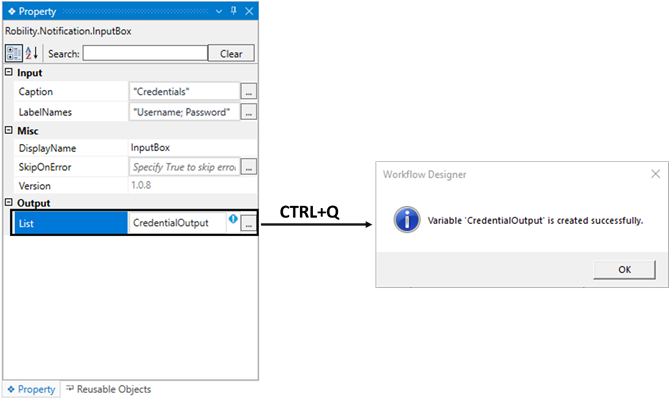
c. Then, moving to the “List” in the output section of the properties to
declare a variable and store the output.
i. There are two methods to declare a variable.
ii. Method 1: Double-click on the variable parameter “List” in the
“Output” section and enter a name that helps you easily identify it
in the flow. Here, I'm using the name "CredentialsOutput" and using
the shortcut key "Ctrl+Q" to create the variable.
iii. Method 2: Click on the variable pane, enter your preferred name
(here, I'm using " CredentialOutput"), and choose the data type as
"Browse for types" since the output value accepts the List of String
data type.
iv. The .Net window for data types will appear on the screen, enter
the type name as “System.Collections.Generic.List” and choose
“String” then click on “OK” button.
5. Now, save and execute the workflow.
6. To view the continuation, click here.
Below is the sample output of the activity.