
This activity is used to upload a file from the system to the server in a specified directory.
Technical Reference
|
|
INPUT |
FileName: Indicate the name of the file with the path which has to be uploaded.
You have the option to either hardcode the values in the "String” variable or pass the values as “String” datatype. This accepts only the “String” datatype. |
|
FtpFilePath: Indicate the name of the directory in the FTP server where the file has to be uploaded.
You have the option to either hardcode the values in the "String” variable or pass the values as “String” datatype. This accepts only the “String” datatype. |
||
|
MISC |
Display Name: Displays the name of the activity. The activity name can be customized which will help in troubleshooting. |
|
|
SkipOnError: Specify the Boolean value as “True or False.” |
||
|
Version: It specifies the version of the FTP automation feature in use |
||
|
OUTPUT |
Result: It helps to view the execution state of the activity. It returns the values in Boolean format. |
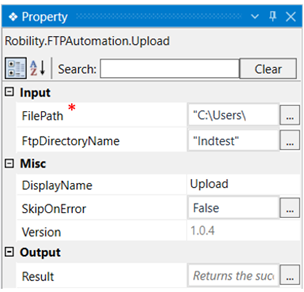
*Represents mandatory fields to execute the workflow
Let’s see how this activity works.
1. Create a new solution or open an existing solution.
2. Drag and drop a “FTP” activity which acts as a scope for all the activities in this
feature.
a. Double click on the activity.
b. Enter the server name, UserID and password.
3. Now, drag and drop an “Upload File” activity within the FTP scope.
a. Double click on the activity.
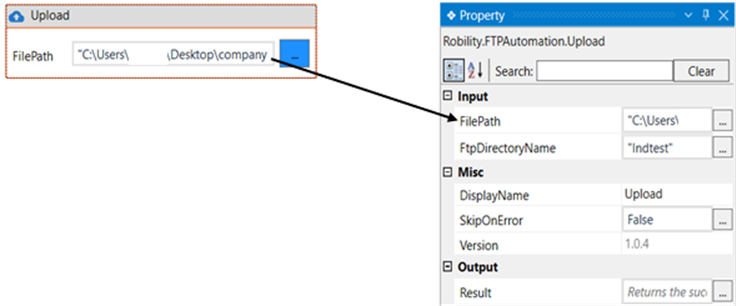
b. Specify the path of the file which has to be uploaded.
c. We can also enter the file path directly in the property section.
Navigate to the property section.
4. Enter the directory name to which the file has to be uploaded. Here it is “Indtest.”
5. To see the success state of the activity, declare a variable in the result box of the output
section.
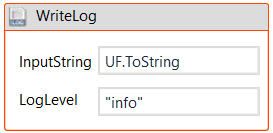
6. Drag and drop a write log activity below the “Upload” activity and enter the above
declared variable with the extension “.ToString”. This is used to convert the “Boolean”
datatype to “String” datatype. For example, if we have a variable in the “Result” box as
UF, then we have to add “UF.ToString” here.
7. Execute the workflow.
Click here to see how this activity works in a workflow.