
The Screen Recording helps the user to record the set of activities built within it.
It paves an easy way to troubleshoot the issue they encounter and enabling
them to visually analyze the root cause.
Technical Reference
|
|
INPUT |
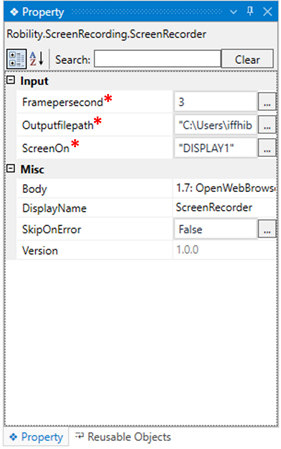
Framepersecond: It denotes the frame rate at which each image should be captured per second.
This parameter accepts values in “Integer” datatype.
You can either hardcode the values in the “INTEGER” datatype or enter the values in integer format.
The maximum accepted frame rate is “3”. |
|
OutputFilepath: It indicates to provide the “Path” along with the name of the file to store the recorded video.
This parameter accepts values in “String” datatype.
You can either hardcode the values in the “String” datatype or enter the values in String format. |
||
|
ScreenOn: It indicates the “screen” from where the recorder is executed.
By default, the option will be selected as “Display1”. |
||
|
MISC |
Body: Gets auto filled once the "Activity" is dropped into the body. |
|
|
DisplayName: Displays the name of the activity. The activity name can be customized, which aids in troubleshooting. |
||
|
SkipOnError: Specify the "Boolean" value as "True" or "False."
True: Continue executing the workflow regardless of any errors thrown. False: Halt the workflow if it encounters any errors. None: If the option is left blank, the activity will, by default, behave as if "False" were chosen.
|
||
|
Version: It indicates the version of the feature being used. |
* Represents mandatory fields to execute the workflow

Use Case
In a basic automation task, website elements change dynamically. The manager
wants to record actions for troubleshooting as the robot logs into the website and
checks for specific elements. However, the process fails during the element check.
To address this, we use the 'Screen Recorder' activity. We place the necessary
actions inside it for recording. The recorded data is stored in a specified filepath,
allowing organized recording and troubleshooting, with data retained every 10 days.
Steps to execute the bot
1. Create a new solution or workflow as “Recorder”.
2. Install the latest version of “Screen Recorder” activity from the “Manage
Feature”.
3. Drag and drop the “ScreenRecorder” activity and set it as start node.
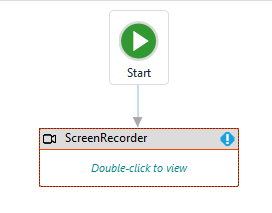
4. Double click on the activity .
a. It helps the user to record the activities in real time during the execution
of the bot.
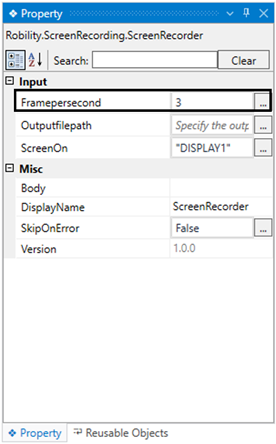
5. Navigating to the “FramePersecond” in the properties to provide the
frame rate.
a. Here I am providing the value “3”.
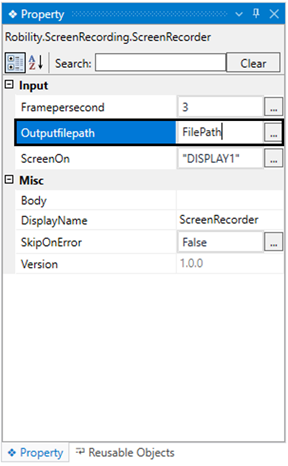
6. Moving to the “OutputfilePath” to provide the filepath to store the output of
the recorded data.
a. Here, the user has stored the value in variable as “FilePath”.
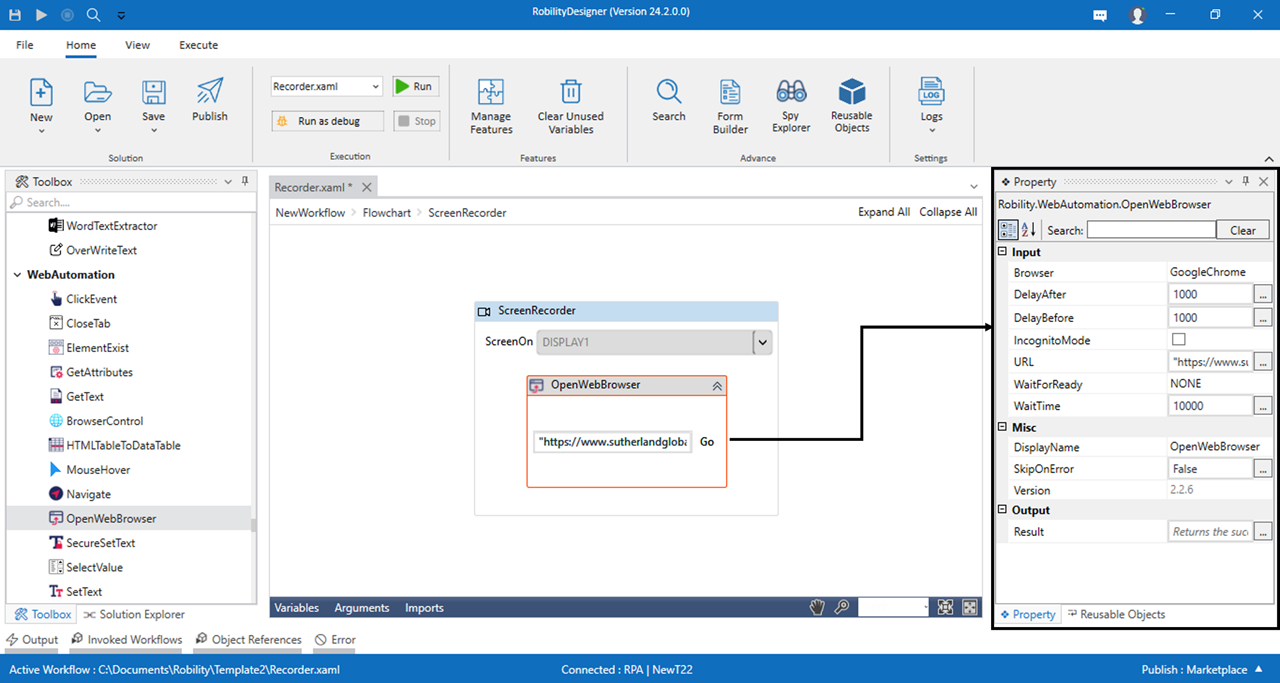
7. Now, we are adding the “OpenWebBrowser” from the WebAutomation
feature into the scope.
a. It helps to launch the specified URL on the specified browser.
b. Here I am using the URL as https://www.sutherlandglobal.com/ .
c. You can provide the specified URL to proceed.
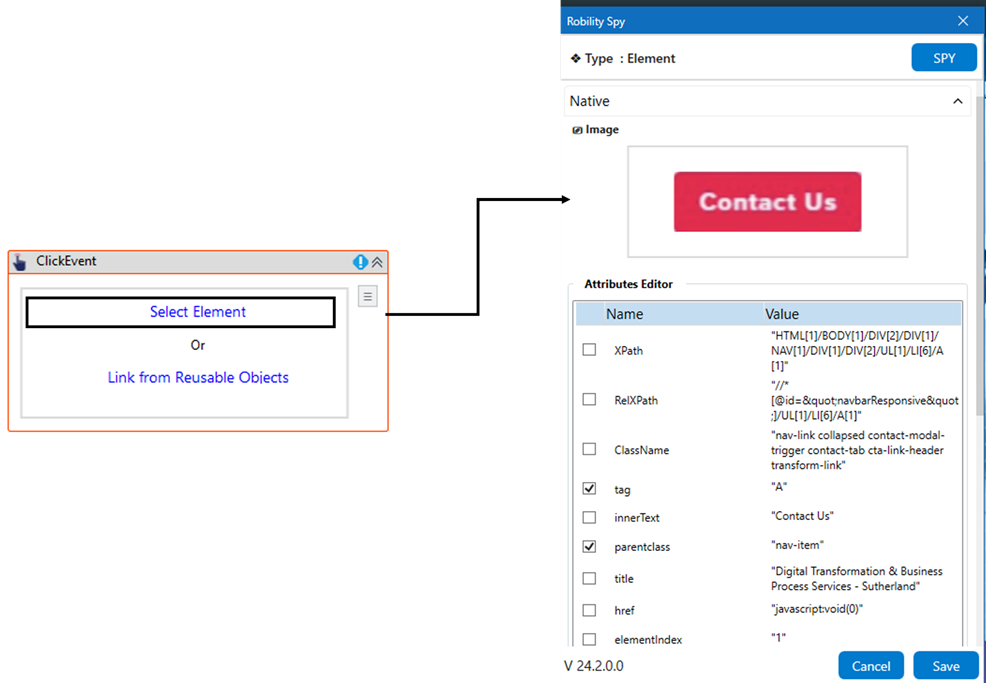
8. Next, placing the “Click” activity from the WebAutomation feature to select
the login username and password. (You can detect the specified element
from your webpage to select).
a. Double click on the activity.
b. Here, choose the "Select Active Application" option.
c. Double-click on the activity and choose the element where you want to perform
the click, then proceed to the next step. In this case, I am spying over the
“Contact” us button.
d. Once you have chosen the "Element," the attributes will be stored in the
"Spy" window, along with an "image" of the element.
e. If you wish to add or remove any attributes, you can edit the "Attributes Editor."
In this case, we are not making any changes in the “Editor.”
f. Once you click on the "Save" button, the elements will be stored in the
activity window.
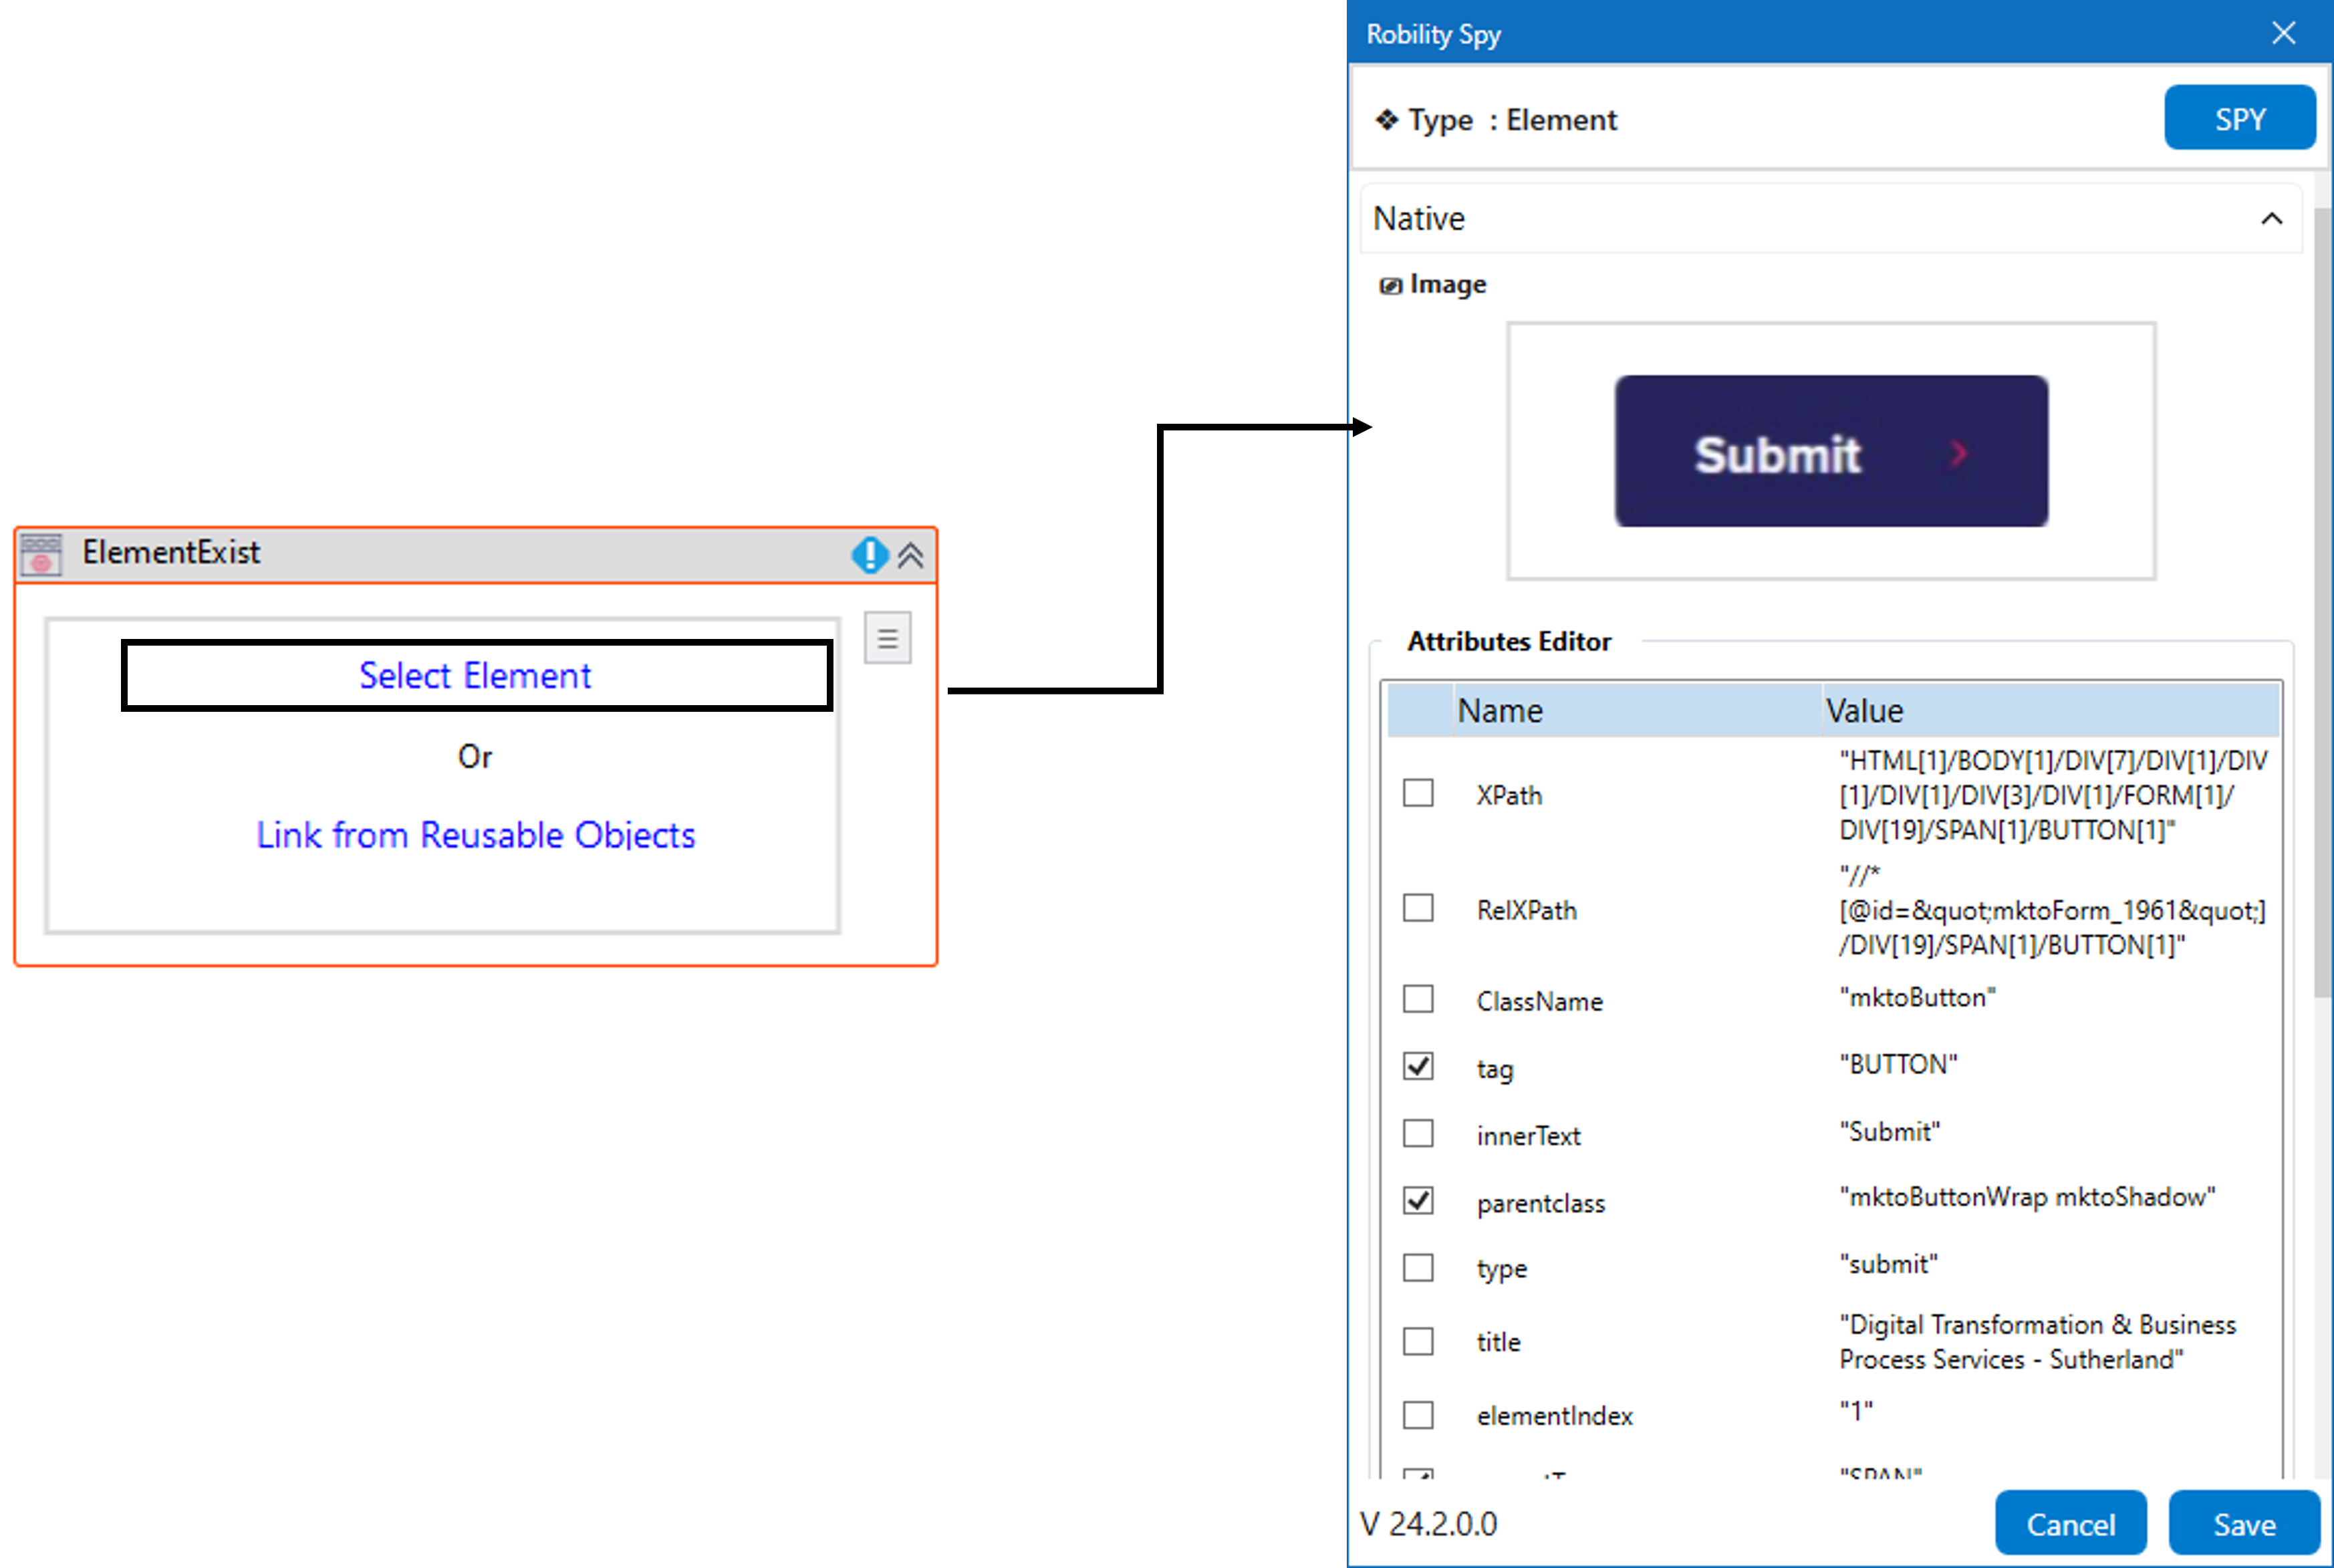
9. Now, adding the “ElementExist” activity from the WebAutomation feature
to check the element. In
a. Double click on the activity.
b. Here, choose the "Select Active Application" option.
c. Double-click on the activity and choose the element where you want to
perform the click, then proceed to the next step. In this case, I am spying
over the “Contact” us button.
d. Once you have chosen the "Element," the attributes will be stored in the
"Spy" window, along with an "image" of the element.
e. If you wish to add or remove any attributes, you can edit the "Attributes
Editor." In this case, we are not making any changes in the “Editor.”
f. Once you click on the "Save" button, the elements will be stored in the
activity window.
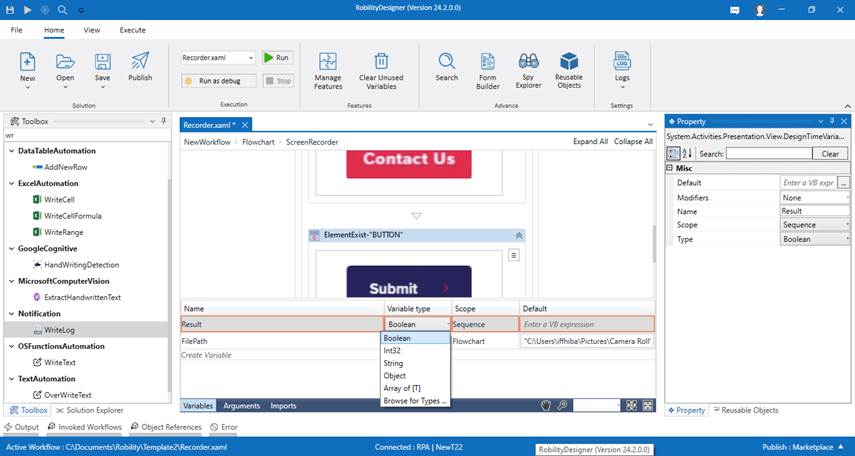
g. Now, navigating to the “ExistStatus” in the properties to declare a variable
to view the output.
i. There are two methods to store the spied value in the variable.
ii. Method 1: Double-click on the variable parameter in the “ExistStatus” section
and enter a name that helps you easily identify it in the flow. Here, I'm using
the name "Result" and using the shortcut key "Ctrl+Q" to create the variable.
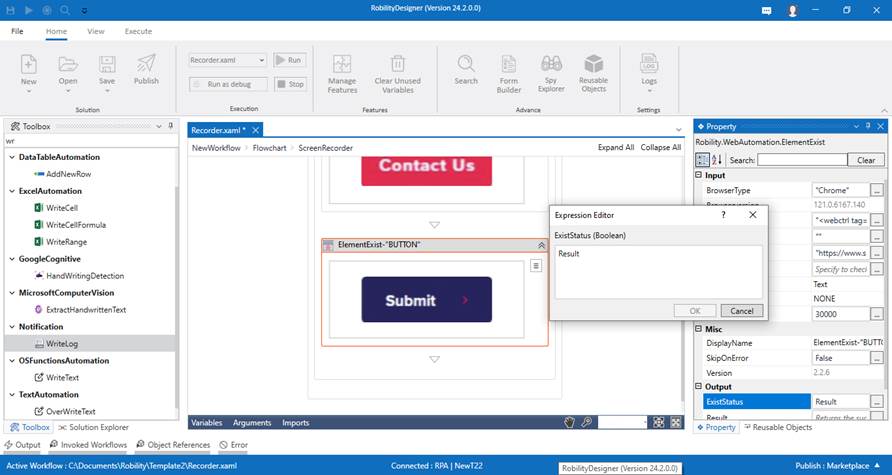
iii. Click on the variable pane, enter your preferred name (here, I'm using "Result"),
and choose the data type as "boolean" since the output value accepts the boolean
data type.
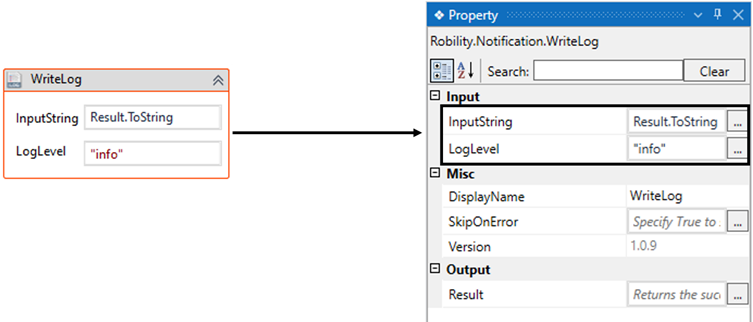
10. Then place the “Writelog” activity from the Notification feature.
a. Double click on the activity.
b. Enter the input string as “Result.ToString” here. The “.ToString” is advised to use
along with any other data types other than string format. It converts any data type
into string.
c. Choose the log level as “Info”.
11. Now, execute the workflow.
You can view the output of the activity in the specified filepath.