This activity helps the user to get the count of the pages from the specified PDF file.
Technical Reference
|
INPUT |
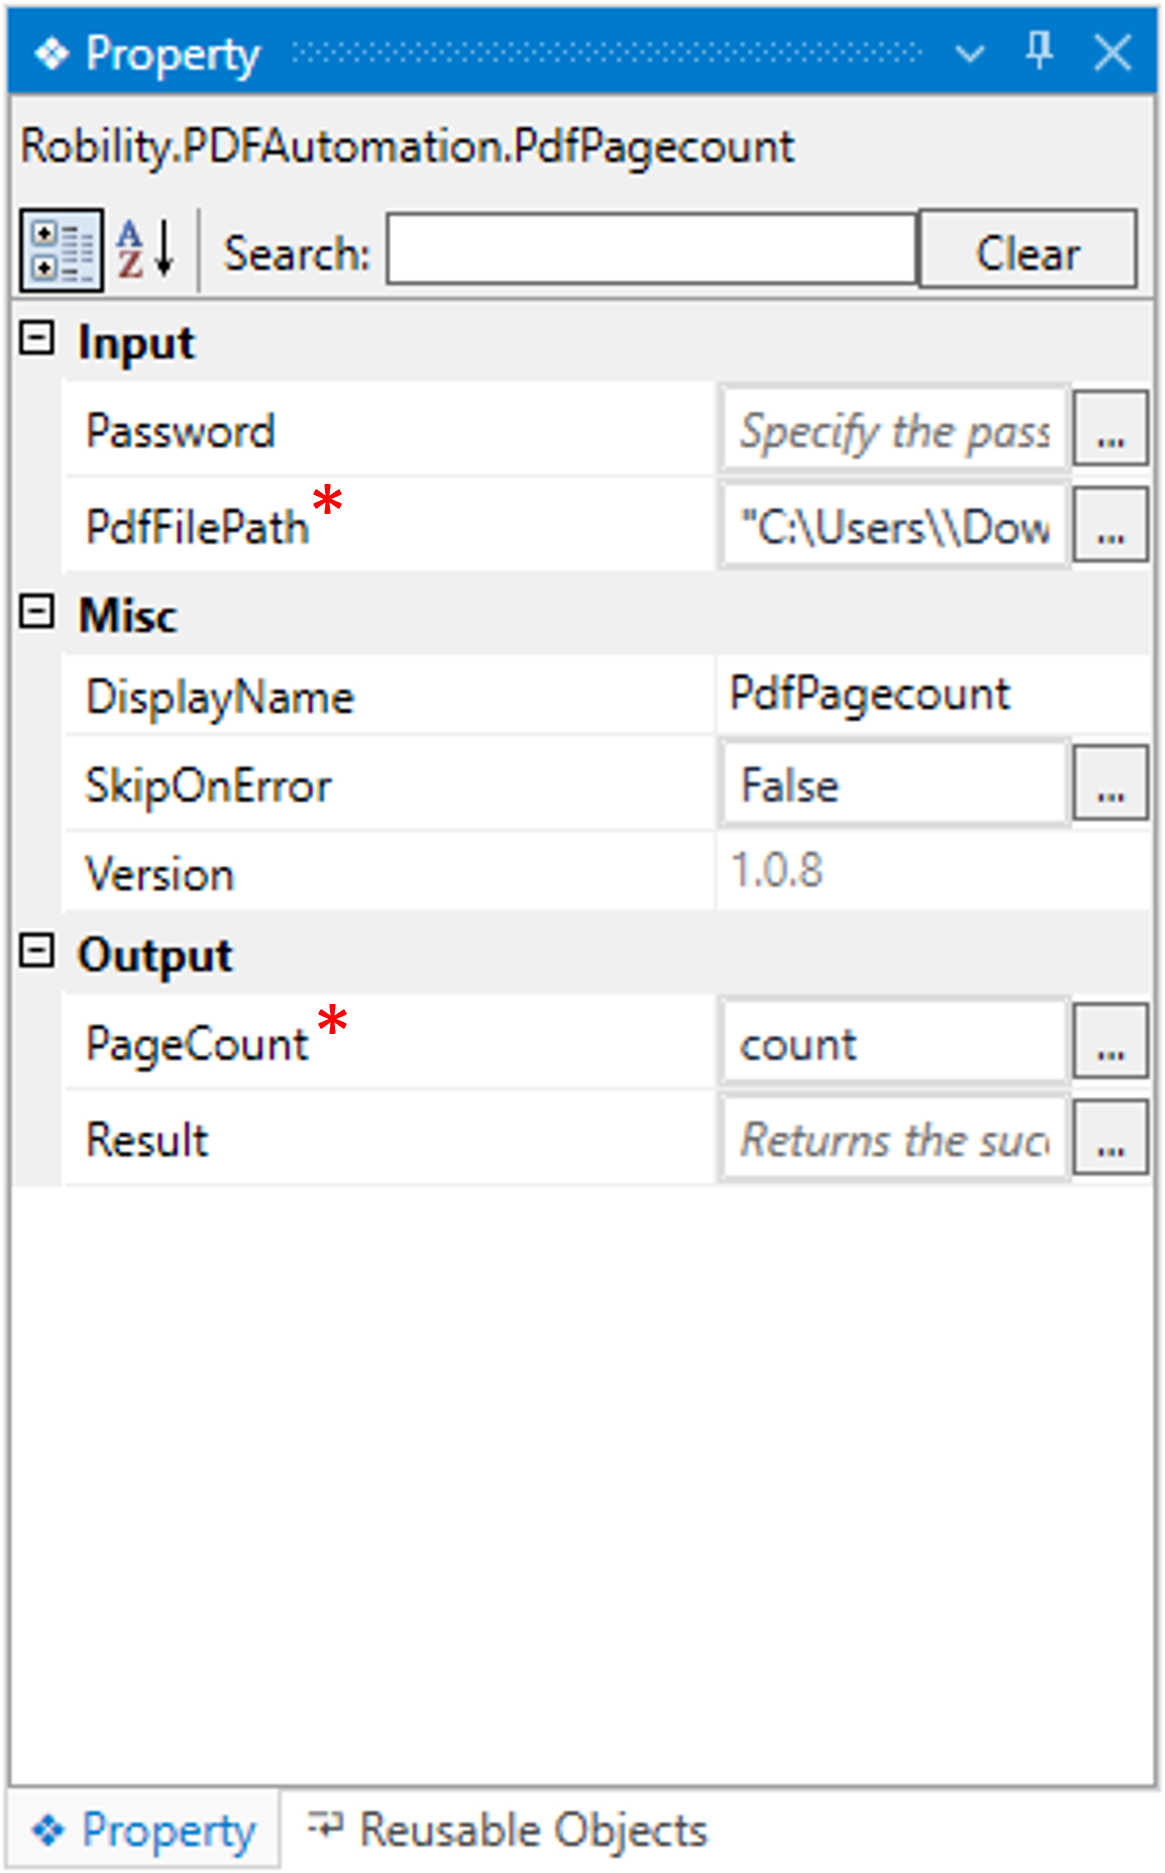
Password: This parameter is used to specify the password if the pdf is protected.
You have the option to either hardcode the values in the “String” variable or pass the values as “String” datatype.
When the option is left blank, the password will not be considered.
This parameter accepts values in “String” datatype. |
|
|
PdfFilePath: This parameter specifies to provide the “Path” of the input pdf against which the count needs to extracted.
You can either hardcode the values in the “String” variable or pass the values as “String” datatype.
This parameter accepts values in “String” datatype. |
||
|
MISC |
DisplayName: Displays the name of the activity. The activity name can be customized, which aids in troubleshooting. |
|
|
SkipOnError: Specify the "Boolean" value as "True" or "False."
True: Continue executing the workflow regardless of any errors thrown. False: Halt the workflow if it encounters any errors. None: If the option is left blank, the activity will, by default, behave as if "False" were chosen. |
||
|
Version: It indicates the version of the feature being used. |
||
|
OUTPUT |
PageCount: It returns the output of the activity as the count extracted from the specified pdf document. It returns the output in “Integer” datatype. |
|
|
Result: It provides the ability to view the execution status of the activity. It returns values in "Boolean."
True: Indicates that the activity has been executed successfully without any errors. False: Indicates that the activity has been unsuccessful due to an unexpected error being thrown. |
* Represents mandatory fields to execute the workflow
Here's an example of how the “PDFPageCount” activity works in the workflow –
The following is a simple example that demonstrates how to extract the count of the
pages from the specified input PDF document.
1. Create a solution for building a workflow.
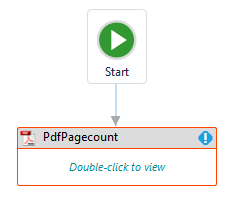
2. Drag and drop the " PDFPageCount " activity onto the designer pane and set
it as the “Start Node.”
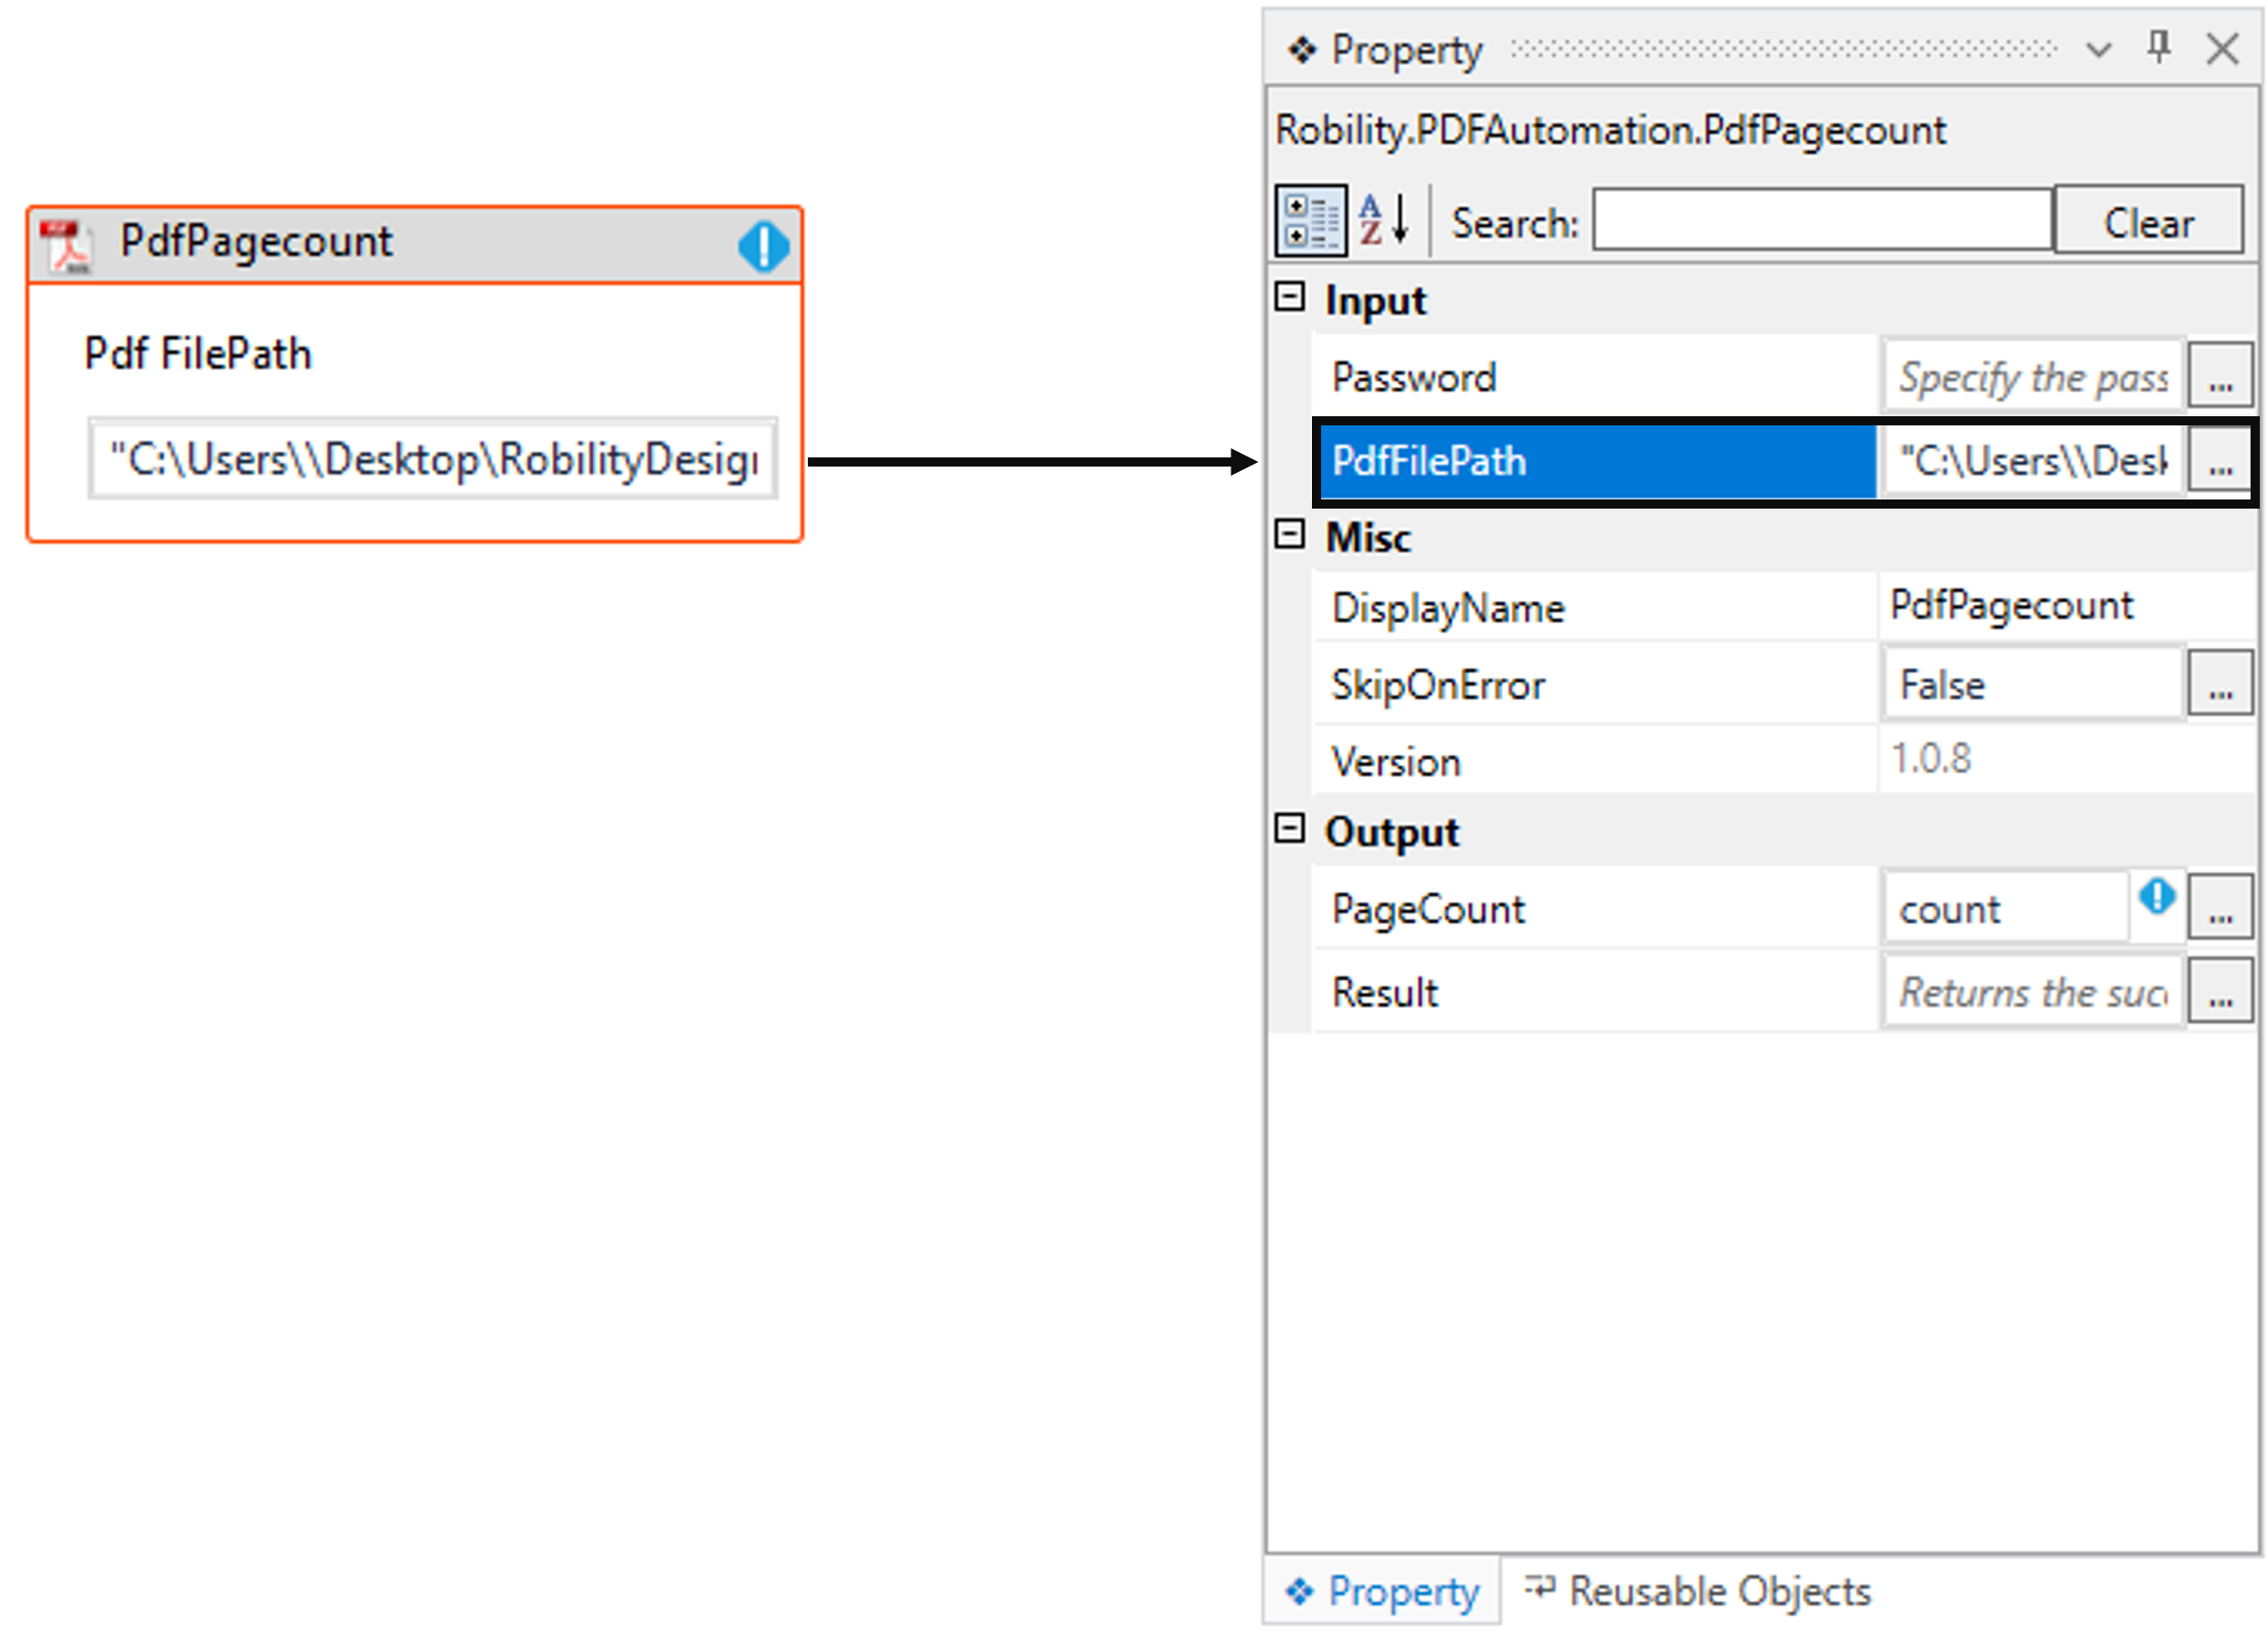
3. Double-click the activity to provide the essential details.
a. Here, I am providing the “PdfFilePath” as the path of my PDF document to
read and extract the count from the PDF.
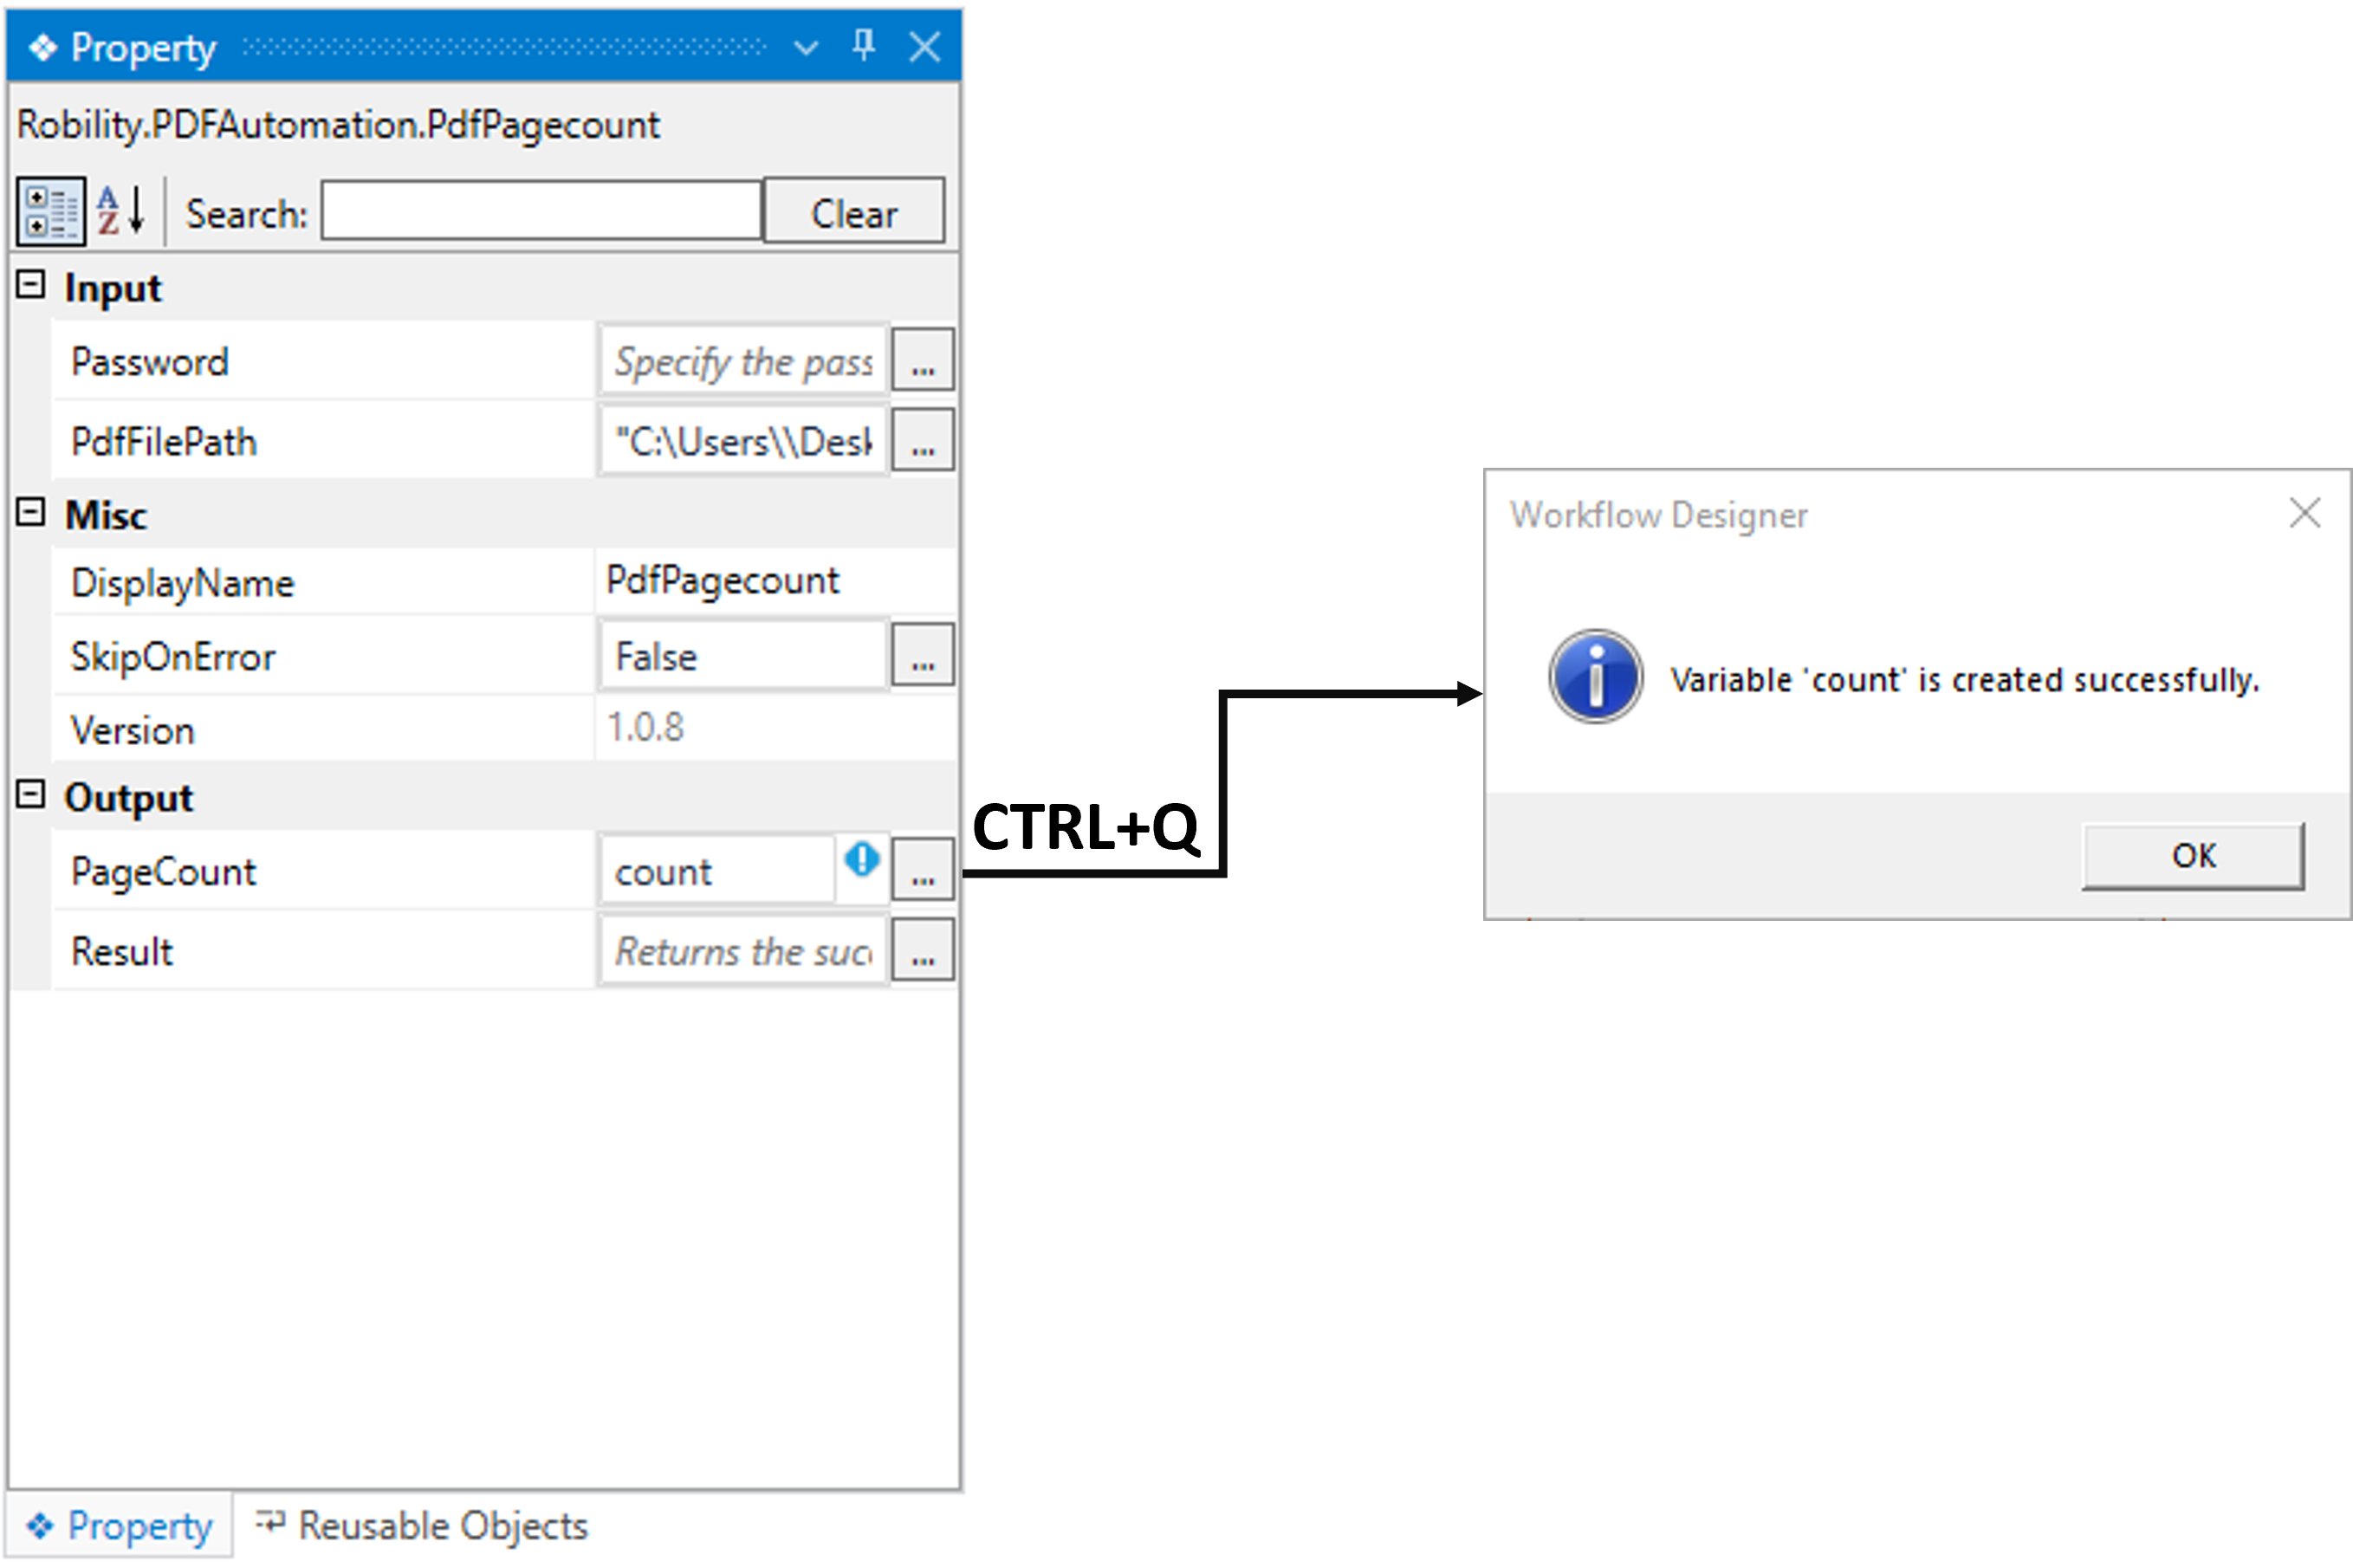
b. Navigating to the “PageCount” in the output section of the properties to
declare a variable to store the output in a variable.
i. There are two methods to store the spied value in the variable.
ii. Method 1: Double-click on the variable parameter “PageCount” in the “Output”
section and enter a name that helps you easily identify it in the flow. Here,
I'm using the name "Count" and using the shortcut key "Ctrl+Q" to create
the variable.
iii. Method 2: Click on the variable pane, enter your preferred name
(here, I'm using "Count"), and choose the data type as "Integer" since
the output value accepts the integer data type.
4. You can add a write log activity next to the “PDFPageCount” activity
to view the output.
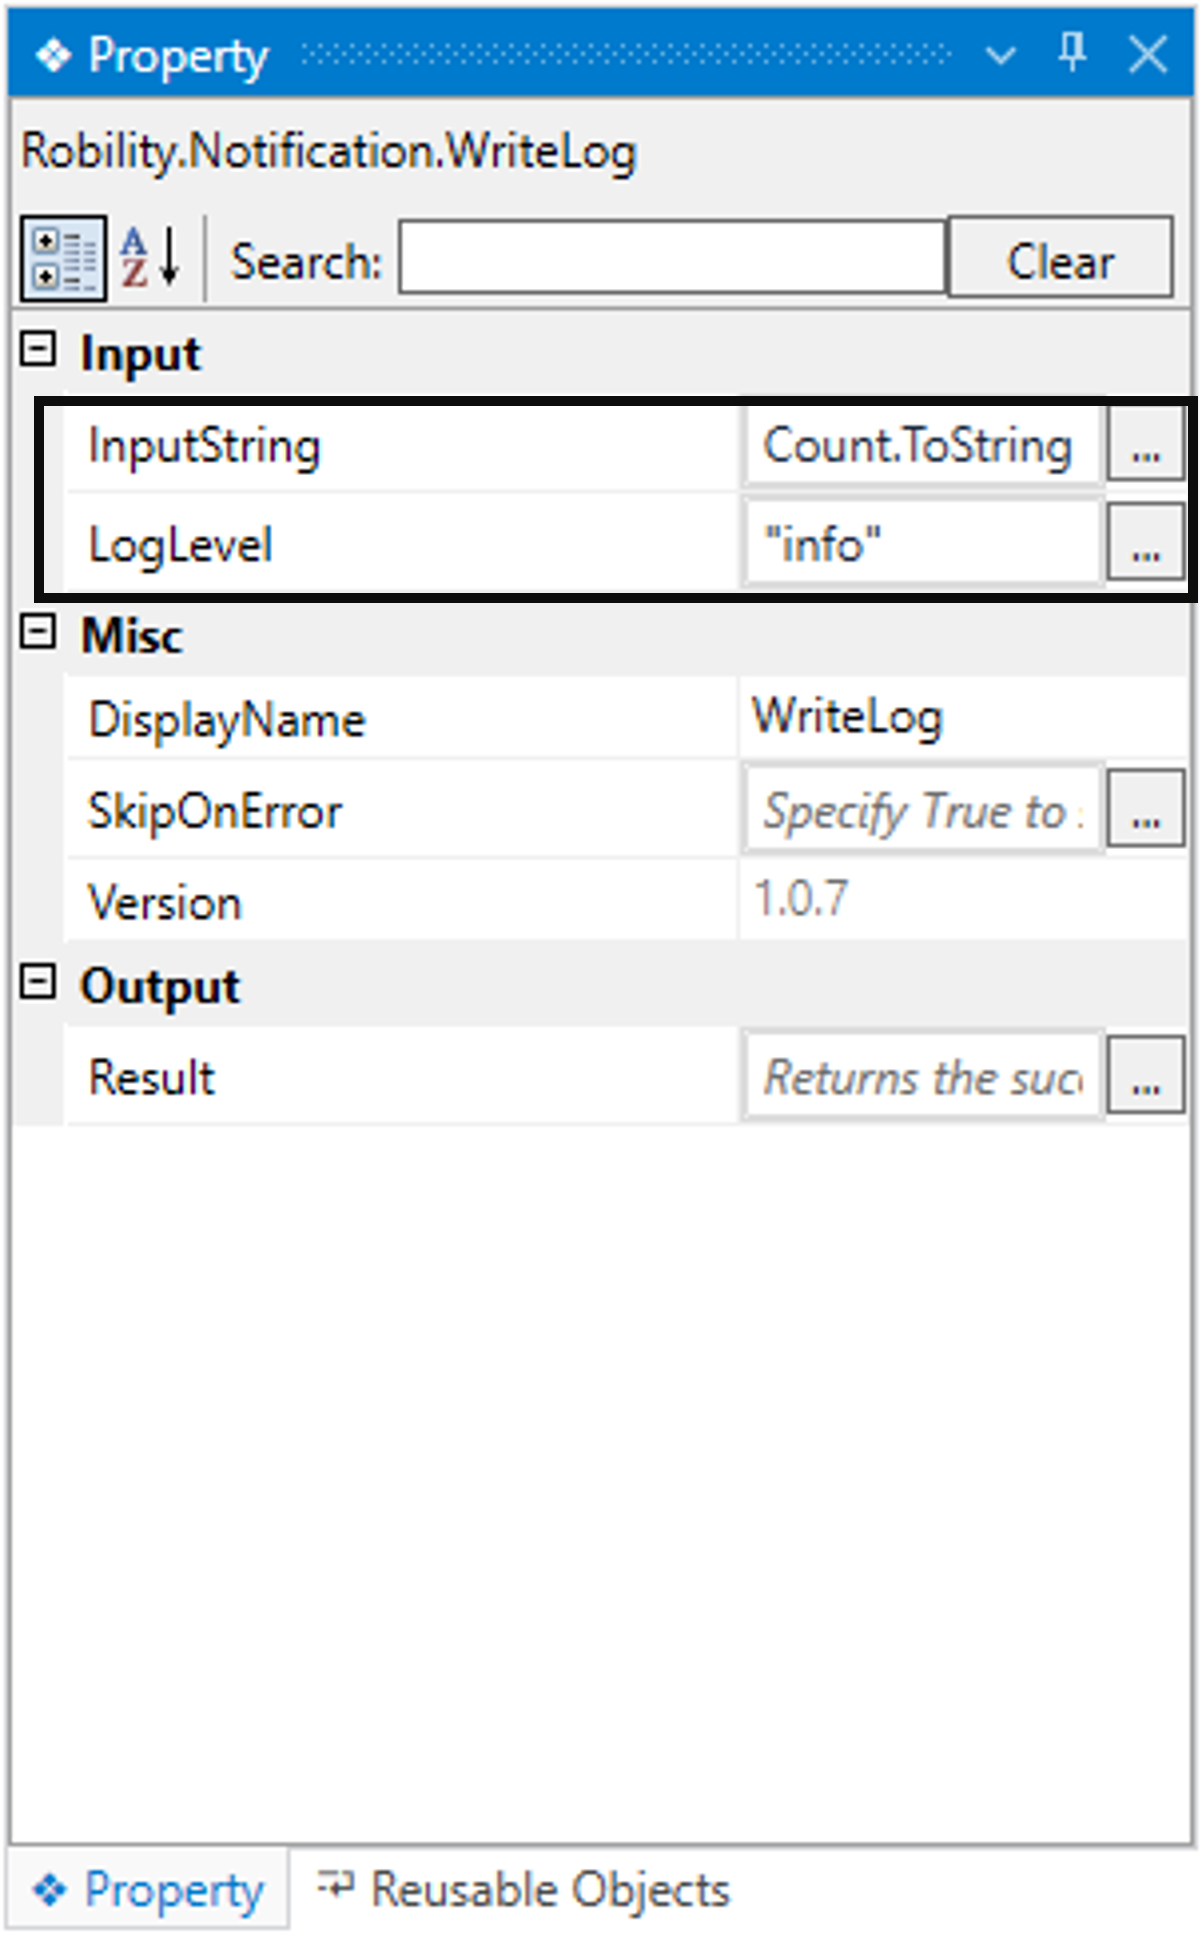
a. Here, I am entering the “InputString” as “Count.ToString”.
b. The “.ToString” is advised to use along with any other data types other
than string format. It converts any data type into string.
c. Enter the log level as “Info”. Refer the “WriteLog” activity to get more
information.
5. Now, execute the workflow to view the results.
Below is a sample of the output of the activity.
Use Case
The following use cases demonstrate how to utilize the 'PDF' automation within
the workflow.
In this use case, the input is a PDF file path. The user is instructed to create an
image with the first page of the document and extract the last two pages from
the PDF file into a separate PDF document.
Our task, based on the provided input, involves cross verifying the PDF file
and extracting the total page count.
Upon verification, the automation precisely executes the user's instructions,
ensuring image creation and seamless extraction of the specified pages.
Steps to execute the bot
1. Create a solution named “PDFAutomation”.
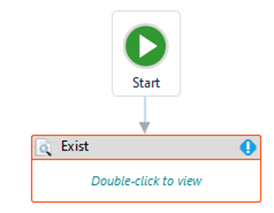
2. Drag and drop the “Exist” activity from the FS Automation feature and set
it as “Start Node”.
a. It helps to validate whether the provided path of either the “directory”
or “File” exists or not.
b. Here we are going to check whether the provided file path of the
PDF exists.
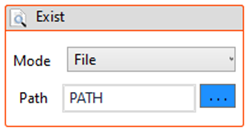
c. Double click on the activity and choose the “Mode” as “File”.
d. Next, moving to the “Path” and here provide the variable as
“PATH”.
e. Now, navigate to the “Result” in the output section of the properties
to declare a variable to view the output.
i. There are two ways to declare a variable.
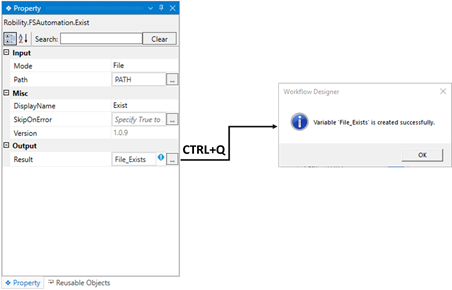
ii. Method 1 – Click on the "Result" property within the "Exist" activity and
enter the variable name. In this case, we are using " File_Exists." Then,
press "Ctrl+Q," which is a shortcut key to create a variable.
iii. Method 2 - Click on the Variables pane and enter the name " File_Exists."
Then, in the "Variable Types" column, select "Boolean" from the dropdown
menu.
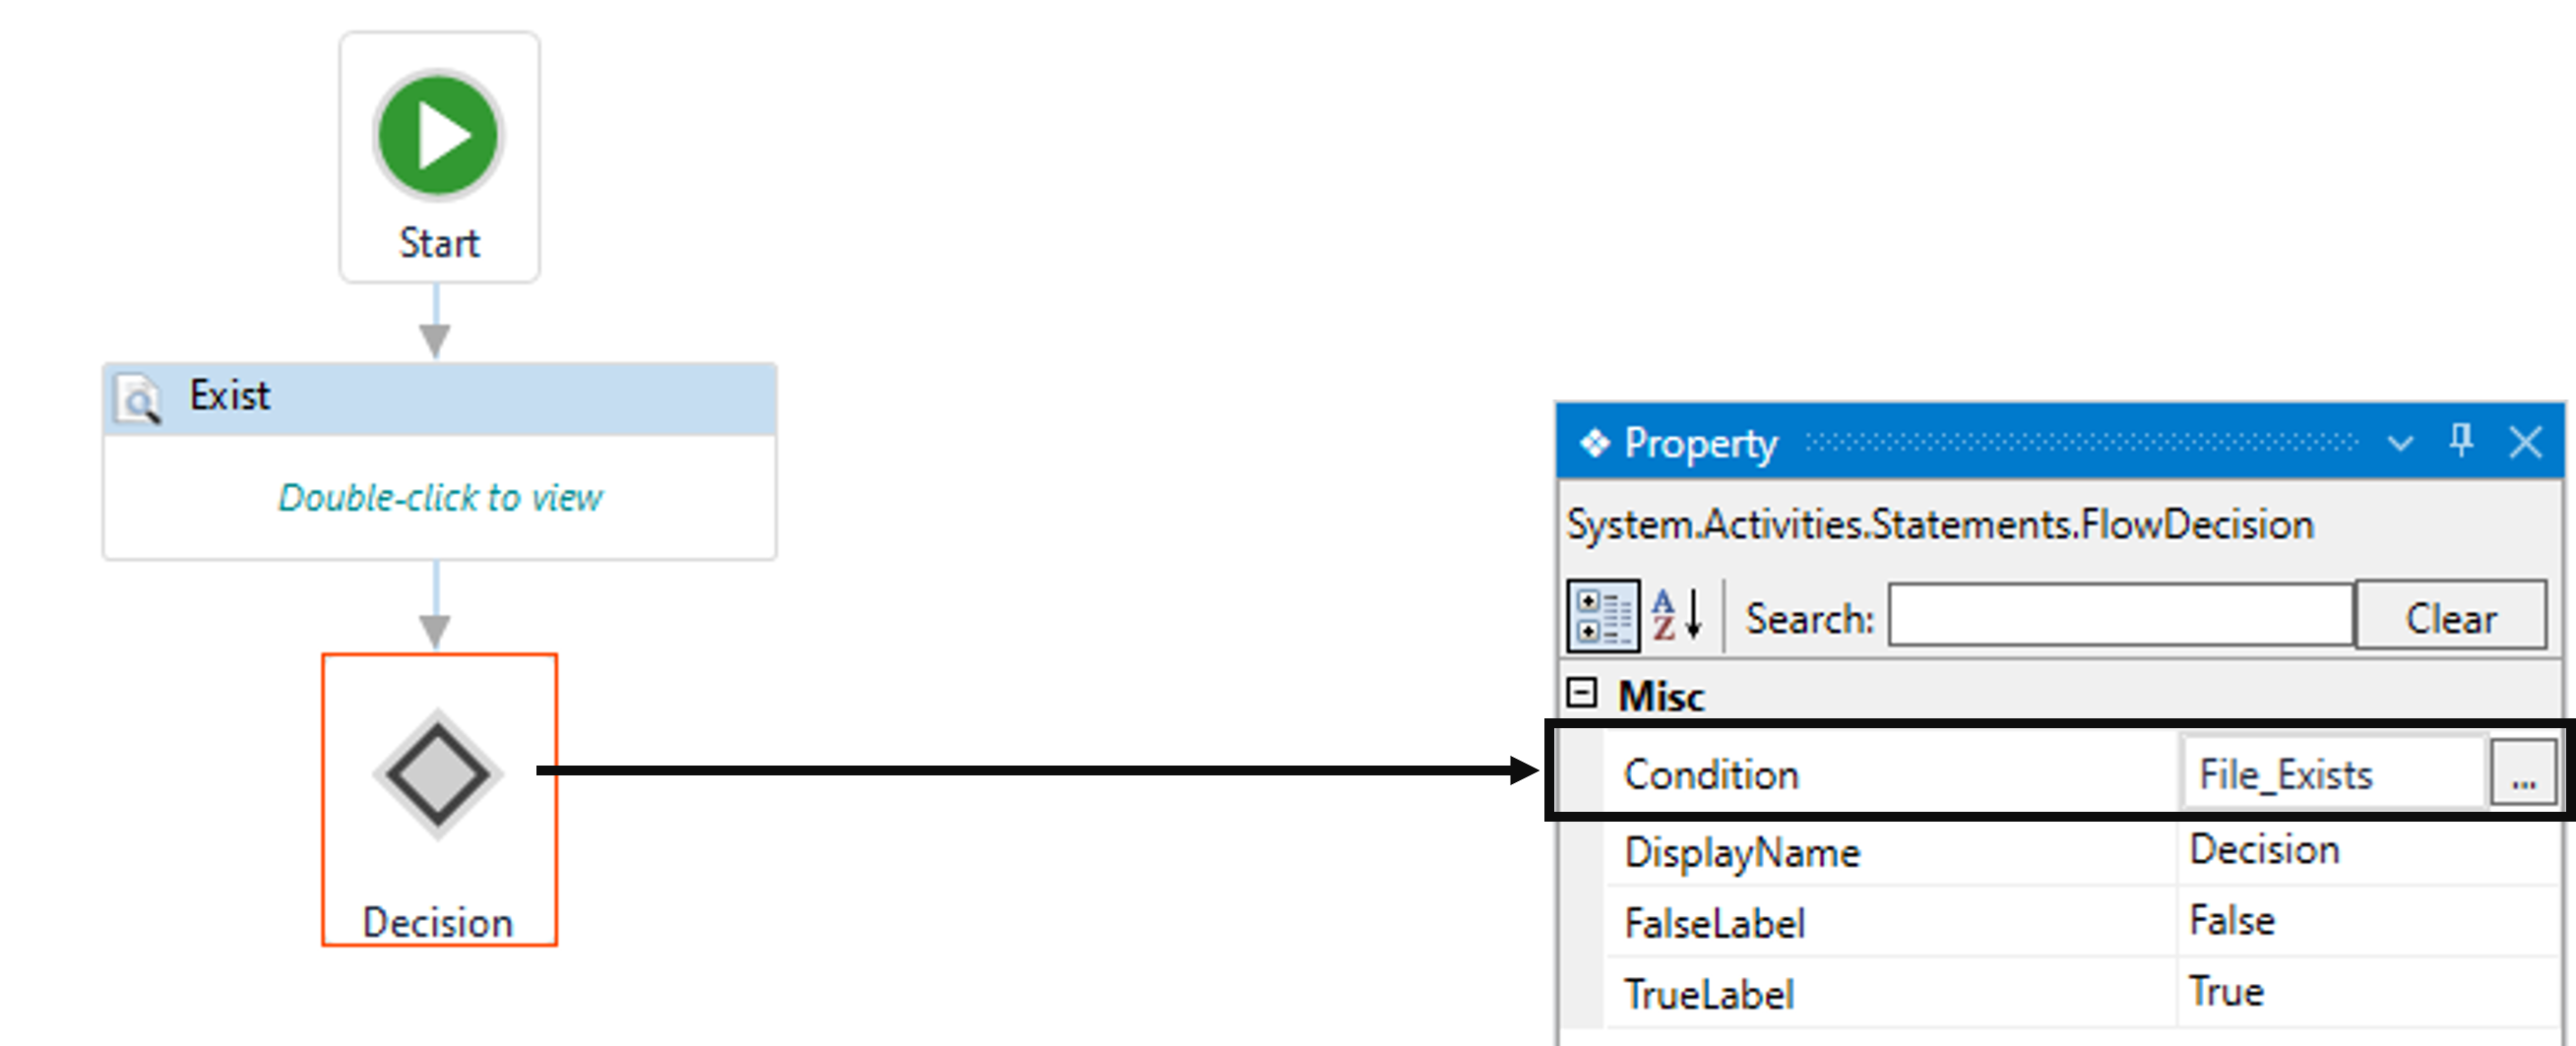
3. Now, place the “FlowDecision” activity next to the “Exist” activity.
a. It helps to move to the next step in the workflow based on the condition
provided.
b. Here we are going to provide the condition as the result form the
“Exist” activity.
c. Navigate to the “Condition” in the properties and provide the value as
“File_Exists”.
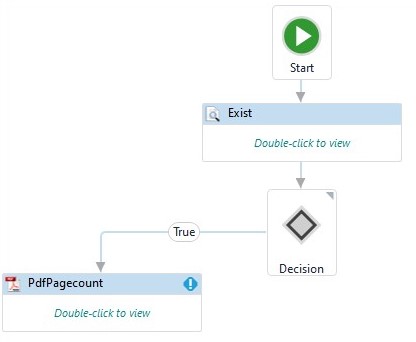
4. Now, Add the “PDFPageCount” activity and connect it to the “True” set from the
“Flow Decision” activity.
a. It helps to get the count of the pages from the specified PDF.
b. Here we are going to get the count to know the total number of pages.
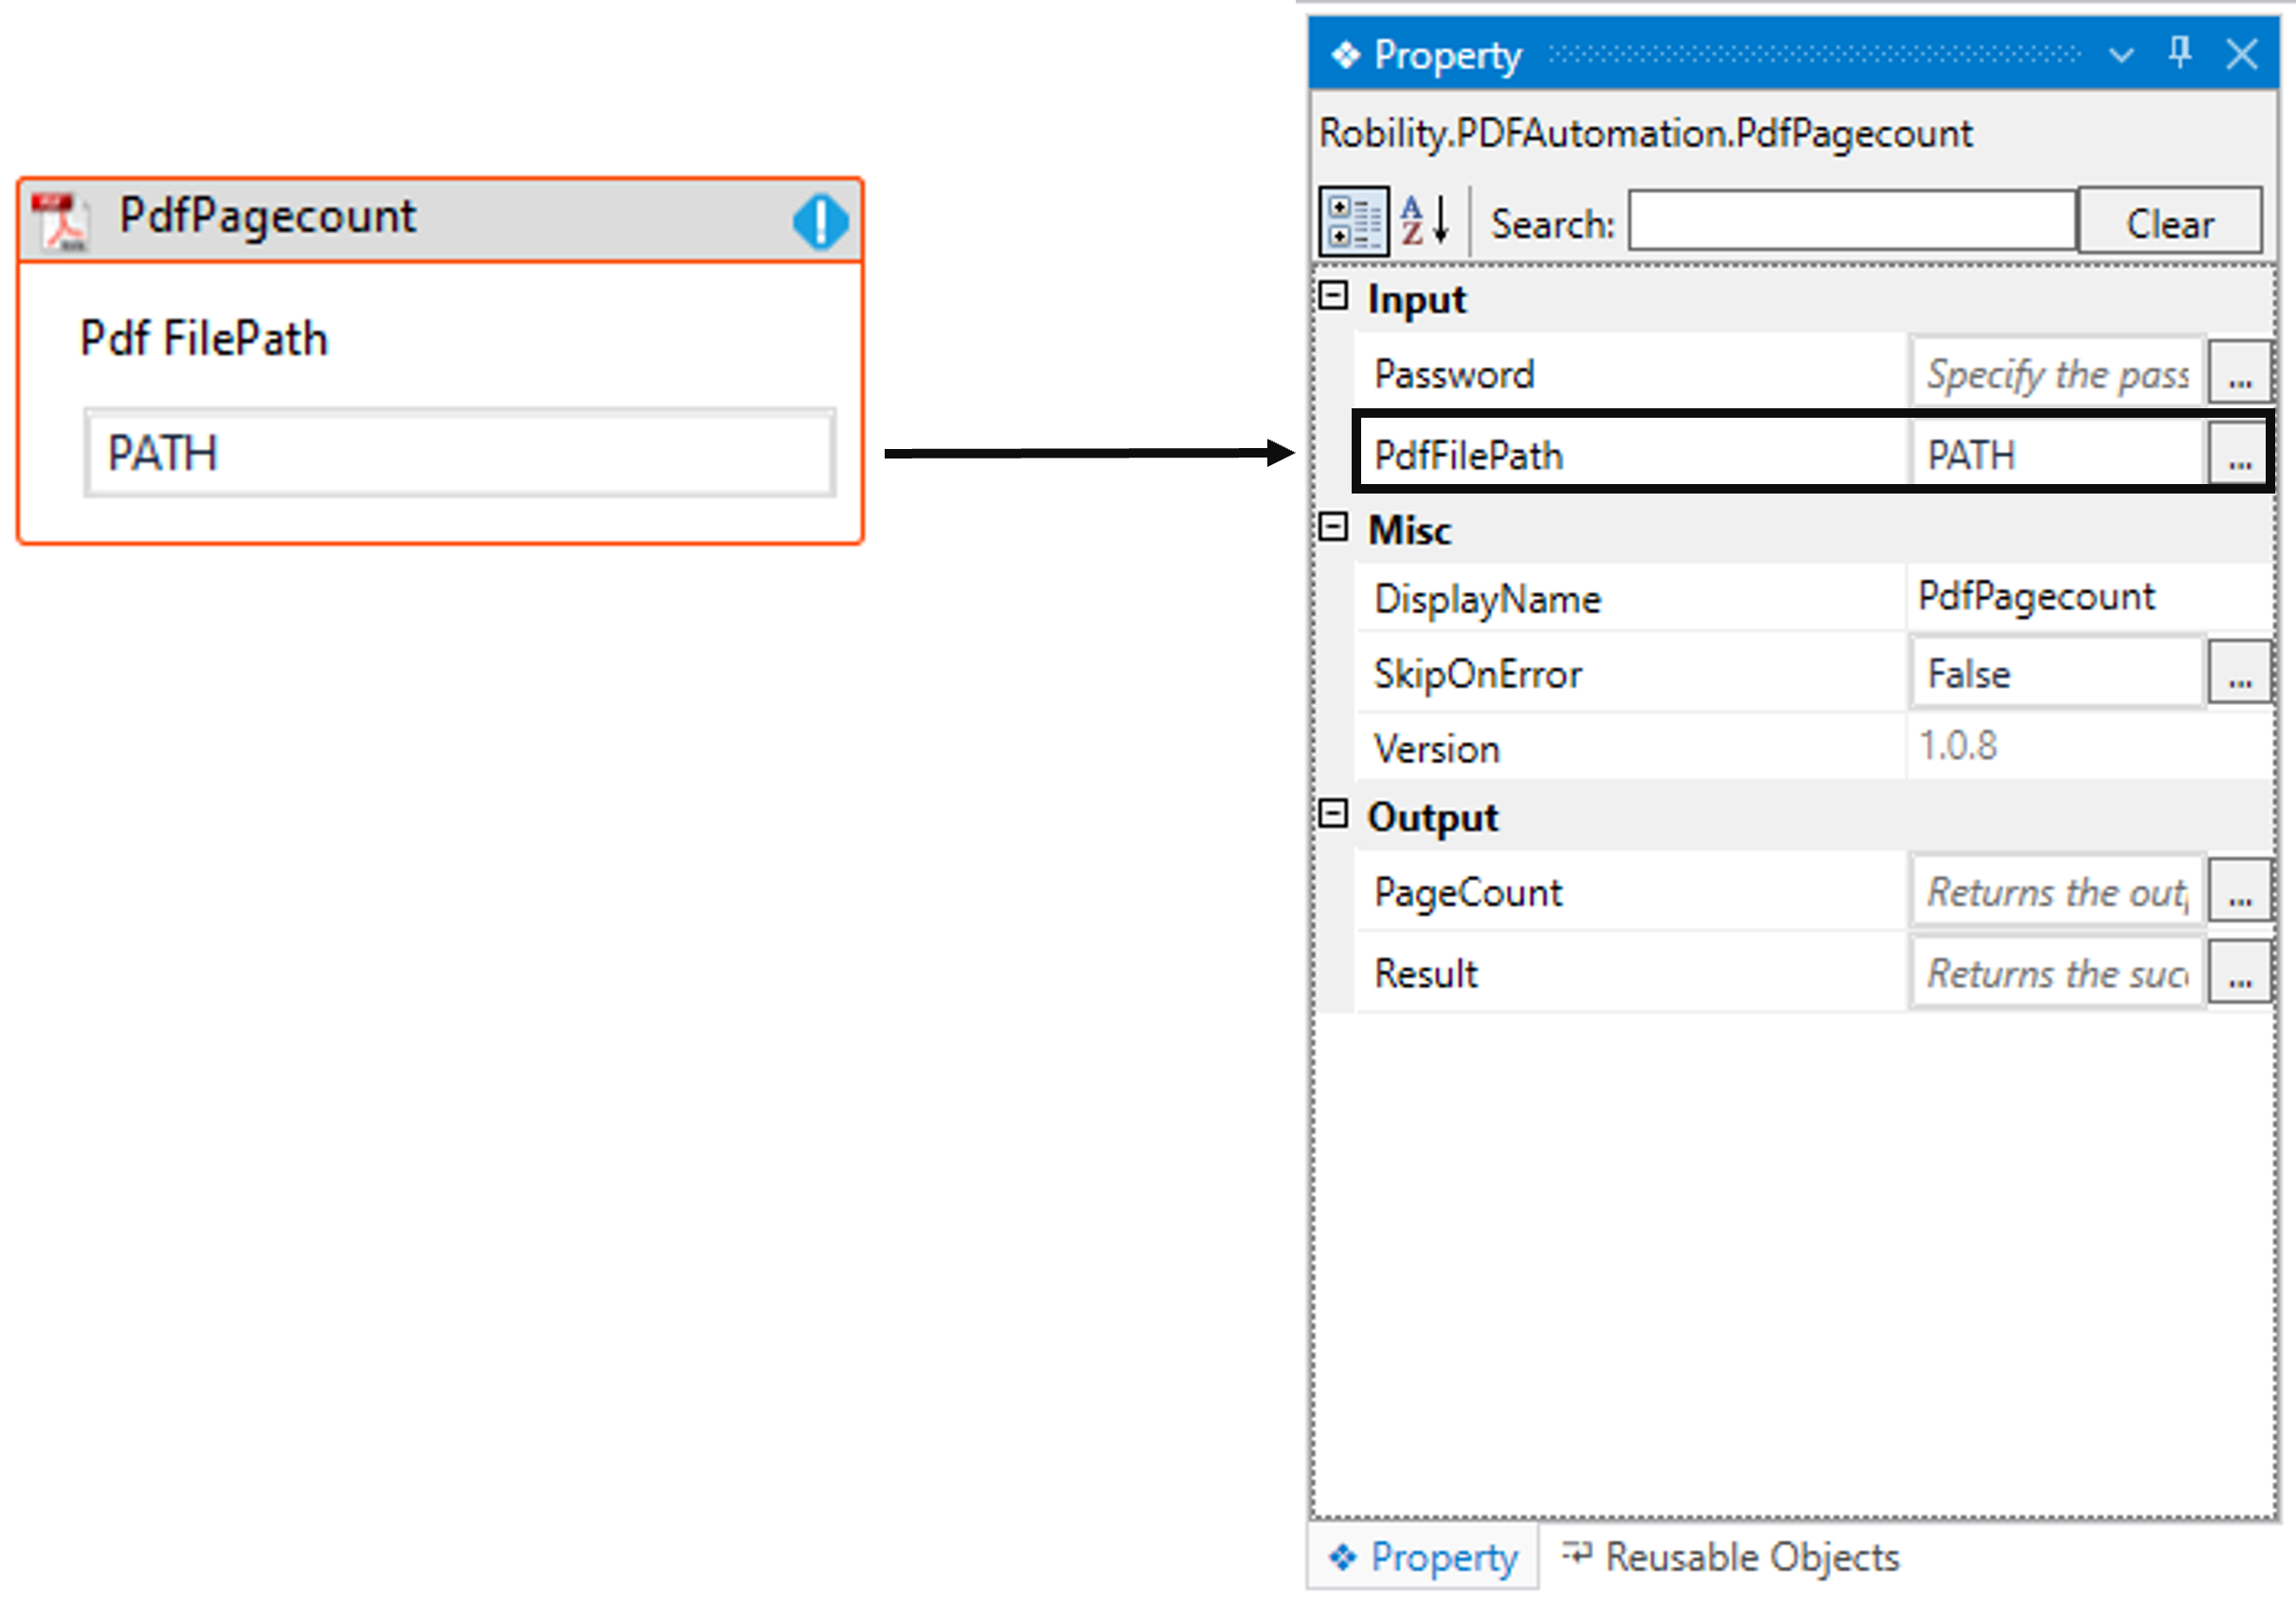
c. Double click on the activity and enter the variable “PATH” in the “PdfFilePath”
field.
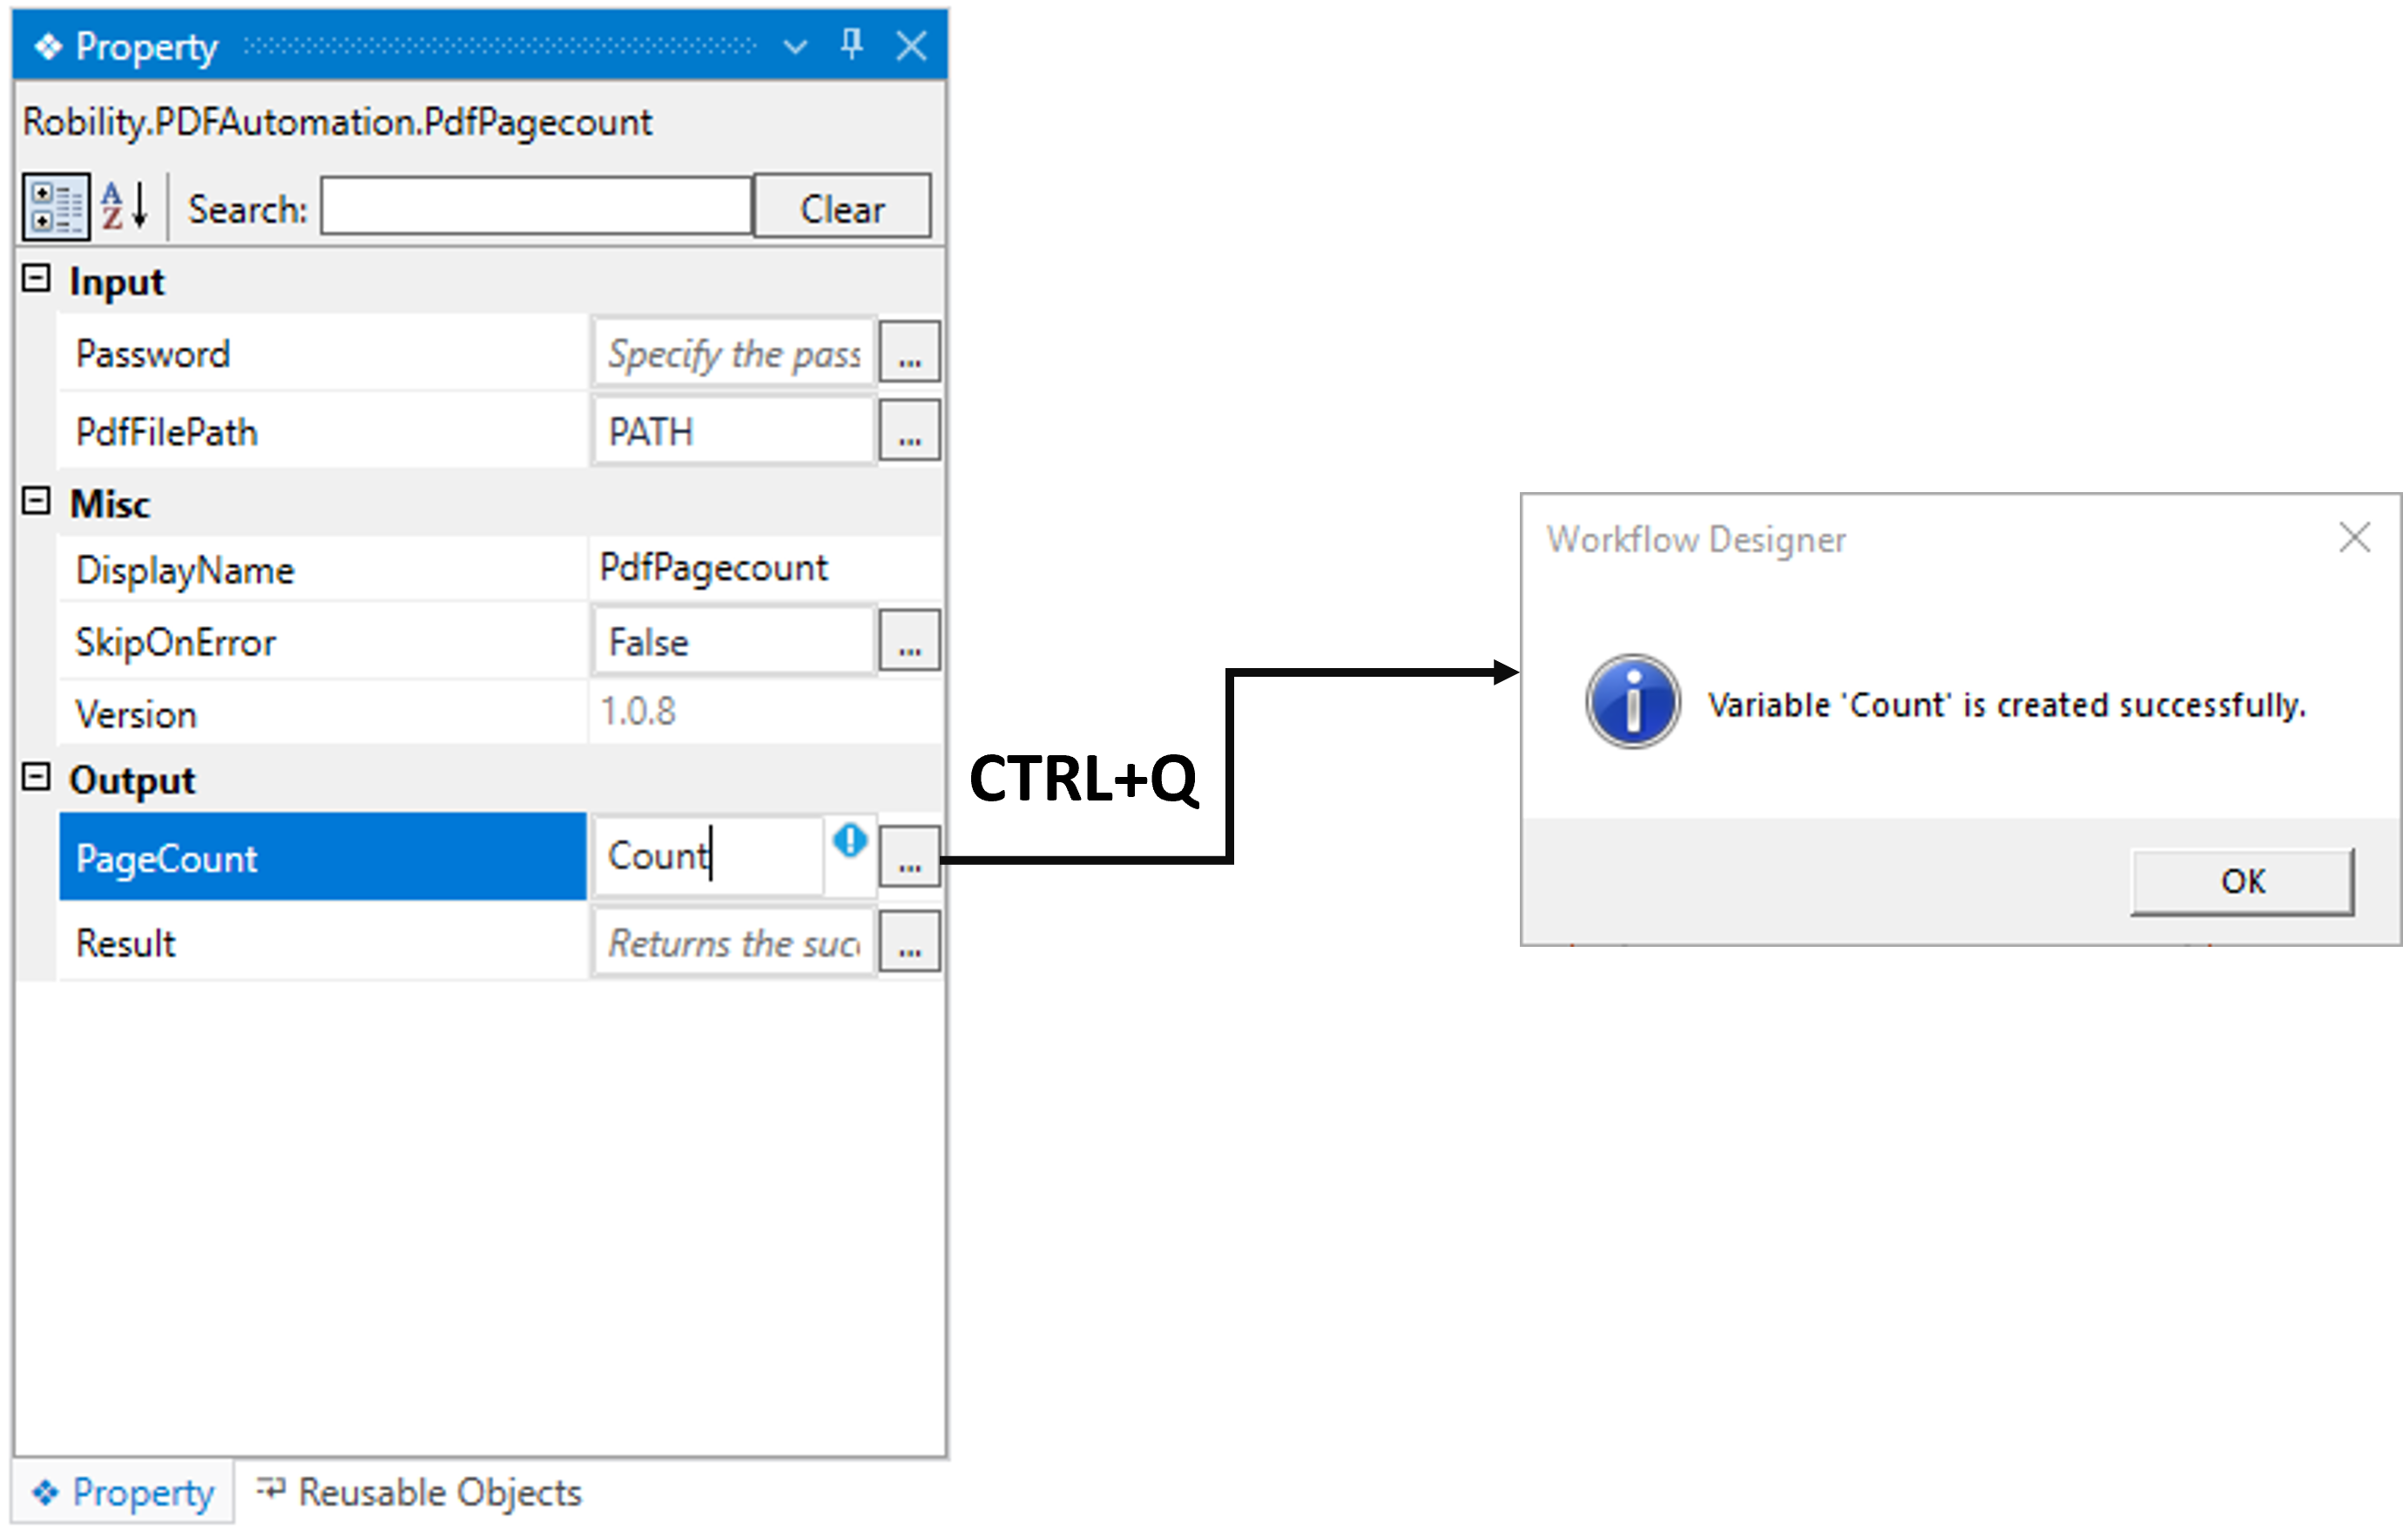
d. Now, navigate to the “PageCount” in the output section of the properties to
declare a variable to store the count.
i. There are two ways to declare a variable.
ii. Method 1 – Click on the "PageCount" property within the " PDFPageCount "
activity and enter the variable name. In this case, we are using "Count." Then, press
"Ctrl+Q," which is a shortcut key to create a variable.
iii. Method 2 - Click on the Variables pane and enter the name " Count." Then, in the
"Variable Types" column, select "Boolean" from the dropdown menu.
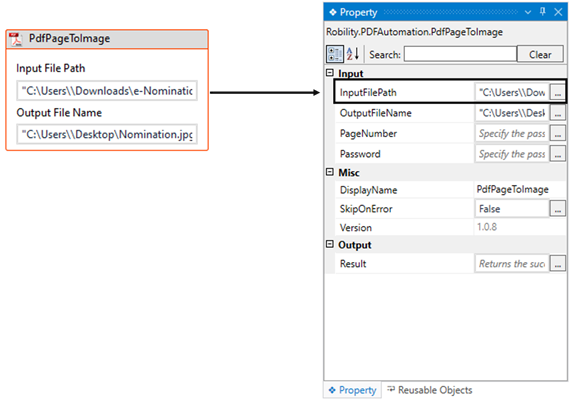
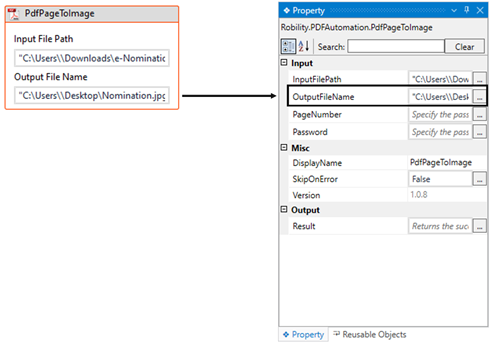
5. Next, place the “PDFPagetoImage” activity next to the “PDFPageCount”.
a. It helps to convert the specified PDF pages into an image format file.
b. Here we are going to convert the first page form the PDF into the image.
c. Double click on the activity to provide the essential details.
i. Here, I am providing the “InputFilePath” as the variable “PATH” to convert.
ii. Moving to the “OutputFileName” as the name and path of the image file to
store the converted PDFs.
d. Navigating to the “PageNumber” in the properties to specify the number
PDF pages to convert it into image.
i. Here I am specifying the number as “1”.
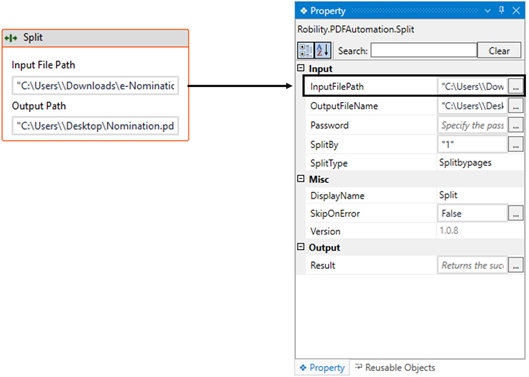
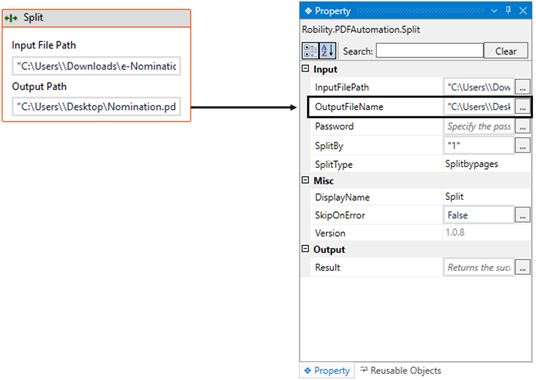
6. Now, place the “Split” activity next to the “PdfPageToImage”.
a. It helps to split the pdfs into multiple PDFs.
b. Here we are using this activity to split the last two pages from the specified PDF
document.
c. Double click on the activity.
i. Here, I am providing the “InputFilePath” as the name and path of my PDF
document to split.
b. Moving to the “OutputFileName” as the name and path of my PDF to
store the splitted PDFs.
c. Navigating to the “SplitBy” in the properties to provide the page range to
split the specified PDF document.
i. Here I am specifying the number as “7-8”.
d. Moving to “SplitType”, here by default the option is “PageRanges” from
the drop-down.
7. Now, execute the workflow.
The bot will validate whether the provided file exists in the system and then proceeds
to convert page to image. Further, splits the last two pages from the original
PDF and stores it in a separate PDF.

