
This activity is used to create an attribute in an xml file.
Technical Reference
|
|
INPUT |
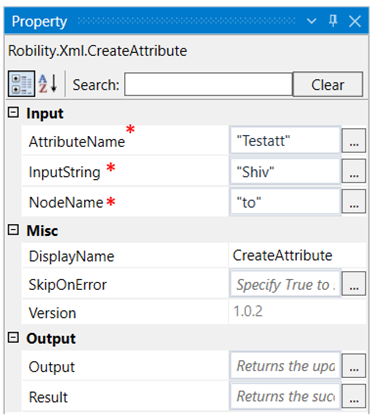
AttributeName: Specify the name of the attribute to be created. |
|
InputString: Specify the input to be created against the attribute. |
||
|
NodeName: Specify the name of the node to which the attribute has to be created. |
||
|
MISC |
DisplayName: Displays the name of the activity. You can also customize the activity name to help troubleshoot issues faster. This name will be used for logging purposes. |
|
|
SkipOnError: It specifies whether to continue executing the workflow even if it throws an error. This supports only Boolean value “True or False”. By default, it is set to “False.” True: Continues the workflow to the next step False: Stops the workflow and throws an error. |
||
|
Version: It specifies the version of the XML automation feature in use |
||
|
OUTPUT |
|
|
|
Result: Returns the success state of the activity. |
*Mandatory fields to execute the workflow
Use Case
The following activity illustrates on how we can use the create attribute activity to
create an attribute to the node “to” in an xml file. We will be adding the attribute name
as Testatt and the input string as Shiv to the node name “To”.
Steps to execute the bot
1. Drag and drop a create attribute activity into the get xml object scope.
2. Double click on the activity and enter the attribute name, input string and node name
3. Here it is “Testatt”, “Shiv” and “to” respectively.
4. Drag and drop a save activity below this activity to save the XML file with the new attributes.
5. Double click on the save activity and specify the name of the xml path to which the file
should be saved.
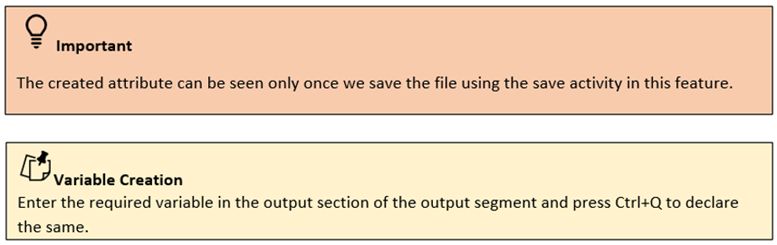
6. Declare a variable in the xmldocument box of the output segment.
7. Execute the workflow.
8. Close and open the xml file to see the created attributes.
The bot executes the activity and saves the xml file with the new attributes into it.