
This activity helps the user in loading and executing Python scripts. It might
encompass functionalities like specifying the script location, managing
dependencies, handling script execution, and capturing the output or results.
Technical Reference
|
|
INPUT |
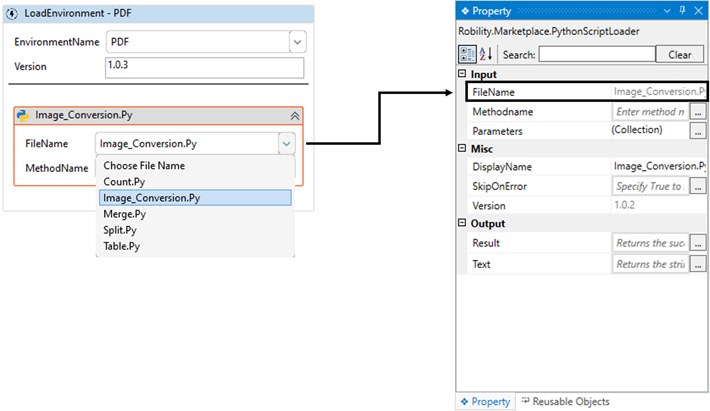
FileName: Indicates the name of the “Python file” that is being used.
By default, it will be auto filled and will be disabled to edit the name. |
|
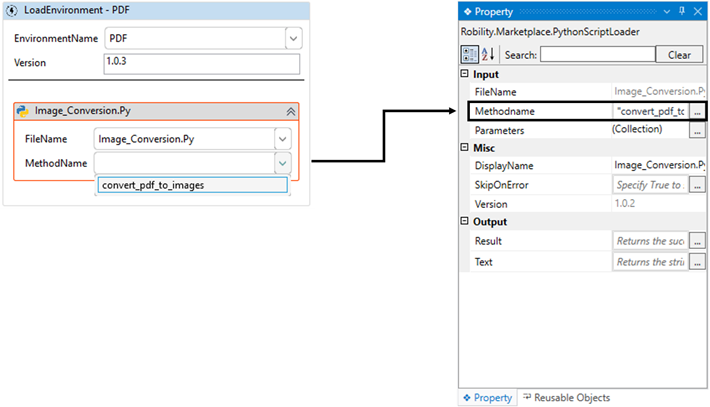
MethodName: Select the "MethodName" from the drop-down. This parameter indicates the name of the method in the script to be automated.
You can either hardcode the values in the “String” format or can enter the values in the “String” datatype. |
||
|
Parameters: This parameter helps you to provide the “inputs” that are required to pass during the execution of the “Python script”.
This field accepts collection of argument types. |
||
|
MISC |
DisplayName: Displays the name of the activity. The activity name can be customized, which aids in troubleshooting. |
|
|
SkipOnError: Specify the "Boolean" value as "True" or "False." True: Continue executing the workflow regardless of any errors thrown. False: Halt the workflow if it encounters any errors. None: If the option is left blank, the activity will, by default, behave as if "False" were chosen. |
||
|
Version: It indicates the version of the feature being used. |
||
|
OUTPUT |
Result: It provides the ability to view the execution status of the activity. It returns values in "Boolean." True: Indicates that the activity has been executed successfully without any errors. False: Indicates that the activity has been unsuccessful due to an unexpected error being thrown. |
|
|
Text: It returns the output of the activity as the text extracted from the Python Script. It returns the output in “String” datatype. |
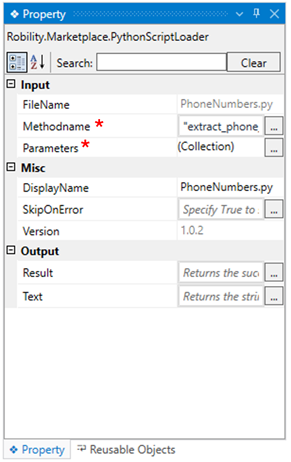
* Represents mandatory fields to execute the workflow

Let’s see how to download and use the reusable component from the MarketPlace:
How to download listings in MarketPlace at Designer?
All the scripts and solutions added in the Marketplace will be available in the Designer,
empowering users with a rich library of pre-built components. This library includes
integrations that facilitate seamless connections to external services, as well as
custom activities, allowing users to incorporate specialized functionalities into their
automation workflows.
Follow the below steps to download and integrate the scripts:
1. Launch the designer.
2. Navigate to the “MarketPlace”.
3. Here choose the specified template that is suitable for your solutions.
1. Click on it and a pop-up window will appear on the screen. Here I am
choosing the “PDF” specified as “Reusable component”.
a. It displays the description of the chosen listing along with the versions available,
listing type, created by, license file and URL.
b. Review the “Terms & Conditions” and then proceed to check the box.
c. Select the “Download” option to download it in your local system.
4. Now, easily integrate the script in your automations.
You can view the downloaded MarketPlace file in the following path
“C:\Users\Username\Documents\Robility\Marketplace”.
Steps to integrate the listing in the solutions/templates:
In the following example, I have downloaded the “PDF” listed as “Reusable
component” to integrate into the solutions.
1. Open an existing template or create a new template.
2. Navigate to the toolbox section and scroll to the end of the features.
3. Here, you will find the scripts downloaded under the feature as “Reusable
Component”.
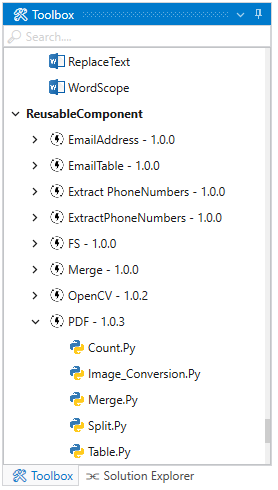
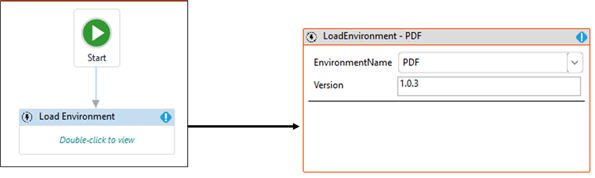
4. Now, I have dragged and dropped the “PDF” which acts as the “Load
Environment” activity. It also acts as scope for the list of scripts available
in it.
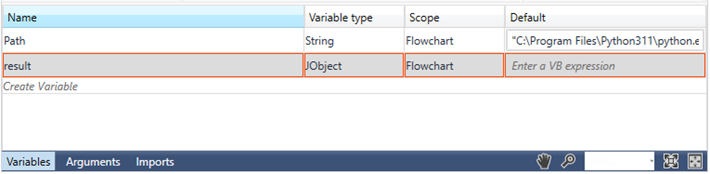
5. Now, navigating to the “PythonPath” in the properties to provide the path
of the “Python” application. Here I am providing the value in the variable
as “Path”.
a. There are two steps to provide the variable in the property.
b. Step 1: Click on the variable pane, enter your preferred name (here,
I'm using "Path"), and choose the data type as "String" since the output
value accepts the string data type. And provide the path of the python
application as default value.
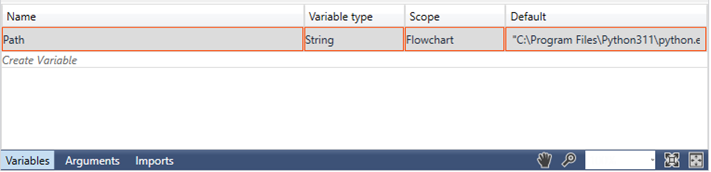
c. Step 2: Double-click on the variable parameter in the “PythonPath” section
and enter a name as "Path".

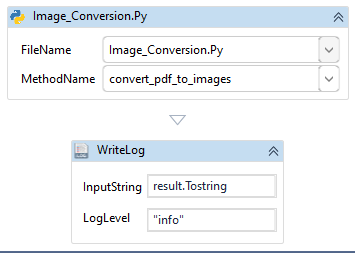
6. Now, I am adding the “Image conversion” script into
“LoadEnvironment - PDF” activity to automate in the solutions.
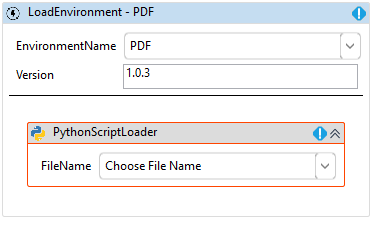
7. Here I am choosing the file name from the drop-down as
“Image_Conversion.py”.
8. Now, the “MethodName” option will be available and here I am choosing
the method from the drop-down as “convert_pdf_to_images”.
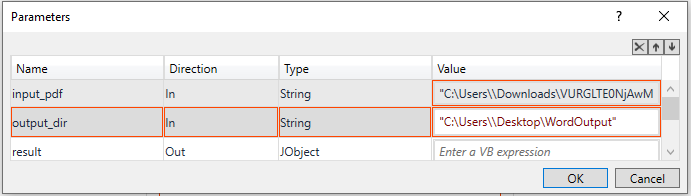
9. Navigating to the “Parameters” in the properties section to provide the
required inputs for the script.
a. Click on the Three dots and the “Parameters” dialog box will appear
on the screen with the required inputs.
b. Here are two inputs required to automate the script. You can either enter
the input values here in the specified datatype in the “Value” field or can
hardcode the values in the specified datatype.

c. I have directly provided the values in the “Values” field for both the
inputs, now click on “OK” button.
10. The parameter which indicates “OUT” as direction is indicated as the
output of the activity. Here the “result” is indicated as “OUT”, so
declaring a variable there to view the output.
a. Now, I am declaring a variable in the “Variables” section with the
similar name “result” along with the specified datatype as “Jobject”.
11. Now, to view the output, add the “Writelog” activity and pass the
required inputs.
12. Save and execute the bot.
Now, the script will be loaded and starts to create a virtual environment,
which might get delayed on the first execution. Then the bot proceeds to
execute the script. Below is the sample of the output execution of the activity.

The bot will write the output in the “Output” section using the “writelog” activity.