Empower Your Operations: Seamless Automation with Robility
Shift your focus to automation, not infrastructure. The Robility enterprise
automation platform is accessible in the cloud, tailored to your preferences. Begin
with Robility Automation Cloud as a Software as a Service (SaaS) solution or
integrate it seamlessly into your own cloud environment.
Start prototyping right away with a trial, smoothly transition to production, and
effortlessly add as many Robots or Designers as needed—eliminating the
necessity to build your own managed infrastructure. In addition, Robility offers
an array of integrations (AI Service, Human in Loop, Workflow Orchestration,
Information Understanding, and more)
Robility as a Service – Swiftly deploy and scale with Robility Automation Cloud.
Begin prototyping instantly, seamlessly transition to production, and easily
add Robots or Designers without building infrastructure. Explore additional
services with Robility Manager at robility.ai.
Public Cloud – The deployment model and guidelines for Azure, AWS, GCP,
and Oracle enable the rapid construction of your Robility solution as either
Infrastructure as a Service (IaaS) or Platform as a Service (PaaS). Retain end
to end configuration and environmental control without the need for local
infrastructure.
On-premises – Deploy within your own data centers or utilize private cloud
solutions for on-premises implementation.
Creating a Solution
1. To get started using the Designer, the user needs to create a new solution by
selecting “CTRL +N” or by clicking on “Create New Solution” button.
2. A Pop- up window labelled as New solution, appears to fill out the details of the
Solution Name, Solution Description, Workflow Name, Workflow Description,
and location path to be saved.
3. After filling out the details, the user needs to click on the “Create” button to create
the new solution.
4. The solution will be created and saved in the specified location.
5. The user will be able to access the solution and its associated workflows from the
main dashboard.
Creating a Template
1. To create a new template, click on the “Create New Template” button.
2. A Pop- up window labelled as New template, appears to fill out the details of the
Template Name, template Description, Workflow Name, Workflow Description,
and location path to be saved.
3. After filling out the details, the user needs to click on the “Create” button to
create the new template.
4. The template will be created and saved in the specified location.
5. The user will be able to access the solution and its associated workflows
from the main dashboard.
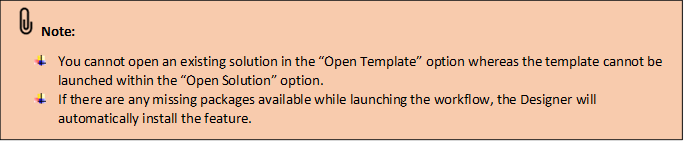
Opening an existing solution / Template
Opening an existing solution/ template will be a similar process. The user can
either select “CTRL + O” or click on the “Open Solution/Template” button and choose
the required bot to proceed.
Open published package
The zipped folders obtained from the Robility Manager will contain encrypted files
that will need decryption to extract the files within the folder. Now, the option is
available on the "Homepage" to open the published package to improve
navigation efficiency. To decrypt and utilize the workflows in the zipped folder,
follow the steps below:
1. Select the “Open Published Package” option.
a. It helps to publish and extract the encrypted workflows from the encrypted
folders into a new solution.
2. Choose the appropriate zipped folder from the system folder path and click
on “OK” button.
3. Now, the “Designer will be restarted and opens the extracted folder as a
new solution.