This activity helps the user to convert the “Excel” sheet into “Datatable” format. It
operates within the Excel scope activity.
Technical Reference
|
INPUT |
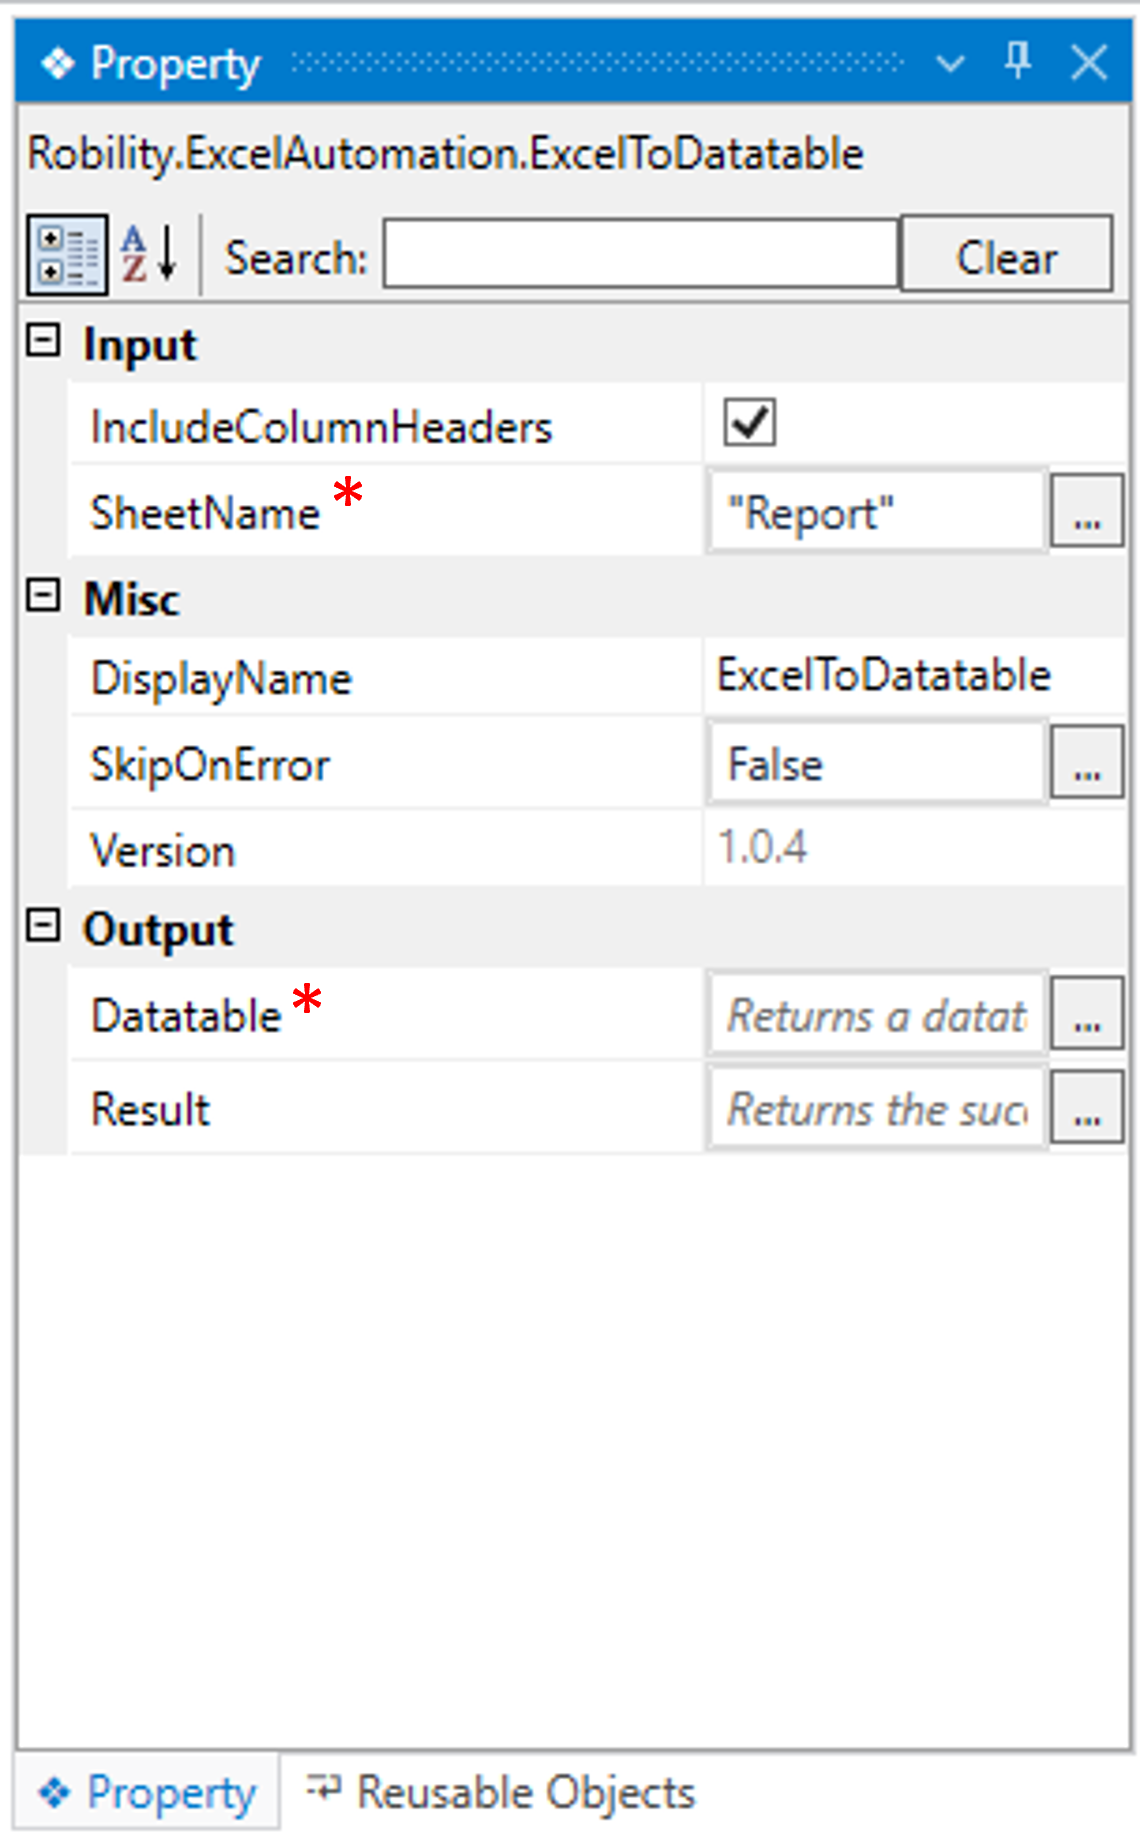
IncludeColumnHeaders: Indicates to include the “Column Headers” in the excel sheet while converting the data to “datatable” datatype. If left blank, the column headers will not be considered during the conversion. |
|
|
SheetName: Indicates to provide the “SheetName” against which the data needs to convert to “Datatable” format. This parameter accepts values in the “String” datatype." |
||
|
MISC |
DisplayName: Displays the name of the activity. The activity name can be customized, which aids in troubleshooting. |
|
|
SkipOnError: Specify the "Boolean" value as "True" or "False."
True: Continue executing the workflow regardless of any errors thrown. False: Halt the workflow if it encounters any errors. None: If the option is left blank, the activity will, by default, behave as if "False" were chosen. |
||
|
Version: It indicates the version of the feature being used. |
||
|
OUTPUT |
Datatable: It helps to view the output as converted sheet in “Datatable” format. It returns values in “Datatable” datatype. Refer the below example to create the variable. |
|
|
Result: It provides the ability to view the execution status of the activity. It returns values in "Boolean."
True: Indicates that the activity has been executed successfully without any errors. False: Indicates that the activity has been unsuccessful due to an unexpected error being thrown. |
* Represents mandatory fields to execute the workflow
Here’s an example of how “ExceltoDatatable” activity works –
In the following example, I am using the “Excel sheet” which is used to automate
in the Use case. To get a better understanding, click here.
This report encompasses employee particulars like Name, Position, Age, Office,
Start date, and Salary.
1. Here, I am continuing from the “WriteRange” activity’s example.
2. Now, placing the " ExceltoDatatable " activity within the scope activity.
a. In this case, I am going to convert the sheet into “datatable” format.
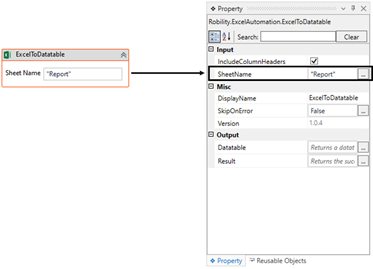
b. Here I am providing the sheet name as “Report” for conversion.
c. Enter the name in the “SheetName” box.
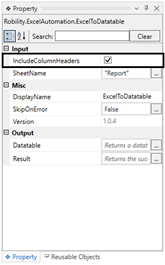
d. Navigating to the “IncludeColumnHeaders” option to check the box to include the
column headers as well while conversion.
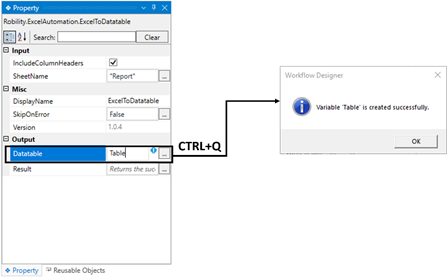
e. Moving to the “Datatable” property in the output section to declare a variable
to see the output.
i. There are two ways to create a variable-
ii. Method 1 – Click on the "Datatable" property within the "ExceltoDatatable" activity
and enter the variable name. In this case, we are using " Table." Then, press "Ctrl+Q,"
which is a shortcut key to create a variable.
iii. Method 2 - Click on the Variables pane and enter the name " Table." Then, in the
"Variable Types" column, select "Browse for Types" from the dropdown menu.
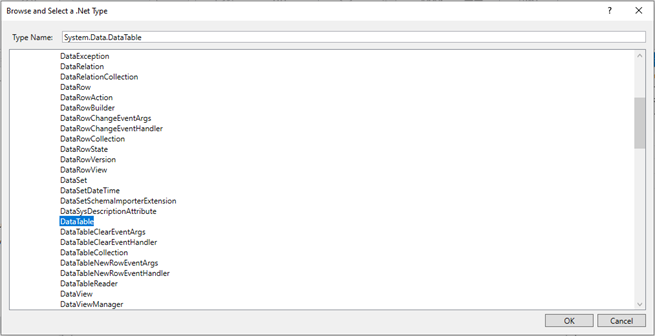
iv. The .Net window for data types will appear on the screen, enter the type
name as “System.Data.Datatable” and then click on “OK” button.
3. Now, execute the workflow.
The bot will convert the excel sheet to datatable.

