How does Auto-log on functionality work?
The "Auto Logon" feature in RobilityRunner allows a robot to automatically sign in
to a Windows system if it has been signed out or locked. This feature is
essential for tasks that require the robot to function without human help,
such as in unattended automation or when multiple robots operate on the
same system simultaneously. It ensures that the robots can continue their
tasks seamlessly, even if the system requires a login after a restart or due to
user inactivity.
Pre-requisites
1. The workflow execution will only commence once the "Auto Logon" feature
has successfully unlocked the machine.
Points to note
1. The Resolution settings will apply exclusively to "Unattended and
High-density Runner."
2. This option is not supported for Attended robots.
3. After configuring the settings and initiating the Run process, if the resource
is at logged off state, the changes will be reflected upon auto-login
functionality.
4. If the machine is already in at unlocked state, initiating the robot won't
execute the specified resolution changes.
a. The specified resolution changes will be executed only when an auto-login
functionality is applied or when the manual unlock action is performed in the
machine.
b. Click here to refer the Resolution Settings.
Limitations
1. If the credentials provided are incorrect, the Auto Logon process will continue
attempting to log in until manual intervention is required to unlock the virtual
machine with the correct credentials.
1. The Auto Logon feature is not supported with the Attended robot license type.
How to step up the robot with credentials?
1. Navigate to the Robility Manager.
2. Select the type of license you need: either "Unattended" or "High-density" robot.
3. Select the “Resources” menu to add the machine that will be used for provisioning
and executing the workflow.
4. Select the type of license you need: either "Unattended" or "High-density" robot.
5. Next, go to the "Projects" menu and select the project to which you want to
provision the machine for the workflow.
6. Go to the "Deploy Robots" menu and click on "Add" to provision the machine.
7. Select the same license type that you chose for the machine.
8. Choose the "Resource Name" you added, where the workflow will be executed.
9. Select the desired solution for execution.
10. Enter the "Username and Password" for the machine to log in via RobilityRunner.
11. Click on the save button. Now, the license key will be created/ available for the
runner connection.

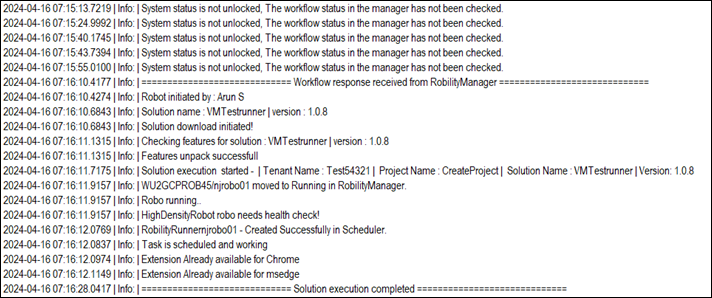
How does it differ from normal start vs auto log on start?
When the system is already unlocked, the Runner will not perform the "Auto-logon"
functionality and will proceed to initiate the workflow to start the process. Below is a
sample log file:
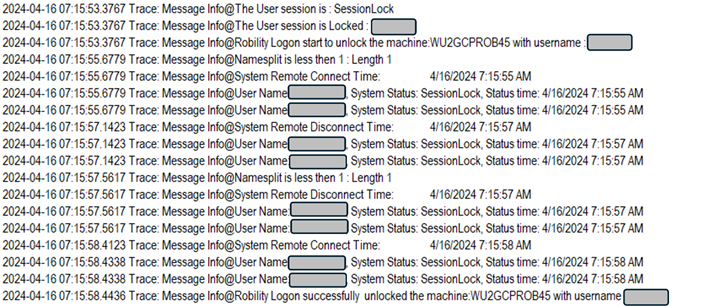
Auto Log on:
The bot will check whether the machine is in locked state, and then proceeds to
unlock the machine with the user credentials provided. In the below log file, the
success message will be printed.