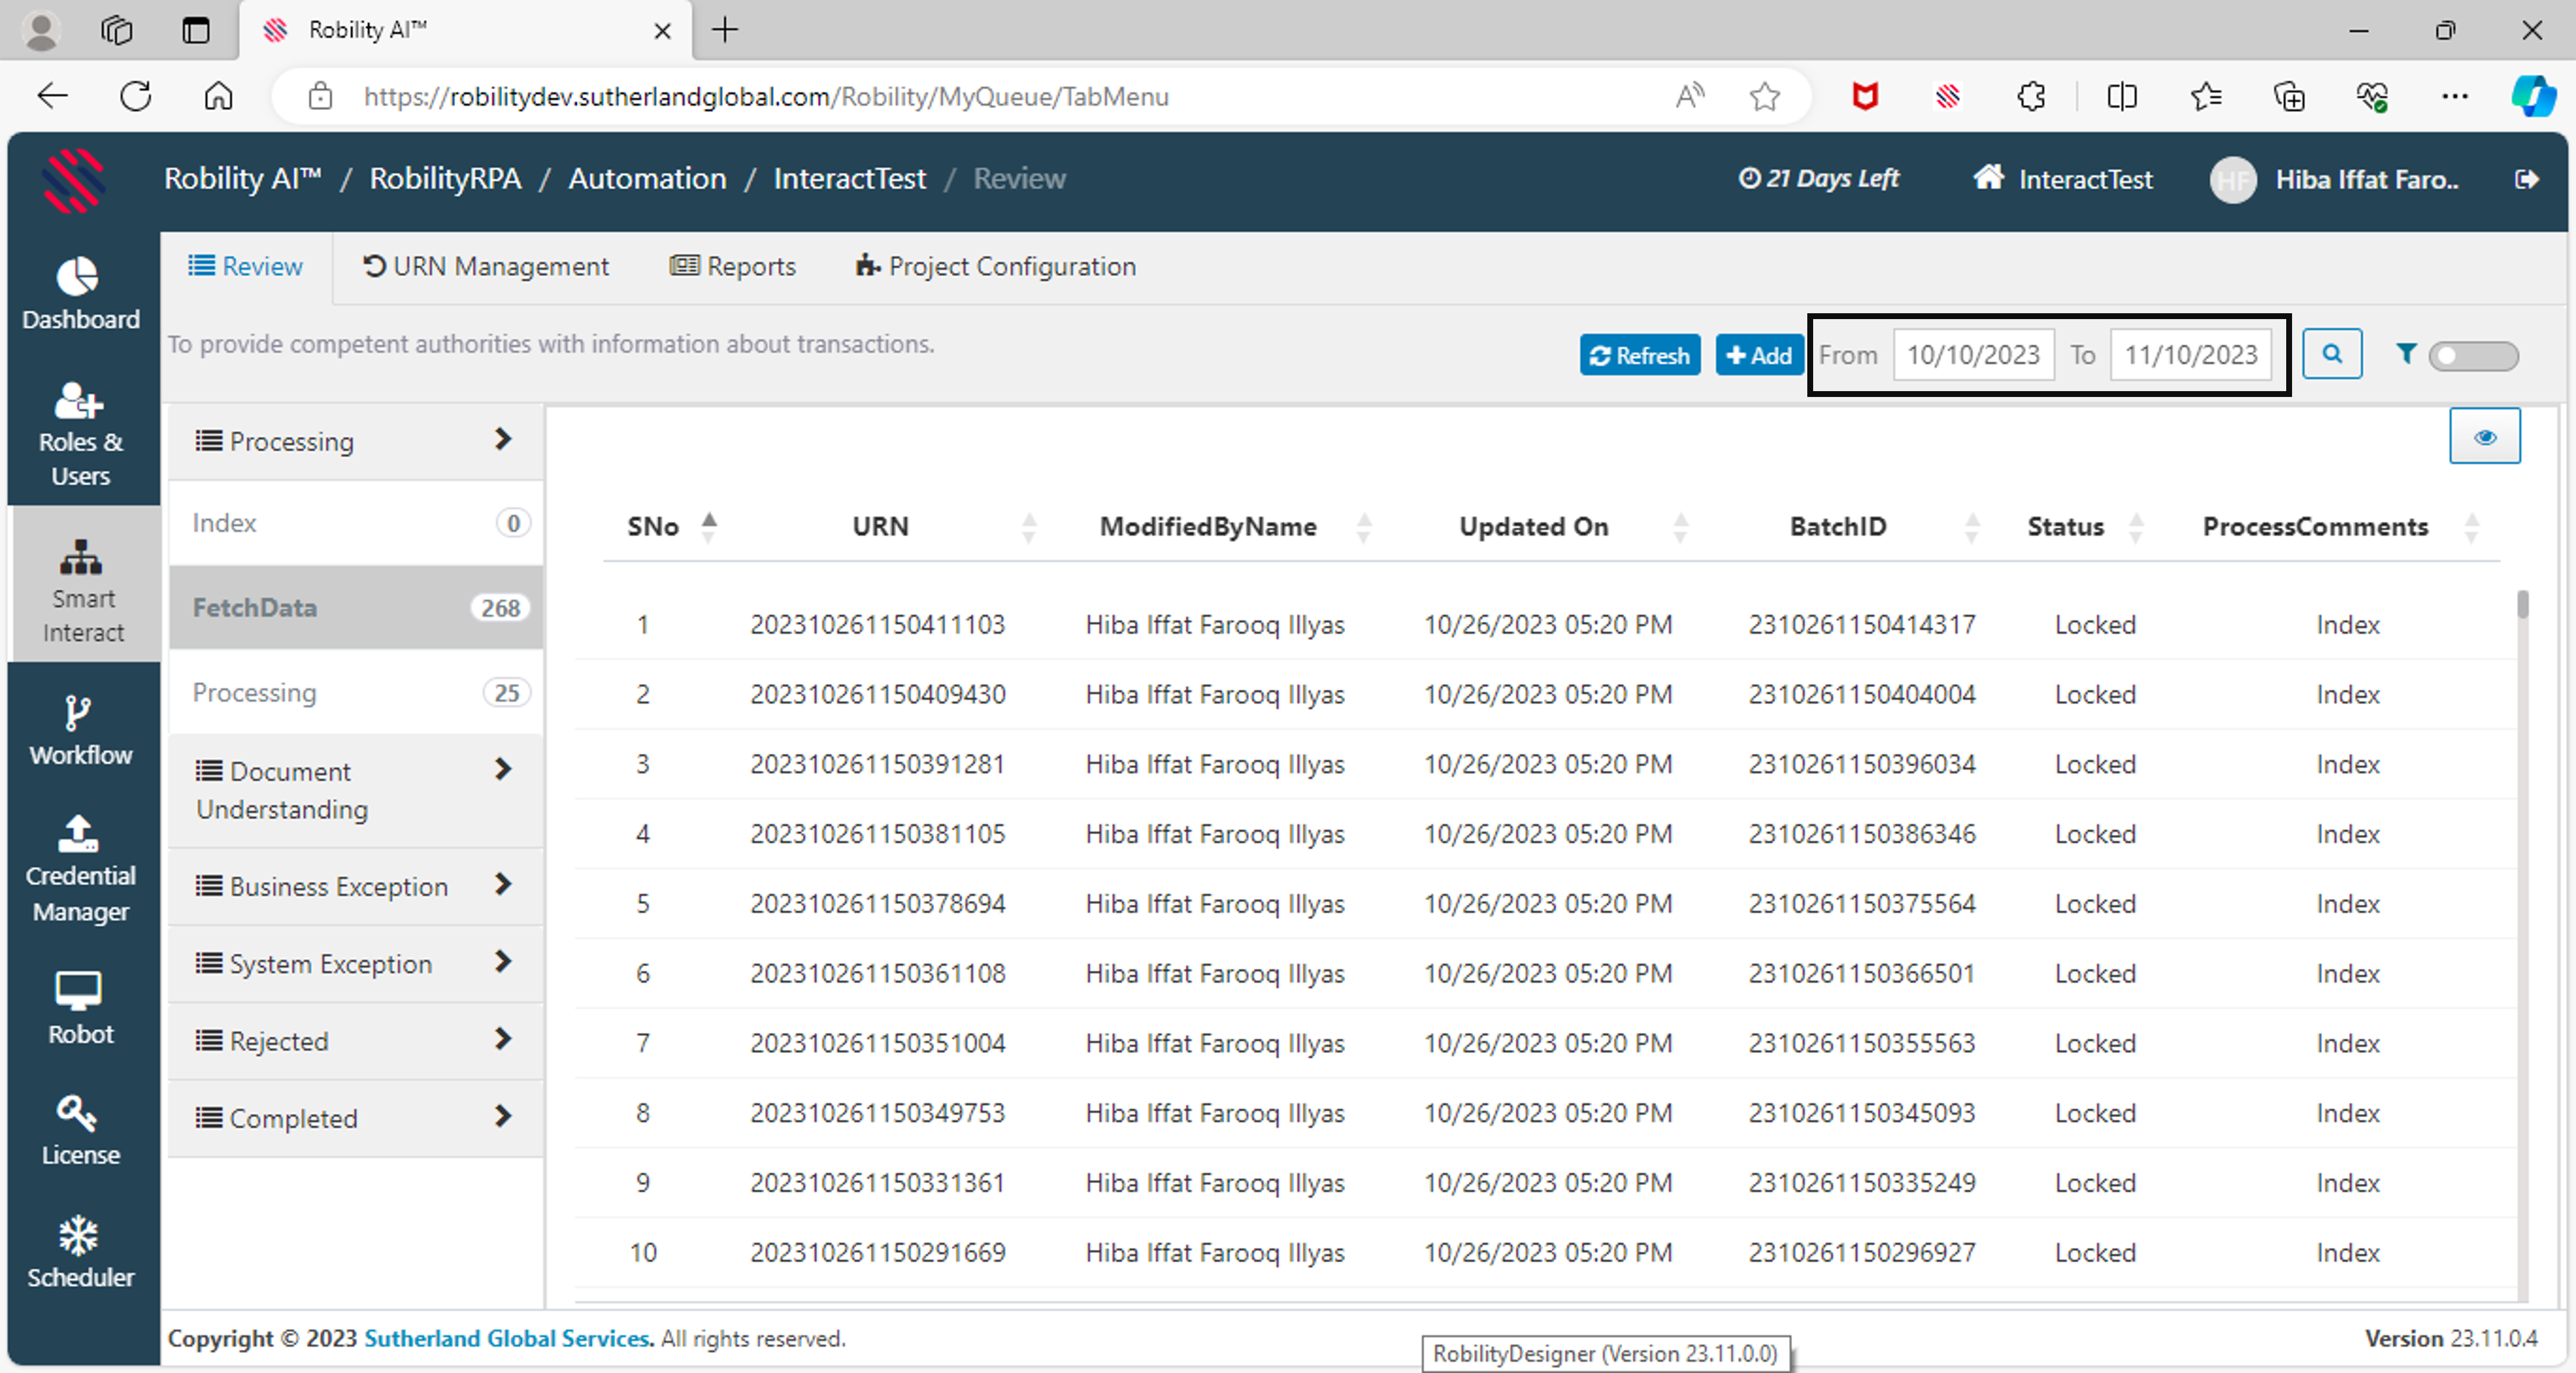
This page presents comprehensive details on processed transactions within each
queue, encompassing transaction history, processing timestamps, updated
details, and user information for modifications or creations.
Additionally, it offers a transparent overview of the transactions, shedding light
on crucial information for users. The inclusion of processed date and time
enhances the clarity of each transaction's timeline, while insights into modifications
or creations by specific users contribute to a thorough understanding of the
transactional activities. This user-friendly interface facilitates efficient tracking
and management of the processed transactions against the respective queues.
How to add new transactions for the project
configured?
There are two methods to add the transactions to the project, through runtime
as well as manual process. To get more information on how to add the
transactions through runtime, refer the documentation of Interact.
If you prefer manual process, there are two options available:
1. Single Transaction
2. Multiple transaction.
Single Transaction
The "Single Transaction" method allows for a detailed and focused input
of individual transactions. Follow the below steps to add the transaction:
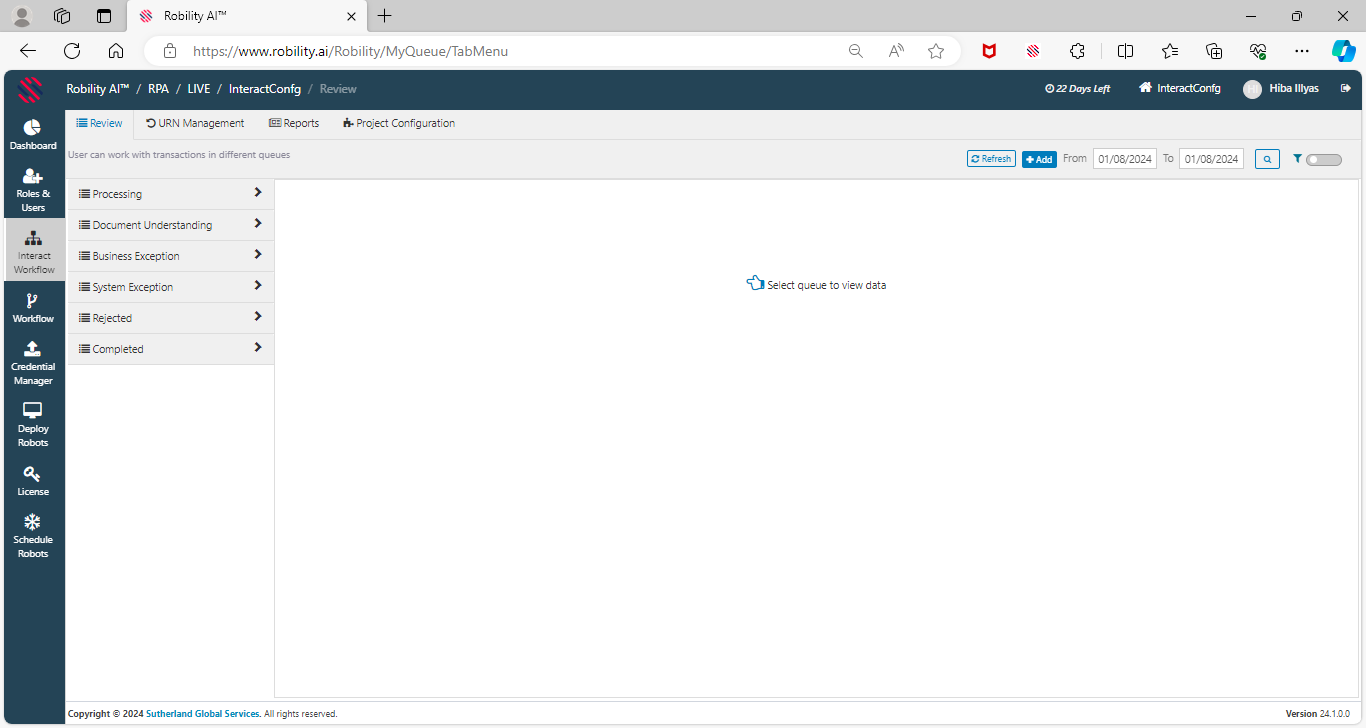
1. Login to the Robility Manager and navigate to the respective project
where Interact is configured.
2. Click on “Review” page.
3. On the top of the transactions overview area, select the “Add” button.
4. Click on it to add the transactions manually.
5. Upon landing, you will be directed to “Single transaction” option page.
6. Enter the transaction details manually and click on “Submit” button.
Multiple Transactions
The "Multiple Transactions" option streamlines the process for efficiency when
dealing with multiple entries at once.
Follow the below steps to add the transaction:
1. Login to the Robility Manager and navigate to the respective project where
Interact is configured.
2. Click on “Review” page.
3. On the top of the transactions overview area, select the “Add” button.
4. Upon landing, you will be directed to “Single transaction” option page.
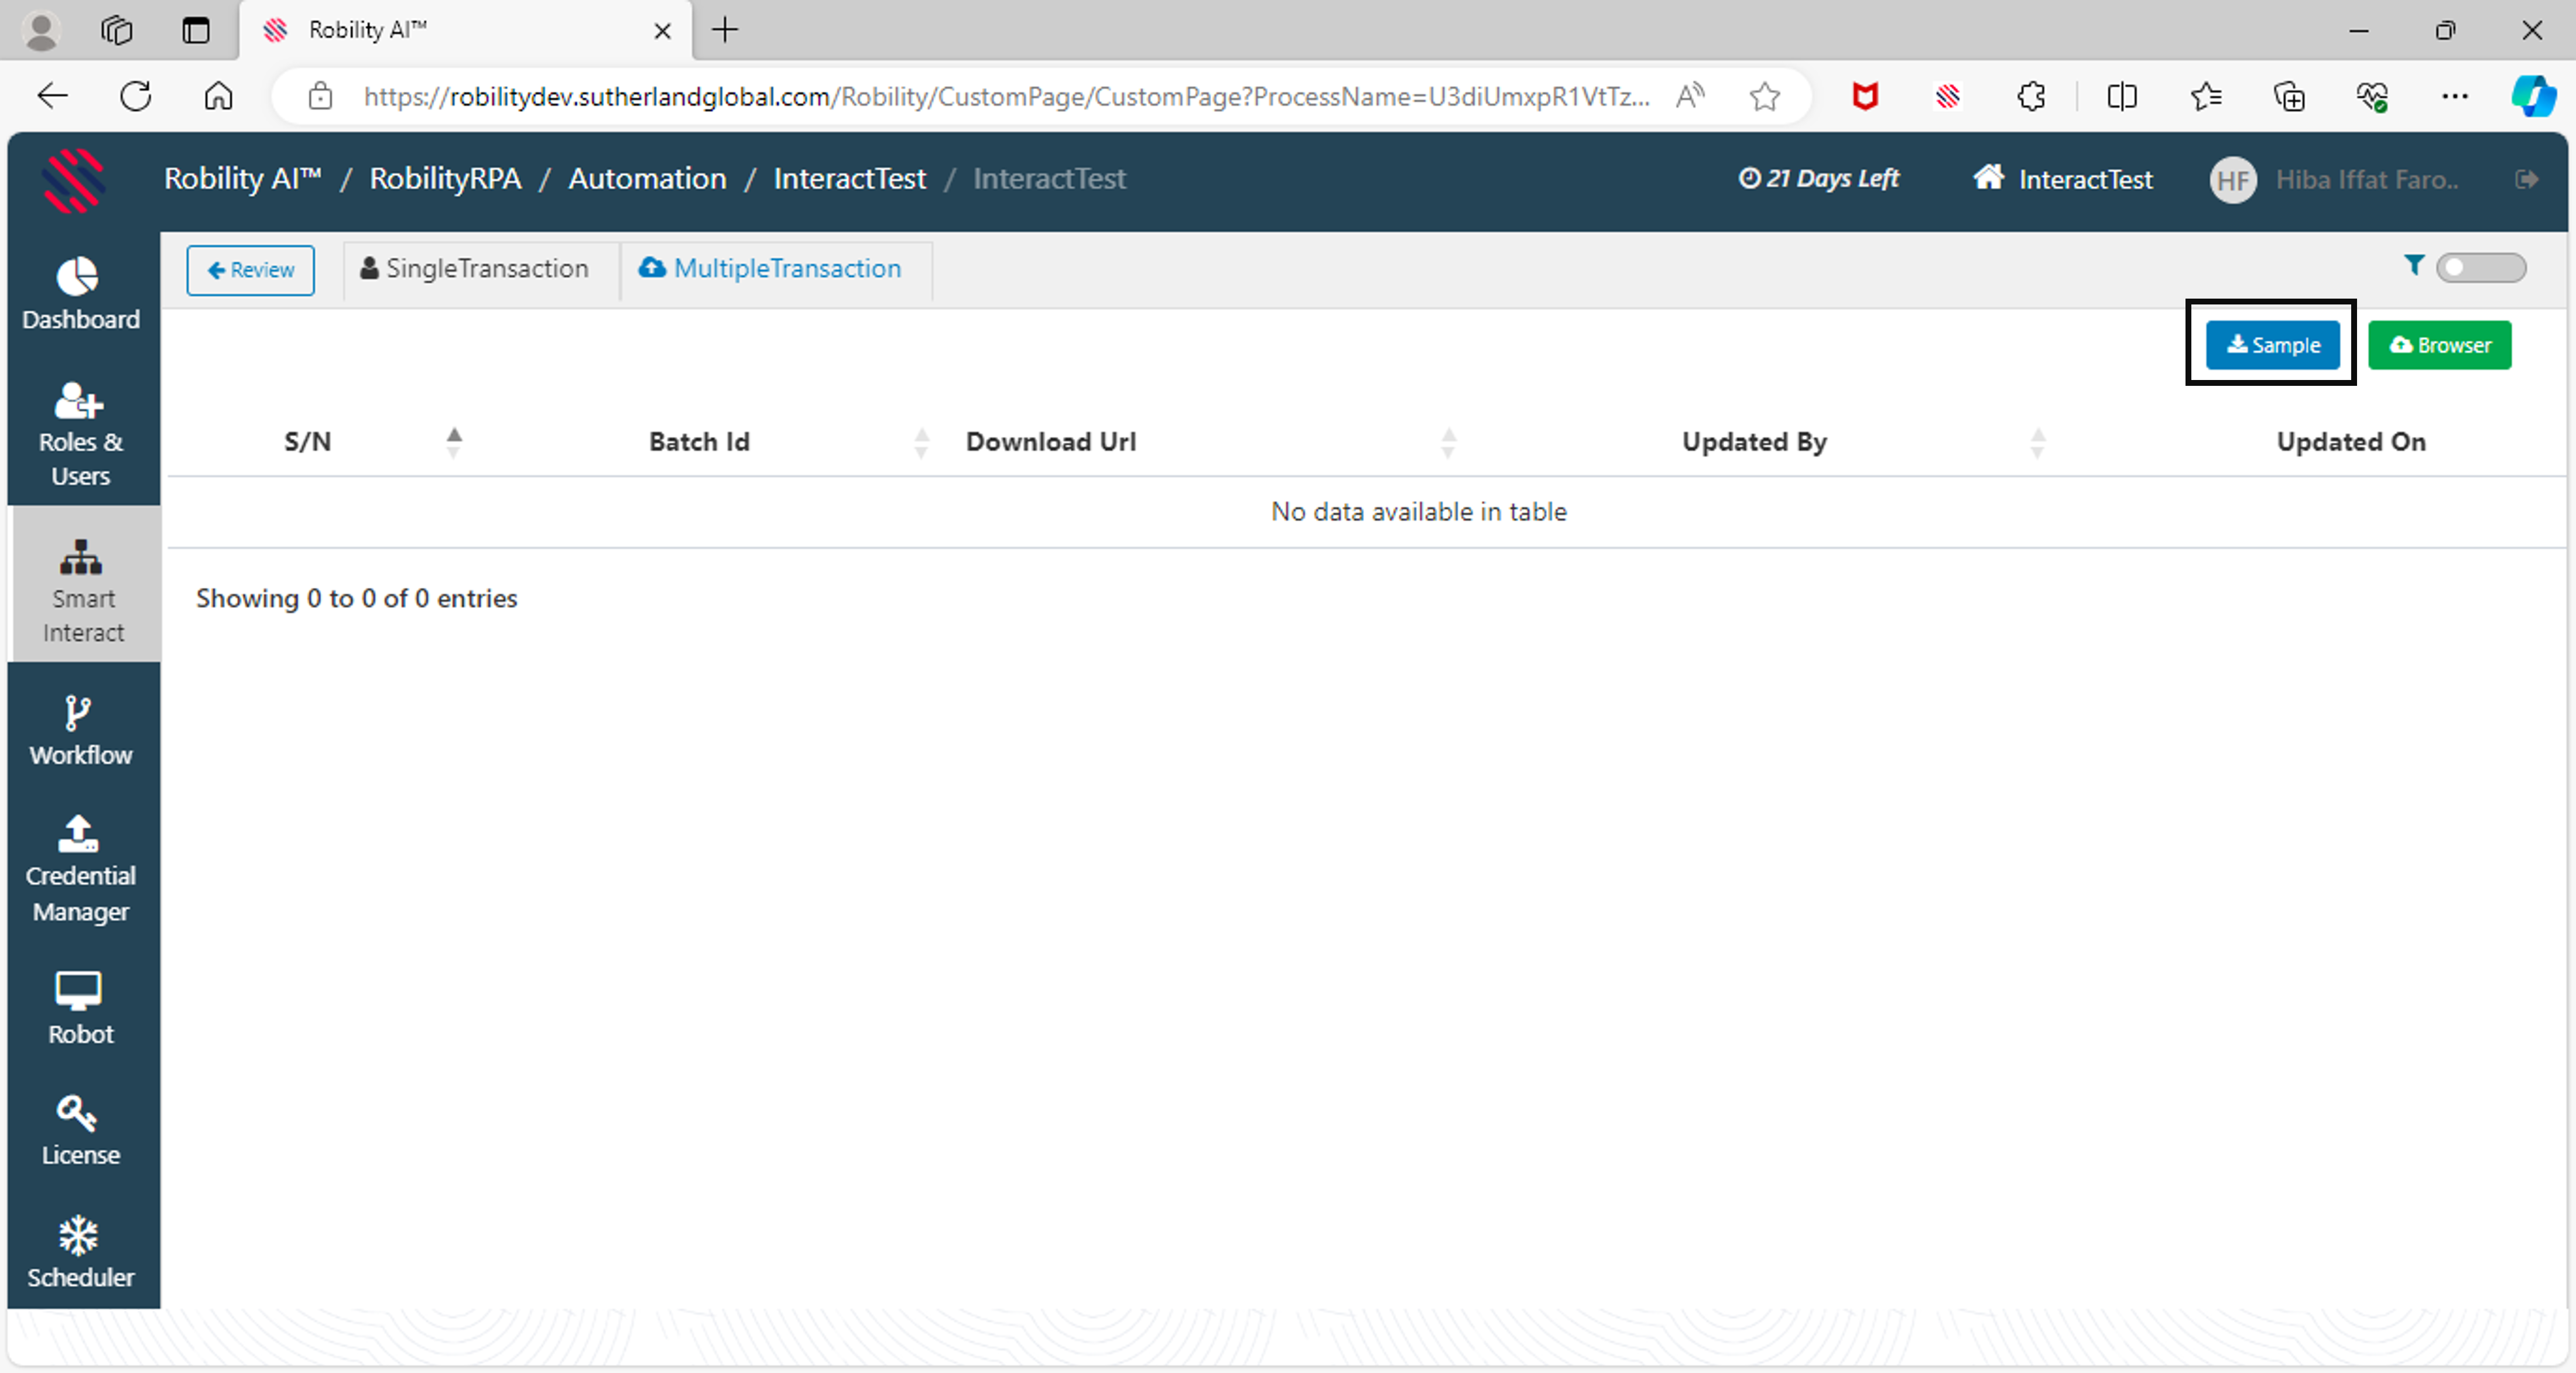
5. Choose the “Multiple transaction” option.
a. Here you can download the “Sample” excel template and fill the required
details to add.
b. The sample excel template contains the fields details of your project.
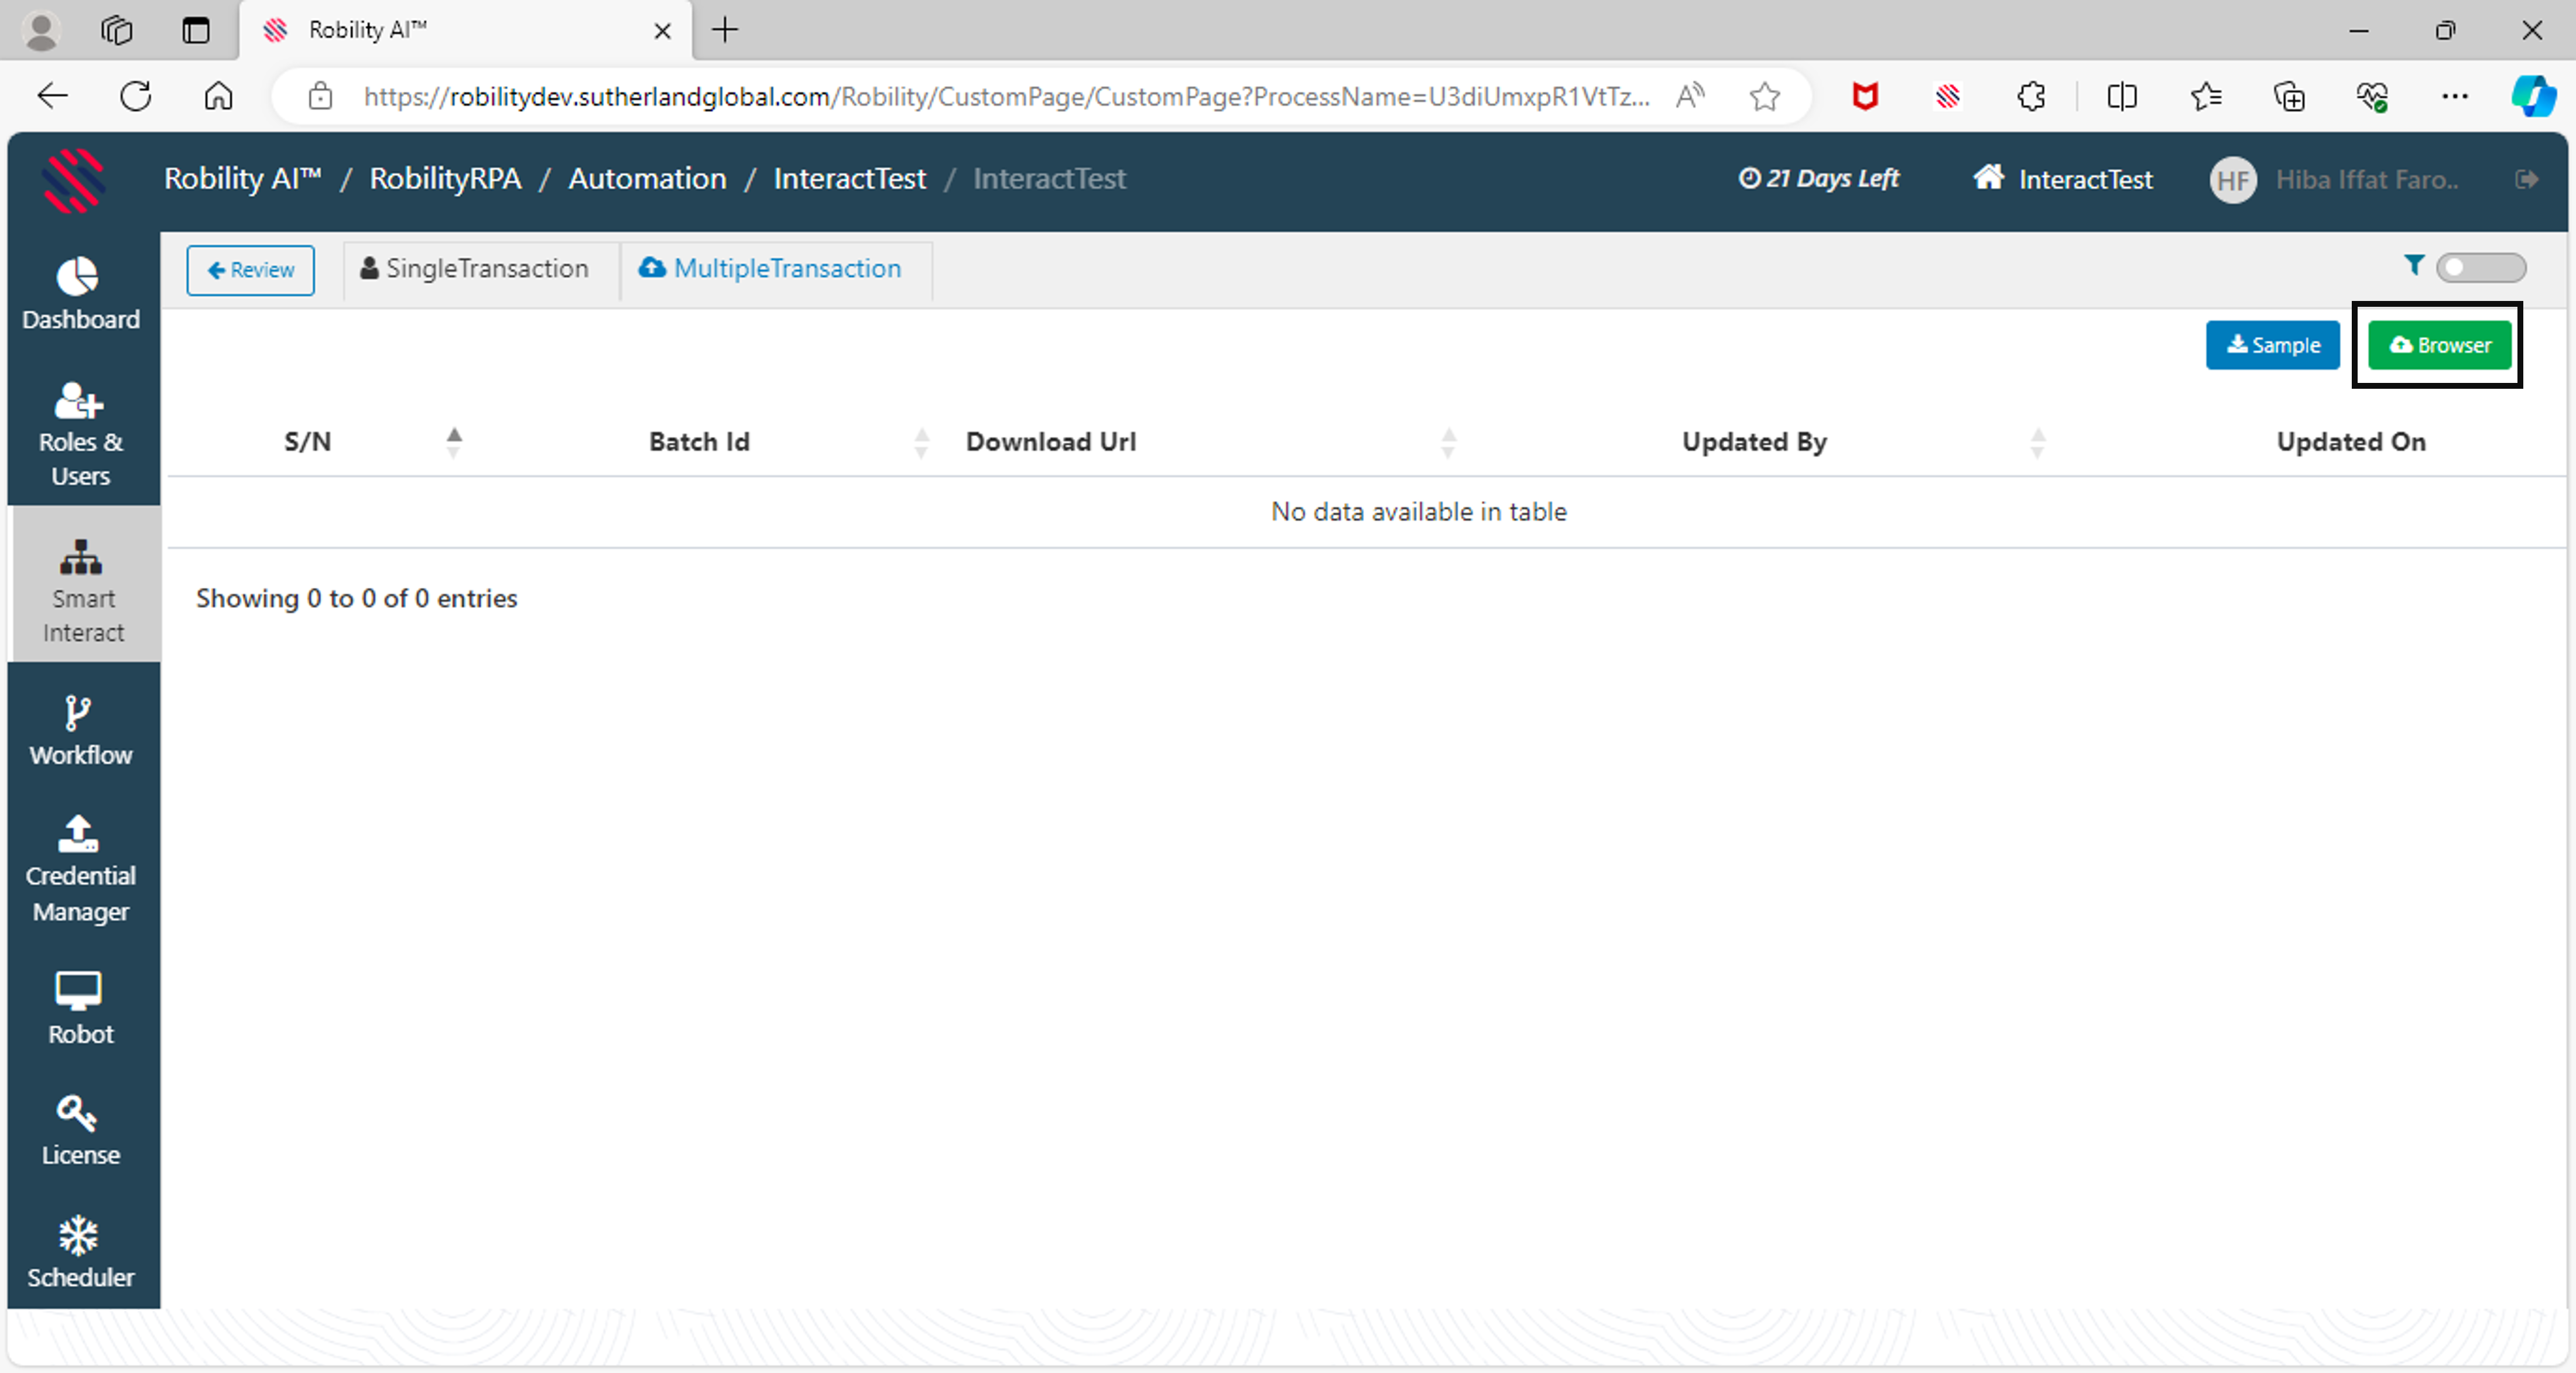
6. The user can also choose the “Browse” option if the sample excel is ready
to be added.
How to filter and view the transactions from
earlier dates?
On the Review page, above the transaction overview area, there will be the option
to search with “From and To”. Choose the date and click on the “Search button”.