The file menu has several options that aids the user to create a new project, open
an existing project or also use existing templates if applicable for the project. It also
has a tools menu, which can be seen in detail in the description that follows.
Home
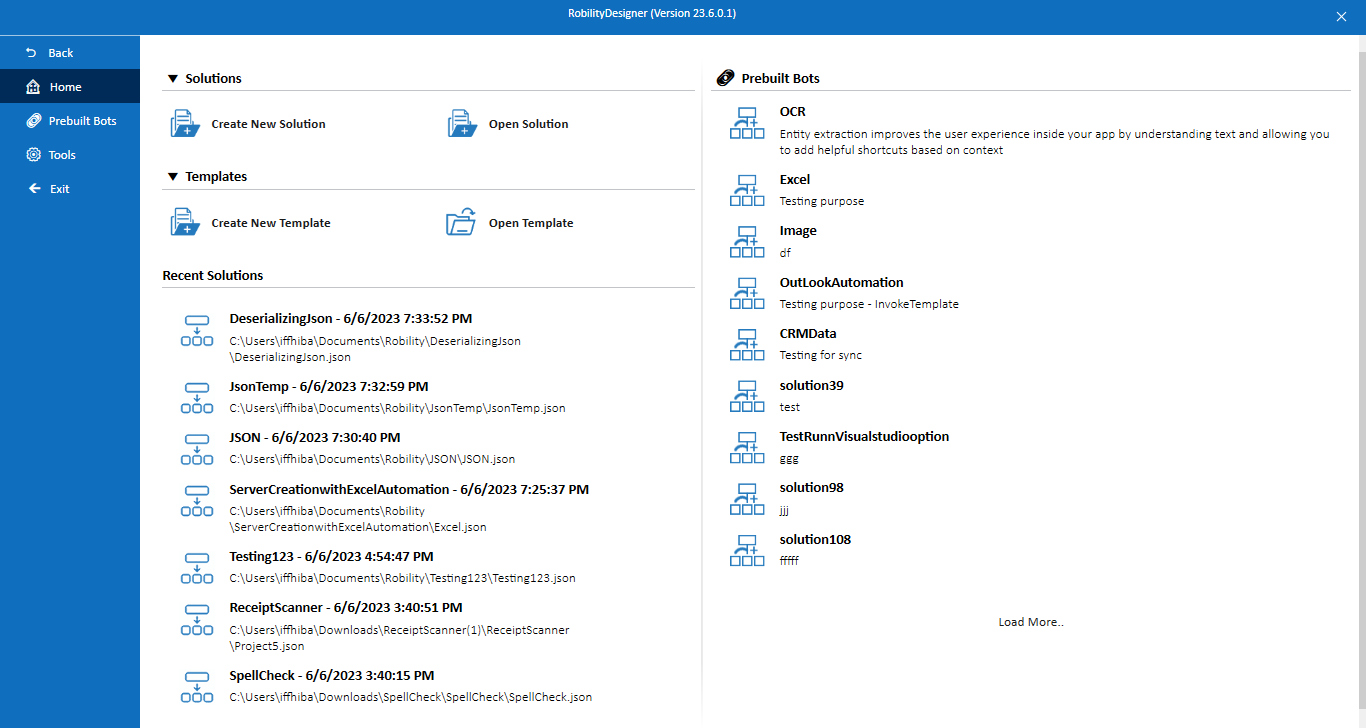
Create New Solution
This option helps the user to create a new solution. Click on the icon and a
new solution window pops up.
Open Solution
The open solution is the next tab present in the home tab of the file menu
screen. Click on this icon to open any existing project created in the designer.
Recent Solutions
The next section in the file menu screen is Recent solutions. This section
has all the available solutions that the user has worked on and saved for
future reference. Click on the solution that you wish to continue working on
and the solution opens from where you left.
Templates
To build a solution and publish it as a template, the user can avail of this
option to create it. After creating the solution, the user can share it with the
team or make it available to others. The template will enable users to quickly
deploy the solution without needing to recreate it. This makes it easier to
access and use the solution.
Available Templates
Pre-built templates enable users to customize their templates according to
their own requirements and preferences. These templates are also designed
to be intuitive and easy to use, making the process of automation faster. The
templates section has the Robility AI/ML templates and the Robility templates.
- Robility templates: These templates does not require any API key to be
used in the workflow. - Robility AI/ML templates: These templates require an API key to be used
in the workflow.
The below image shows how we can use an outlook automation template to
ease the process of building a robot. Just use the template and execute the workflow.
The user is required to input for a few templates, while some templates
will execute automatically.
Tools
The tools option in the file menu has two segments, the advanced options and
Robility extensions.
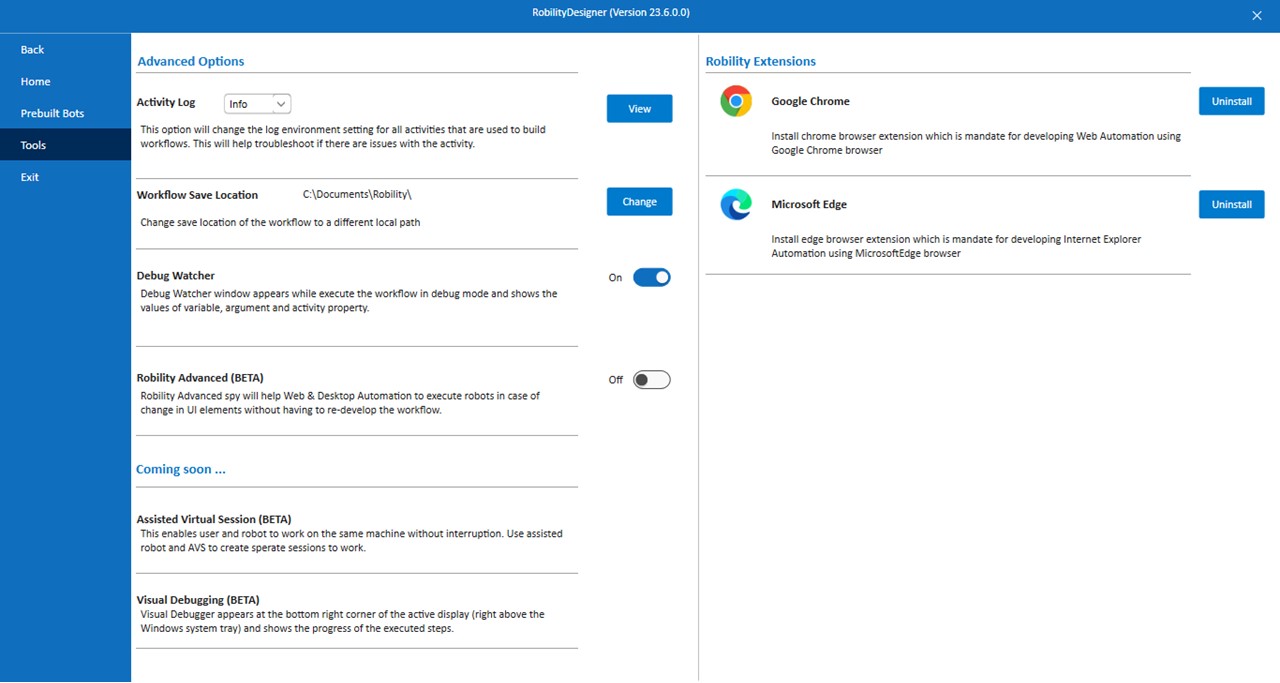
Advanced options
- Activity Log: Choose the log type from the drop down to change the log
environment setting for all activities used to build the workflows. - Workflow Save location: Change the save location path for the workflow.
- Debug Watcher: Debug watcher window appears while executing the
workflow in debug mode and shows the values of variables, arguments
and activity properties. It also allows the user to view the progress of
the workflow. - Robility Advanced (BETA): Enable this option to
use Robility Advanced spy which will help Web and Desktop automations to
execute the workflow in case of change in UI elements.
By enabling Robility Advance option, the spy window appears like this.
Coming soon
- Assisted Virtual Session (BETA)(To be released soon): Install this to
create separate sessions on the same machine for the user and robot to
work without interruption. - Visual Debugging (BETA)(To be released soon) : Enable this to see the
progress of the executed steps.
Robility Extensions
This segment shows browsers in which the Robility extension is enabled. Click on
uninstall if any browser extension is not required. We can re-install this anytime by
coming back to this window and clicking on install.