There are two types of installers available, choose the one for your environment.
1. Non-admin - User mode Installer
2. Admin - Protected mode (requires administrator access) Installer
Note: If you need help in getting the URL and Key for using the designer, refer this guide.
Important: Please make sure that your system meets the minimum system requirements for installing the SmartDesigner.
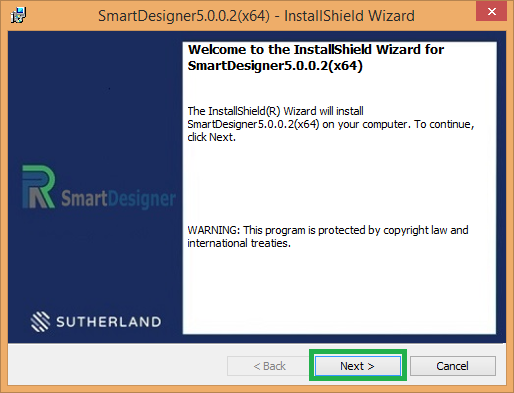
Step 1: Click on the msi to trigger the InstallShield Wizard for SmartDesigner installation.
Step 2: Click next to proceed further.
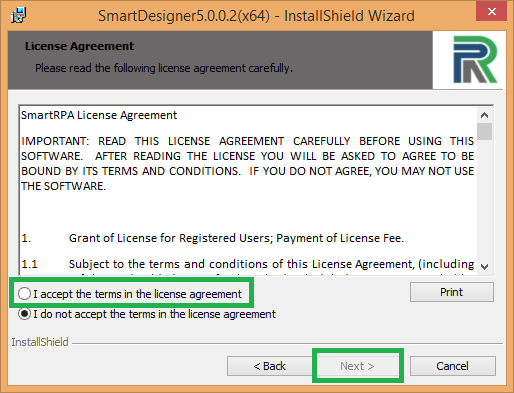
Step 3: Select the ÔÇ£I accept the terms in the license agreementÔÇØ radio button and click Next.
Step 4: The destination folder can be changed based on the user requirement or can continue with the default destination folder. Click Next.
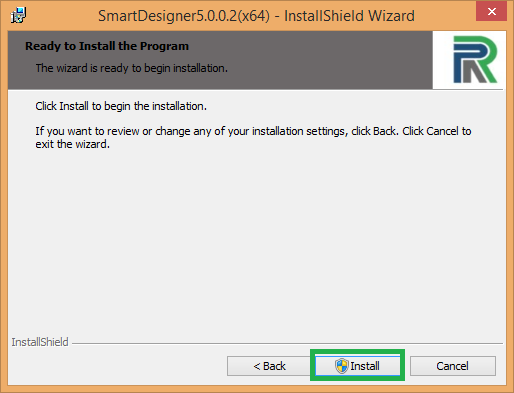
Step 5: Click install to begin the installation.
Step 6: The user will be prompted for admin credentials to proceed further when installing the admin msi.
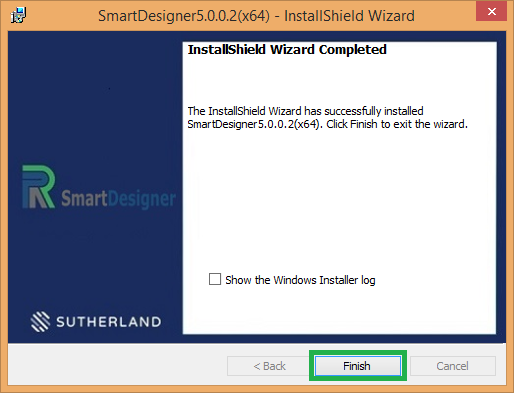
Step 7: Click Finish to complete the installation.
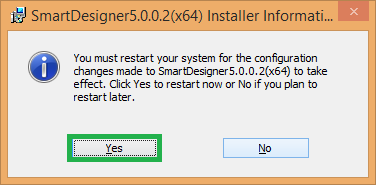
Step 8: Click Yes to restart the configured changes for SmartDesigner.
Step 9: Once the installation is complete, the shortcut of the SmartDesigner will be available in the desktop.


